
“Art Lab” Camp
By Peggy Ashbrook
Posted on 2018-07-28
Camp has a culture that is different from school, partly due to the season and partly due to the temporary relationships as campers and teachers are together for shorter lengths of time. As the teacher of an “Art Lab” camp class for children in Kindergarten through 3rd grade I had the pleasure of introducing the children to art-making processes using a variety of media where interactions between the media take place. Having two adult assistant teachers made the preparation and clean up easy. I wanted children to have experiences involving exploring the properties of matter that will help them choose media to express themselves artistically. Paint with dirt? With soap? Freeze paint? Paint on foil? The children engaged with every combination of media without hesitation. But since we only had about 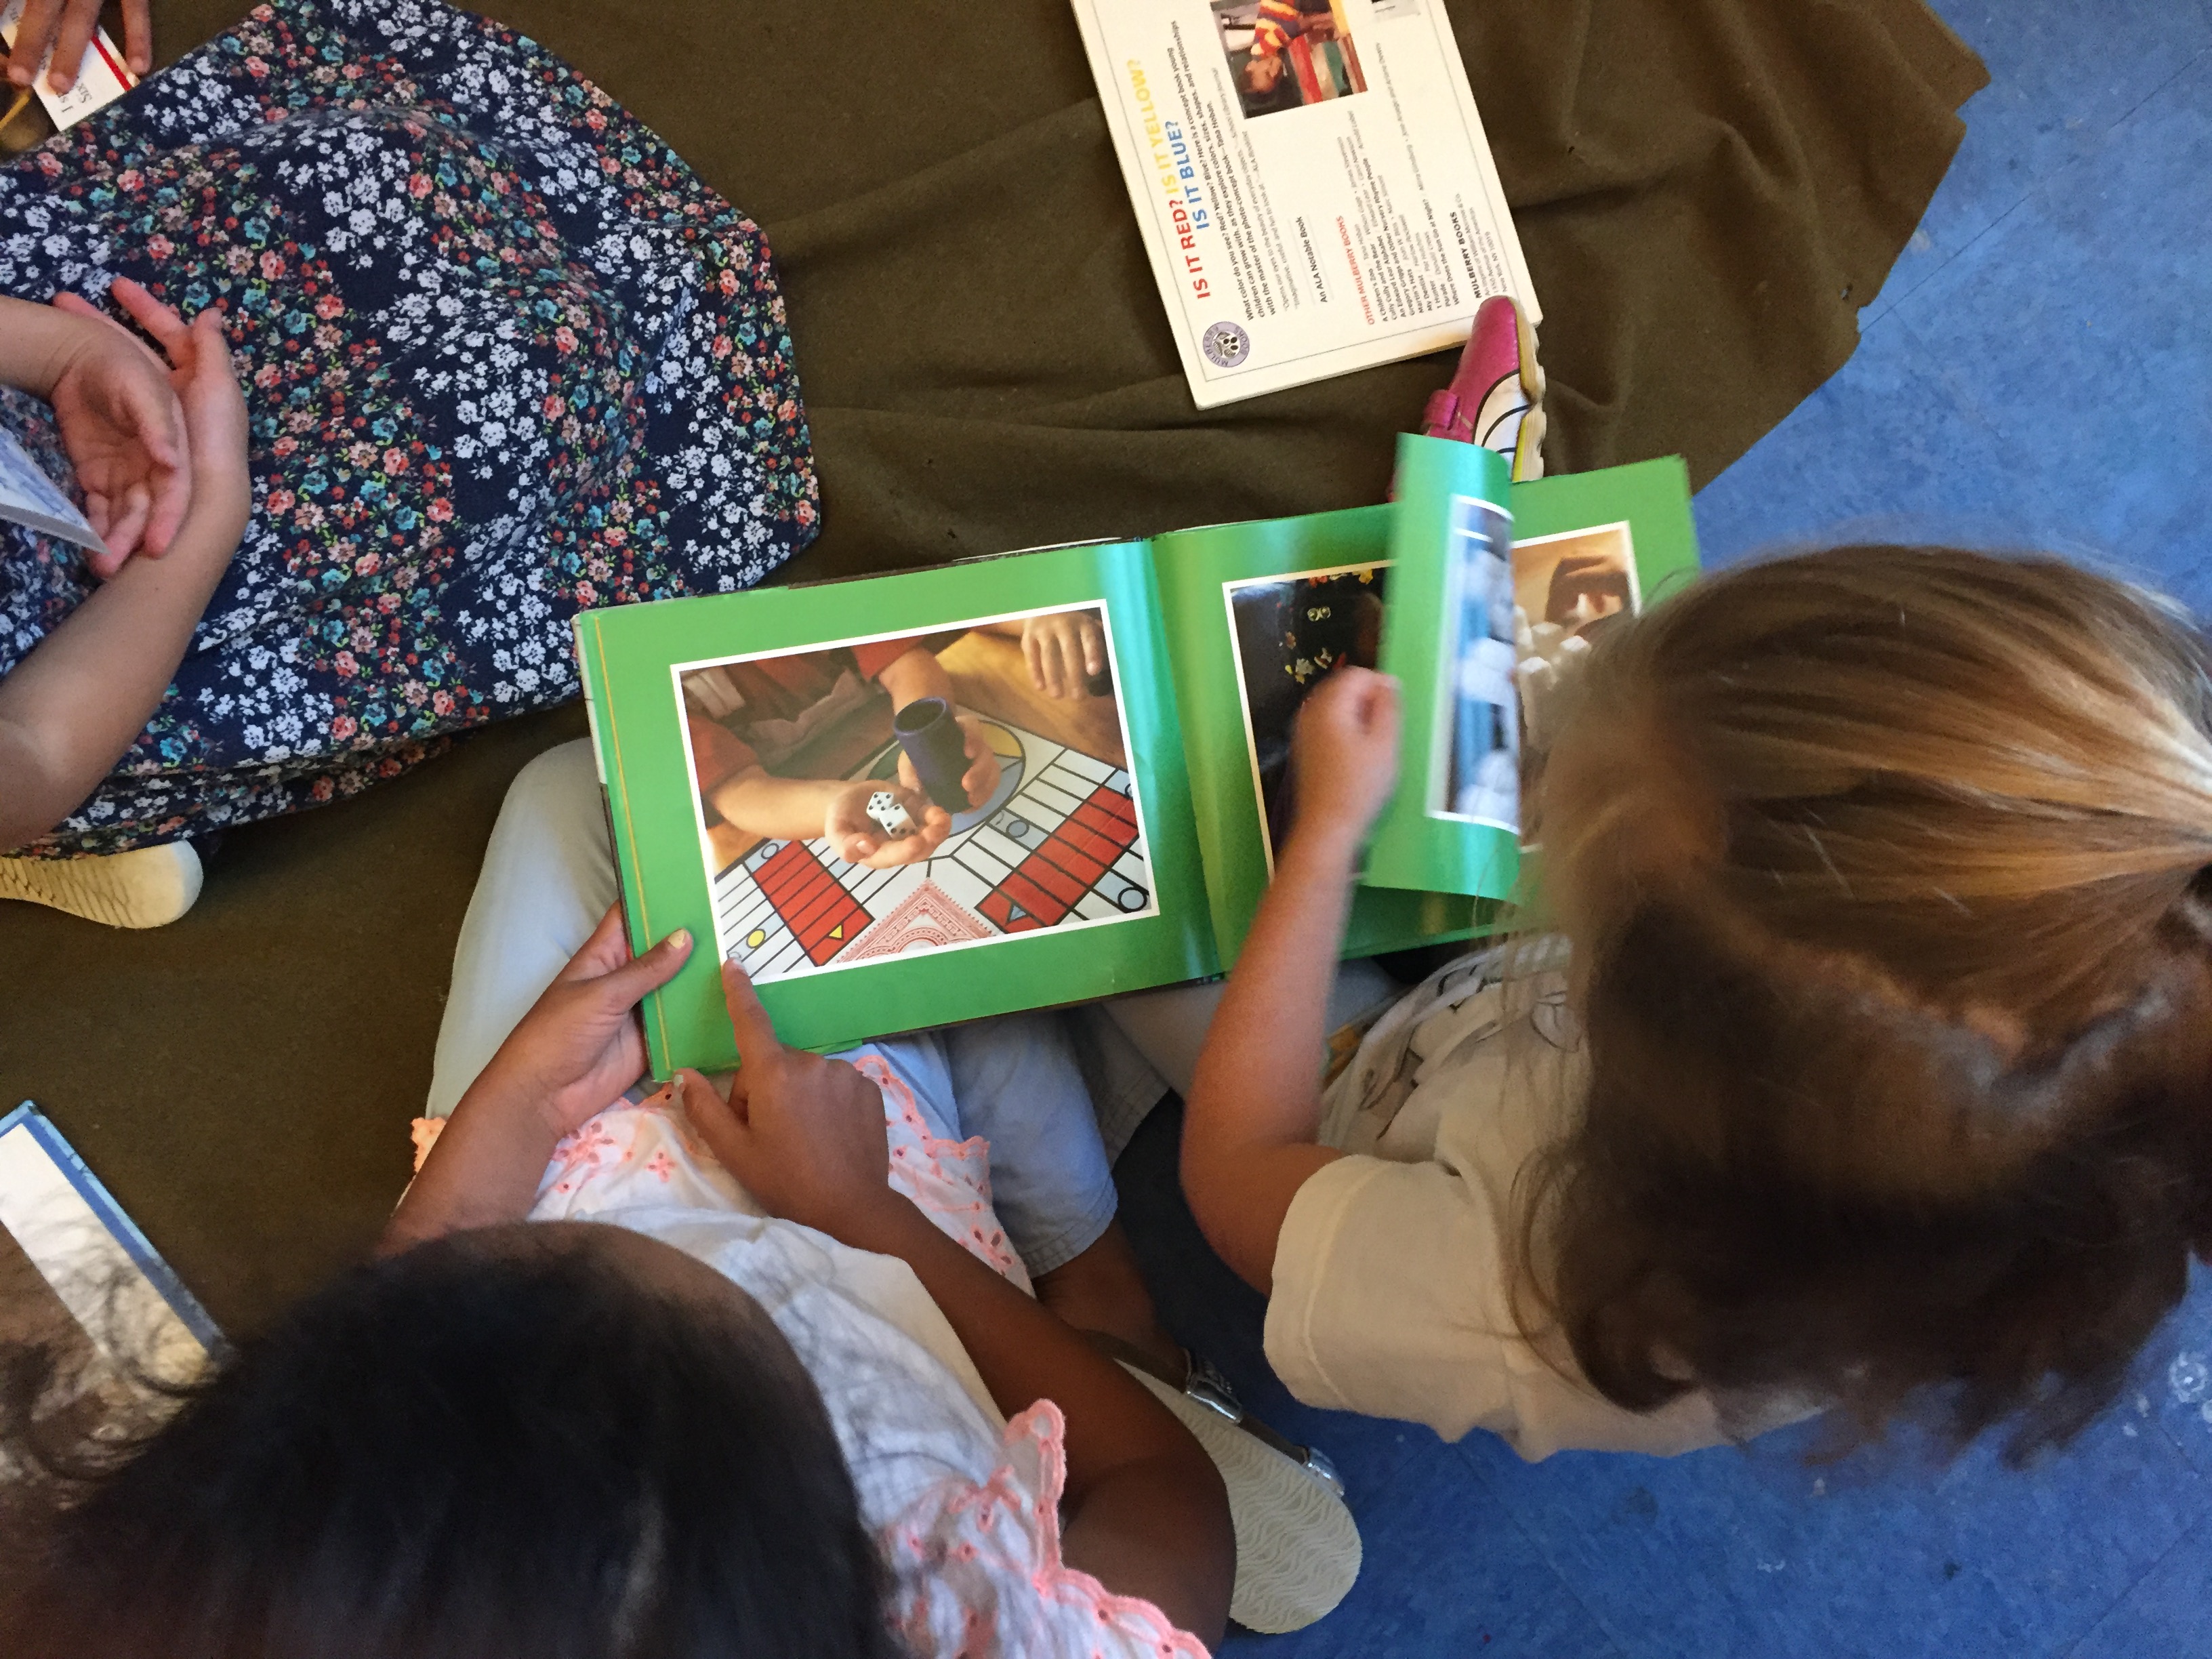 2.5 hours together each of 5 days, we didn’t explore deeply into the mechanisms of those interactions, an omission that my science teacher side regretfully accepts. At ages 5 to 8 these children are building a foundation of experiences that I hope will keep their curiosity sparked, prompting them to ask, “What is happening?” and trying to find out. Looking at and talking about what they saw in Tana Hoban’s wordless books gave them practice making and verbalizing their observations.
Water color resist
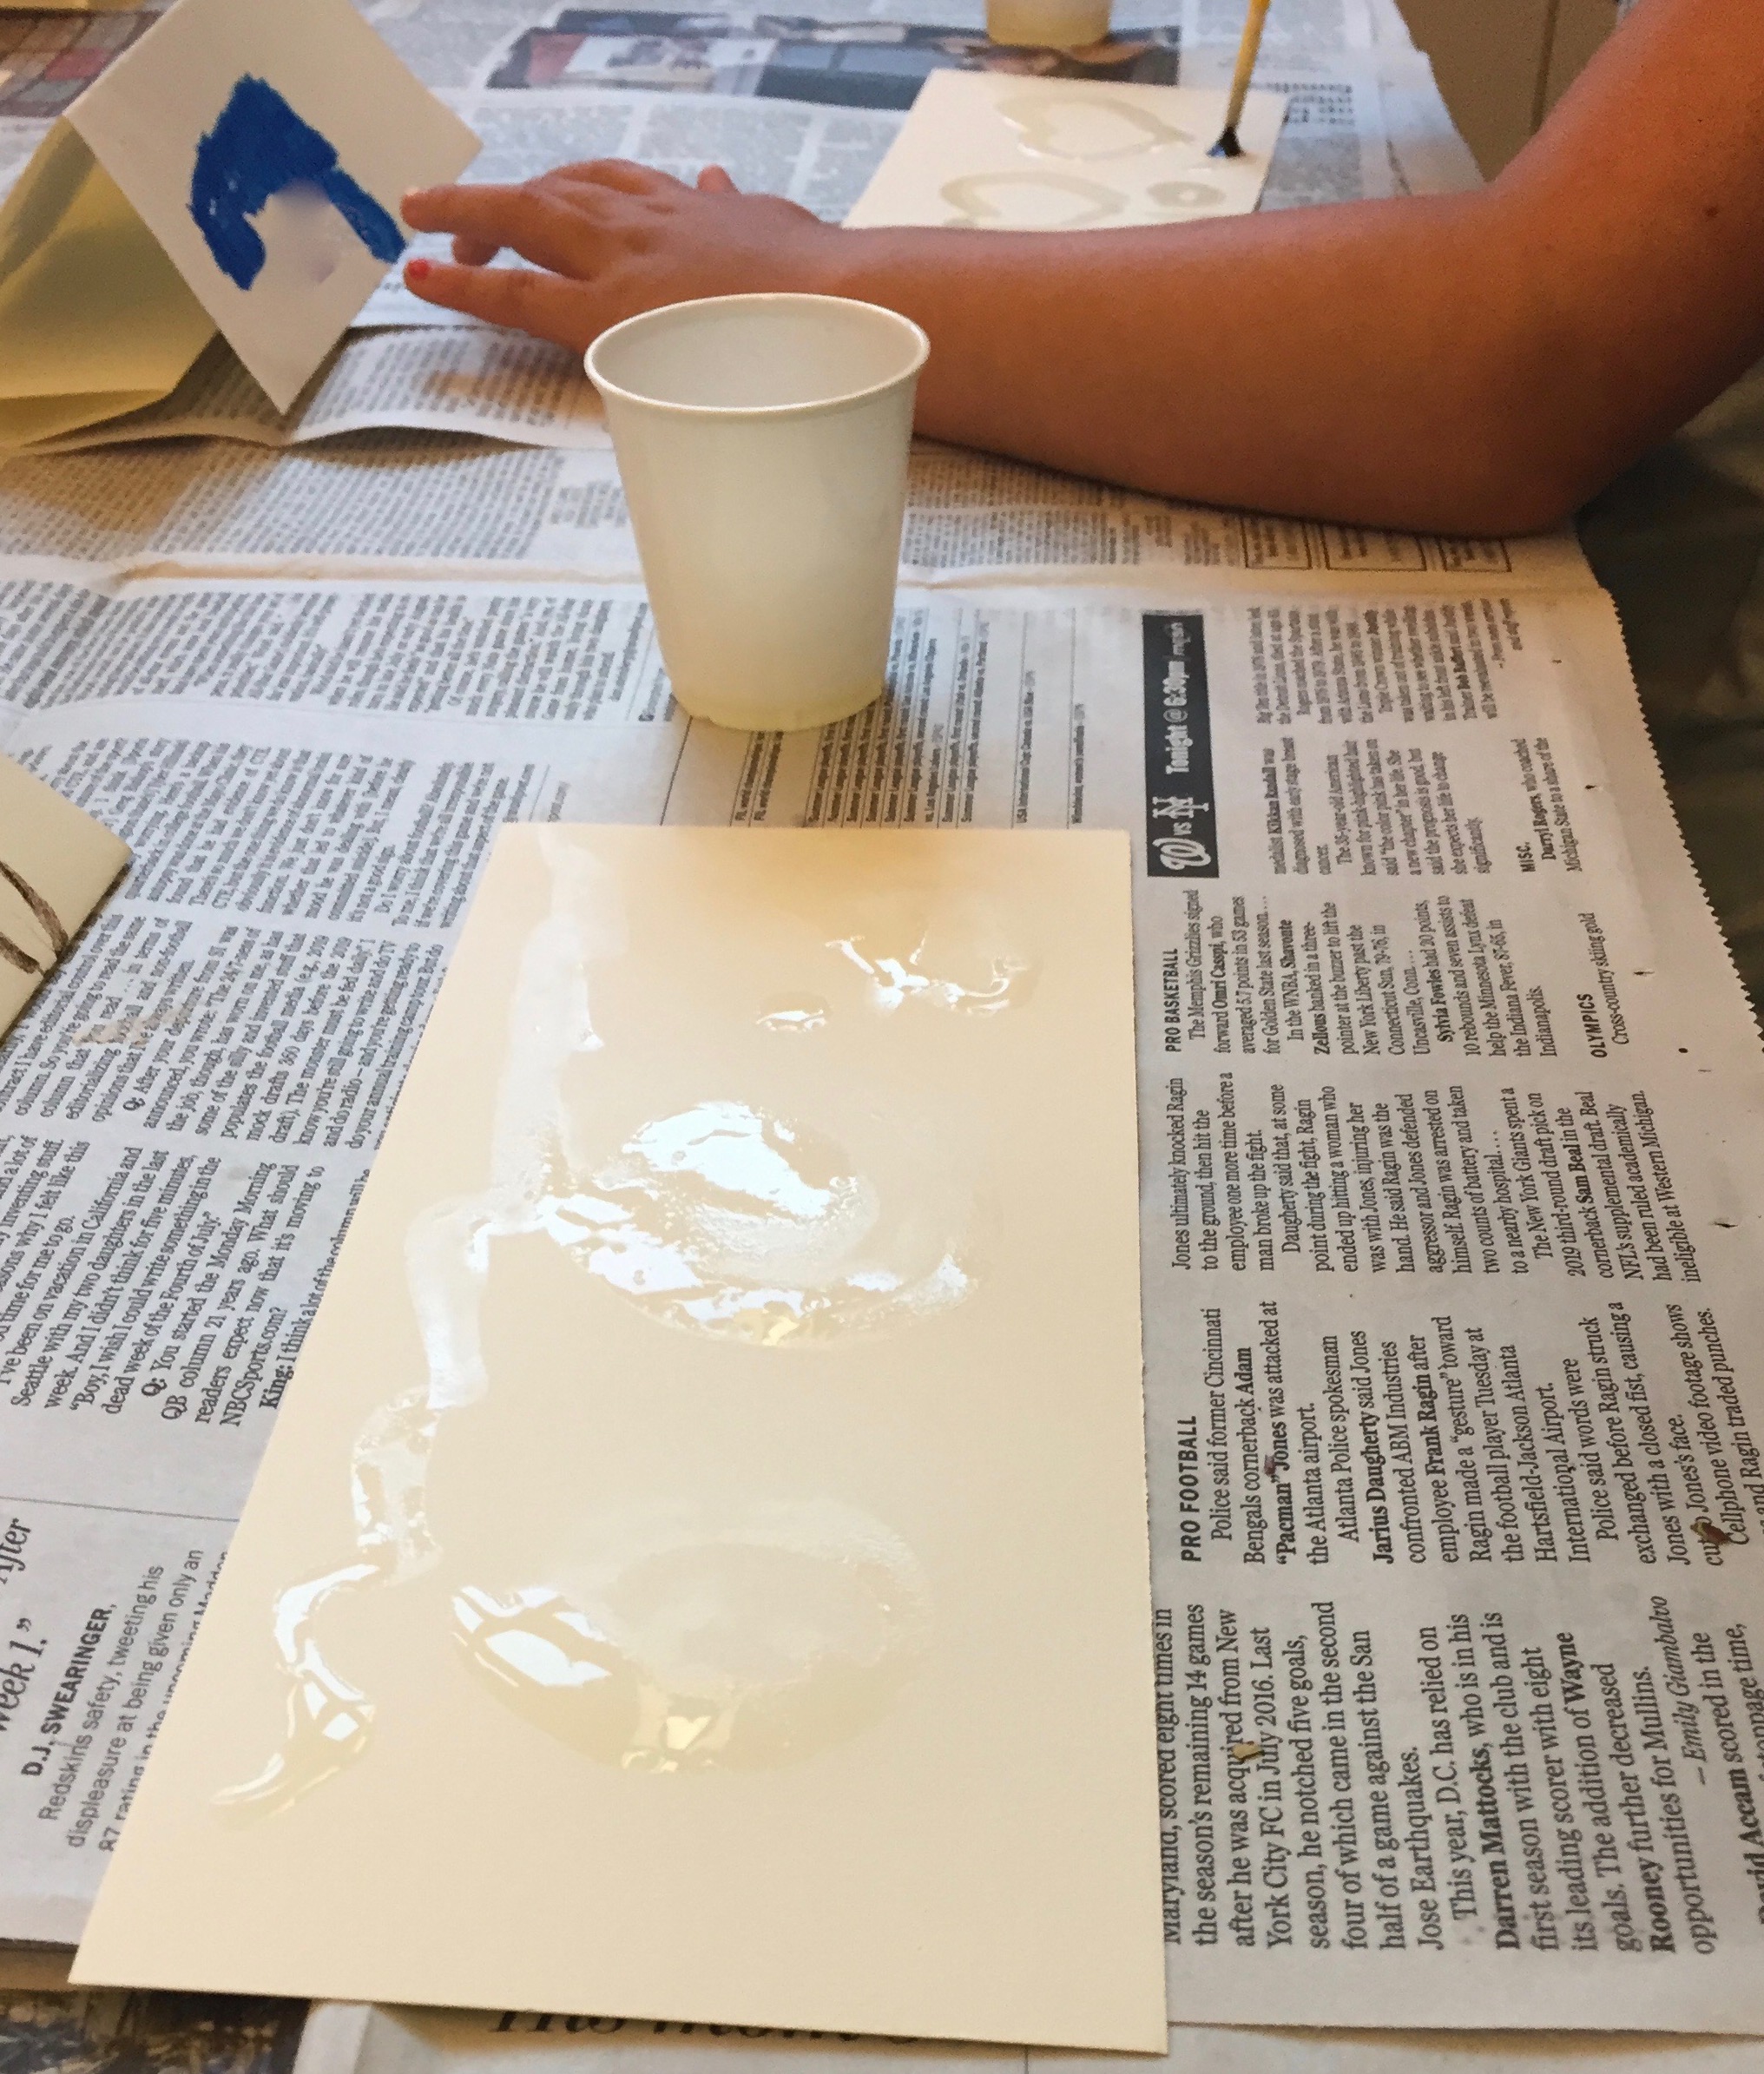
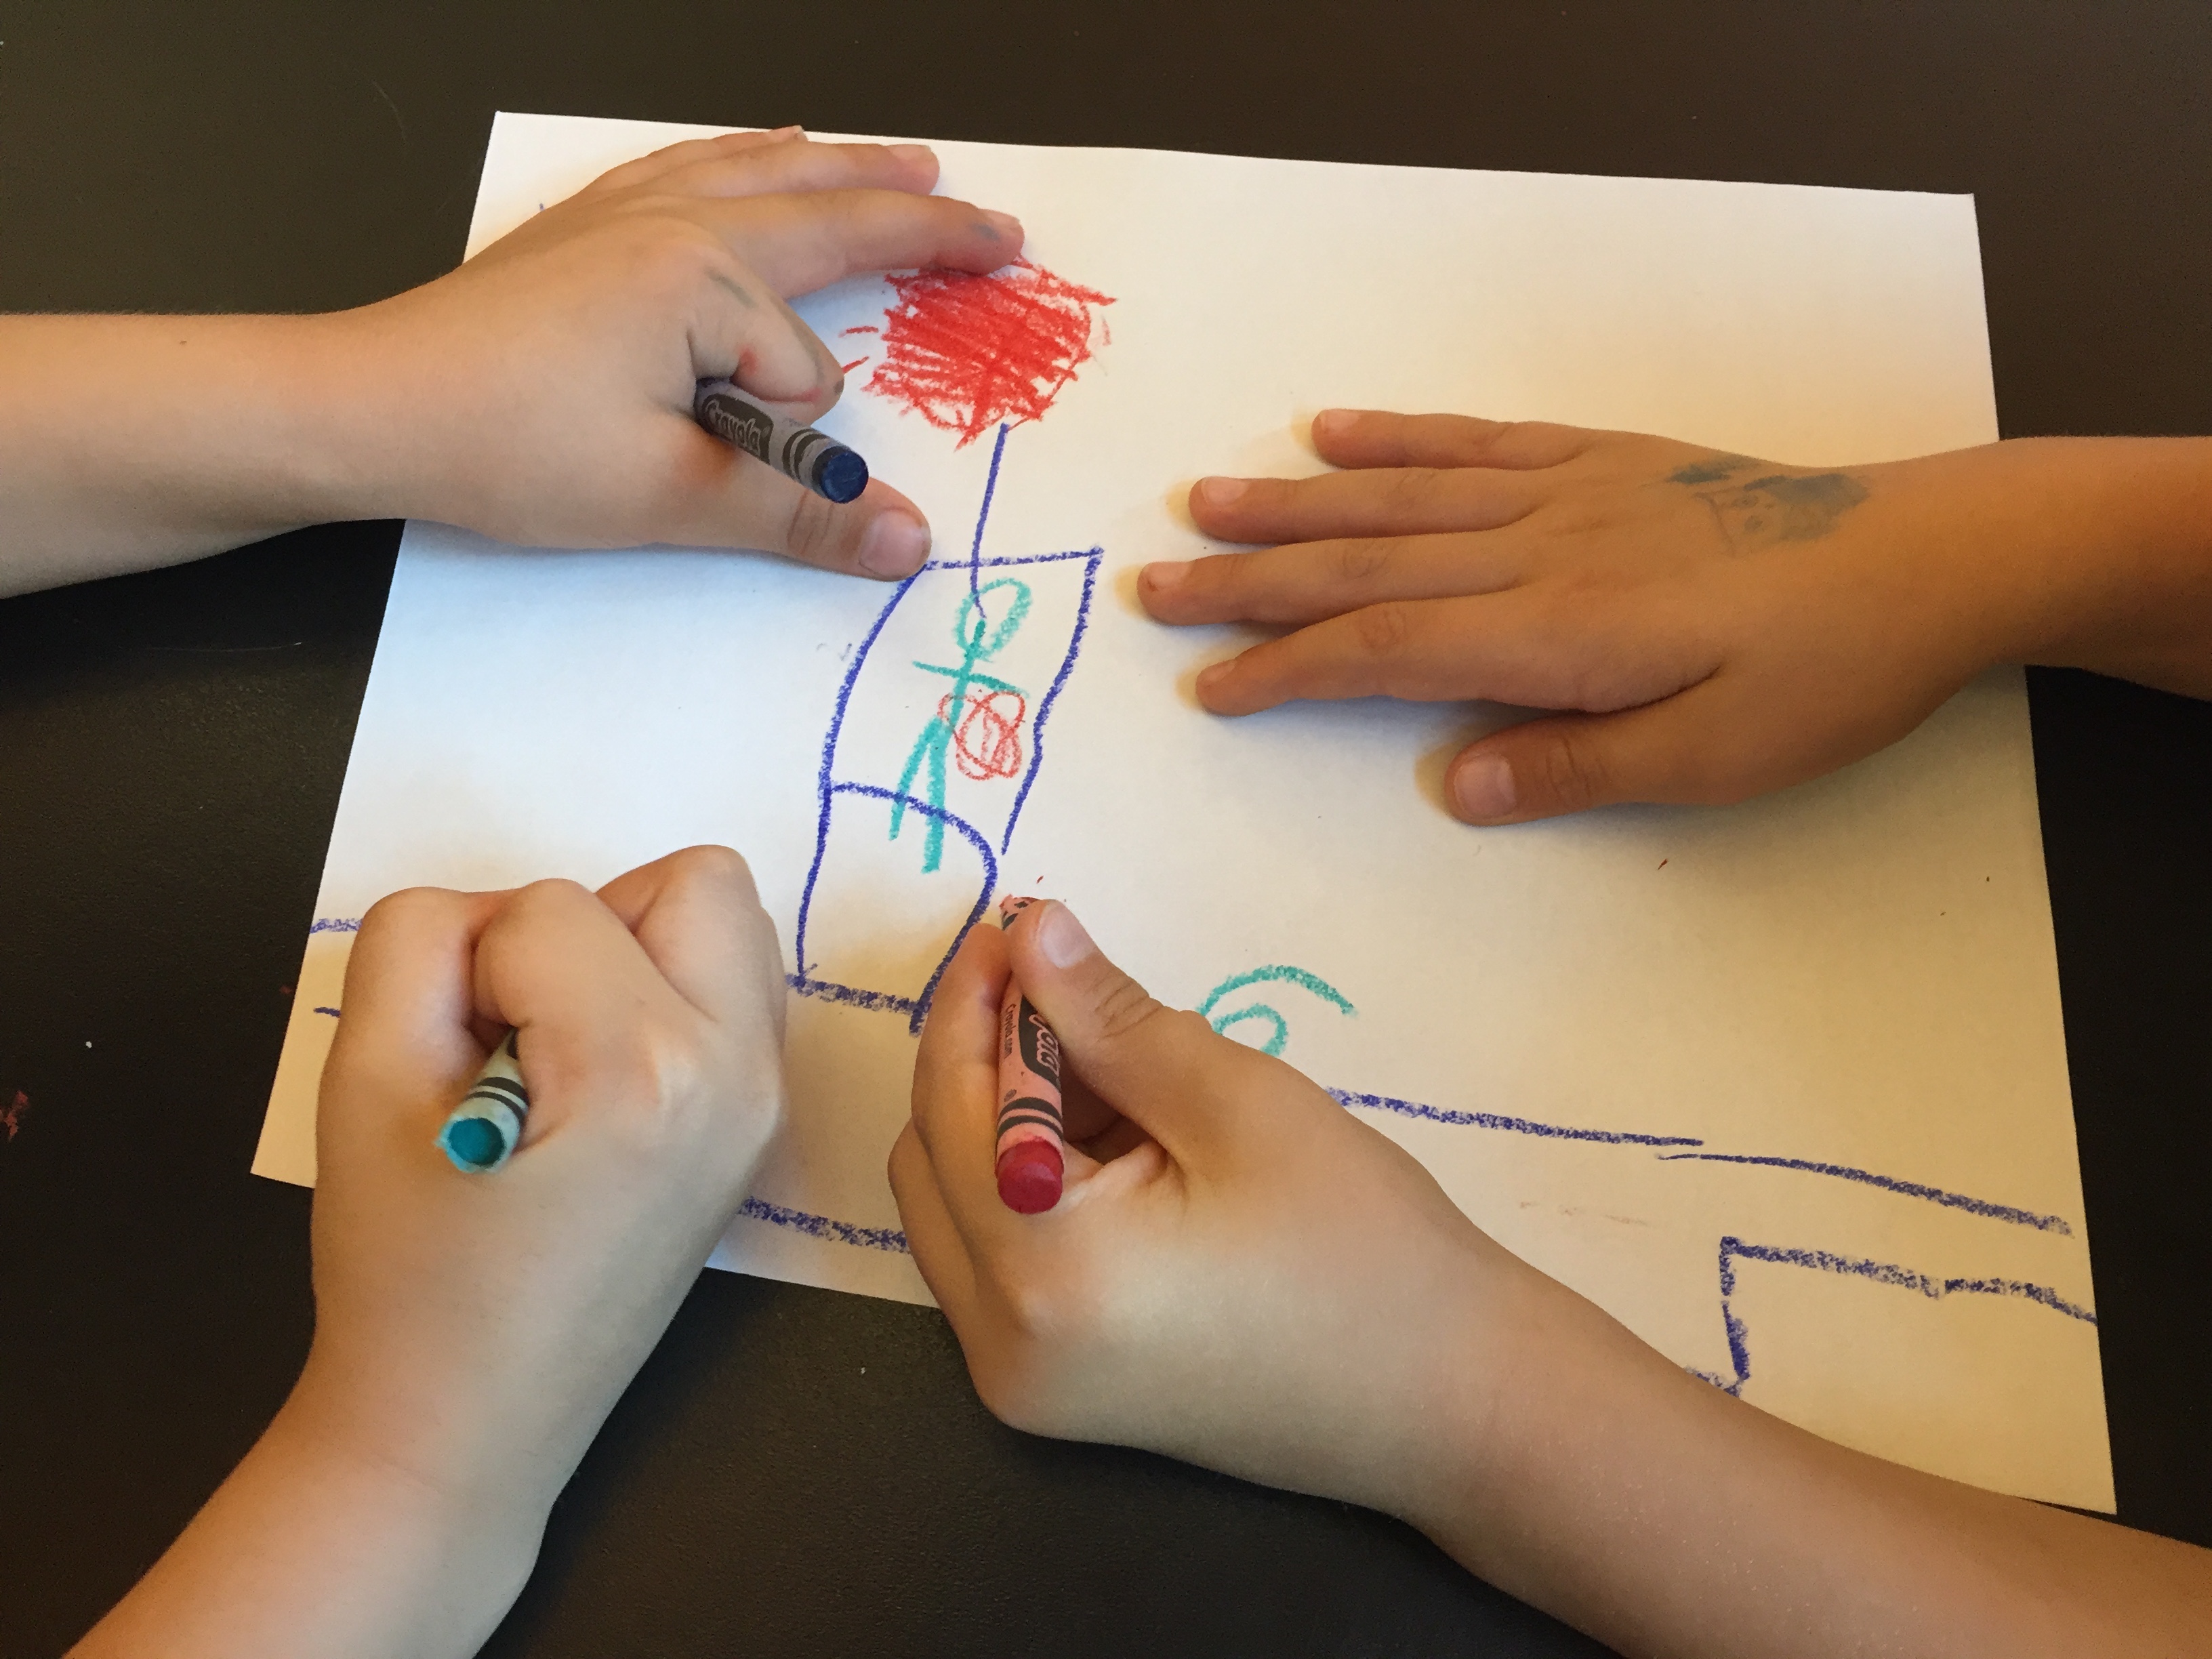
W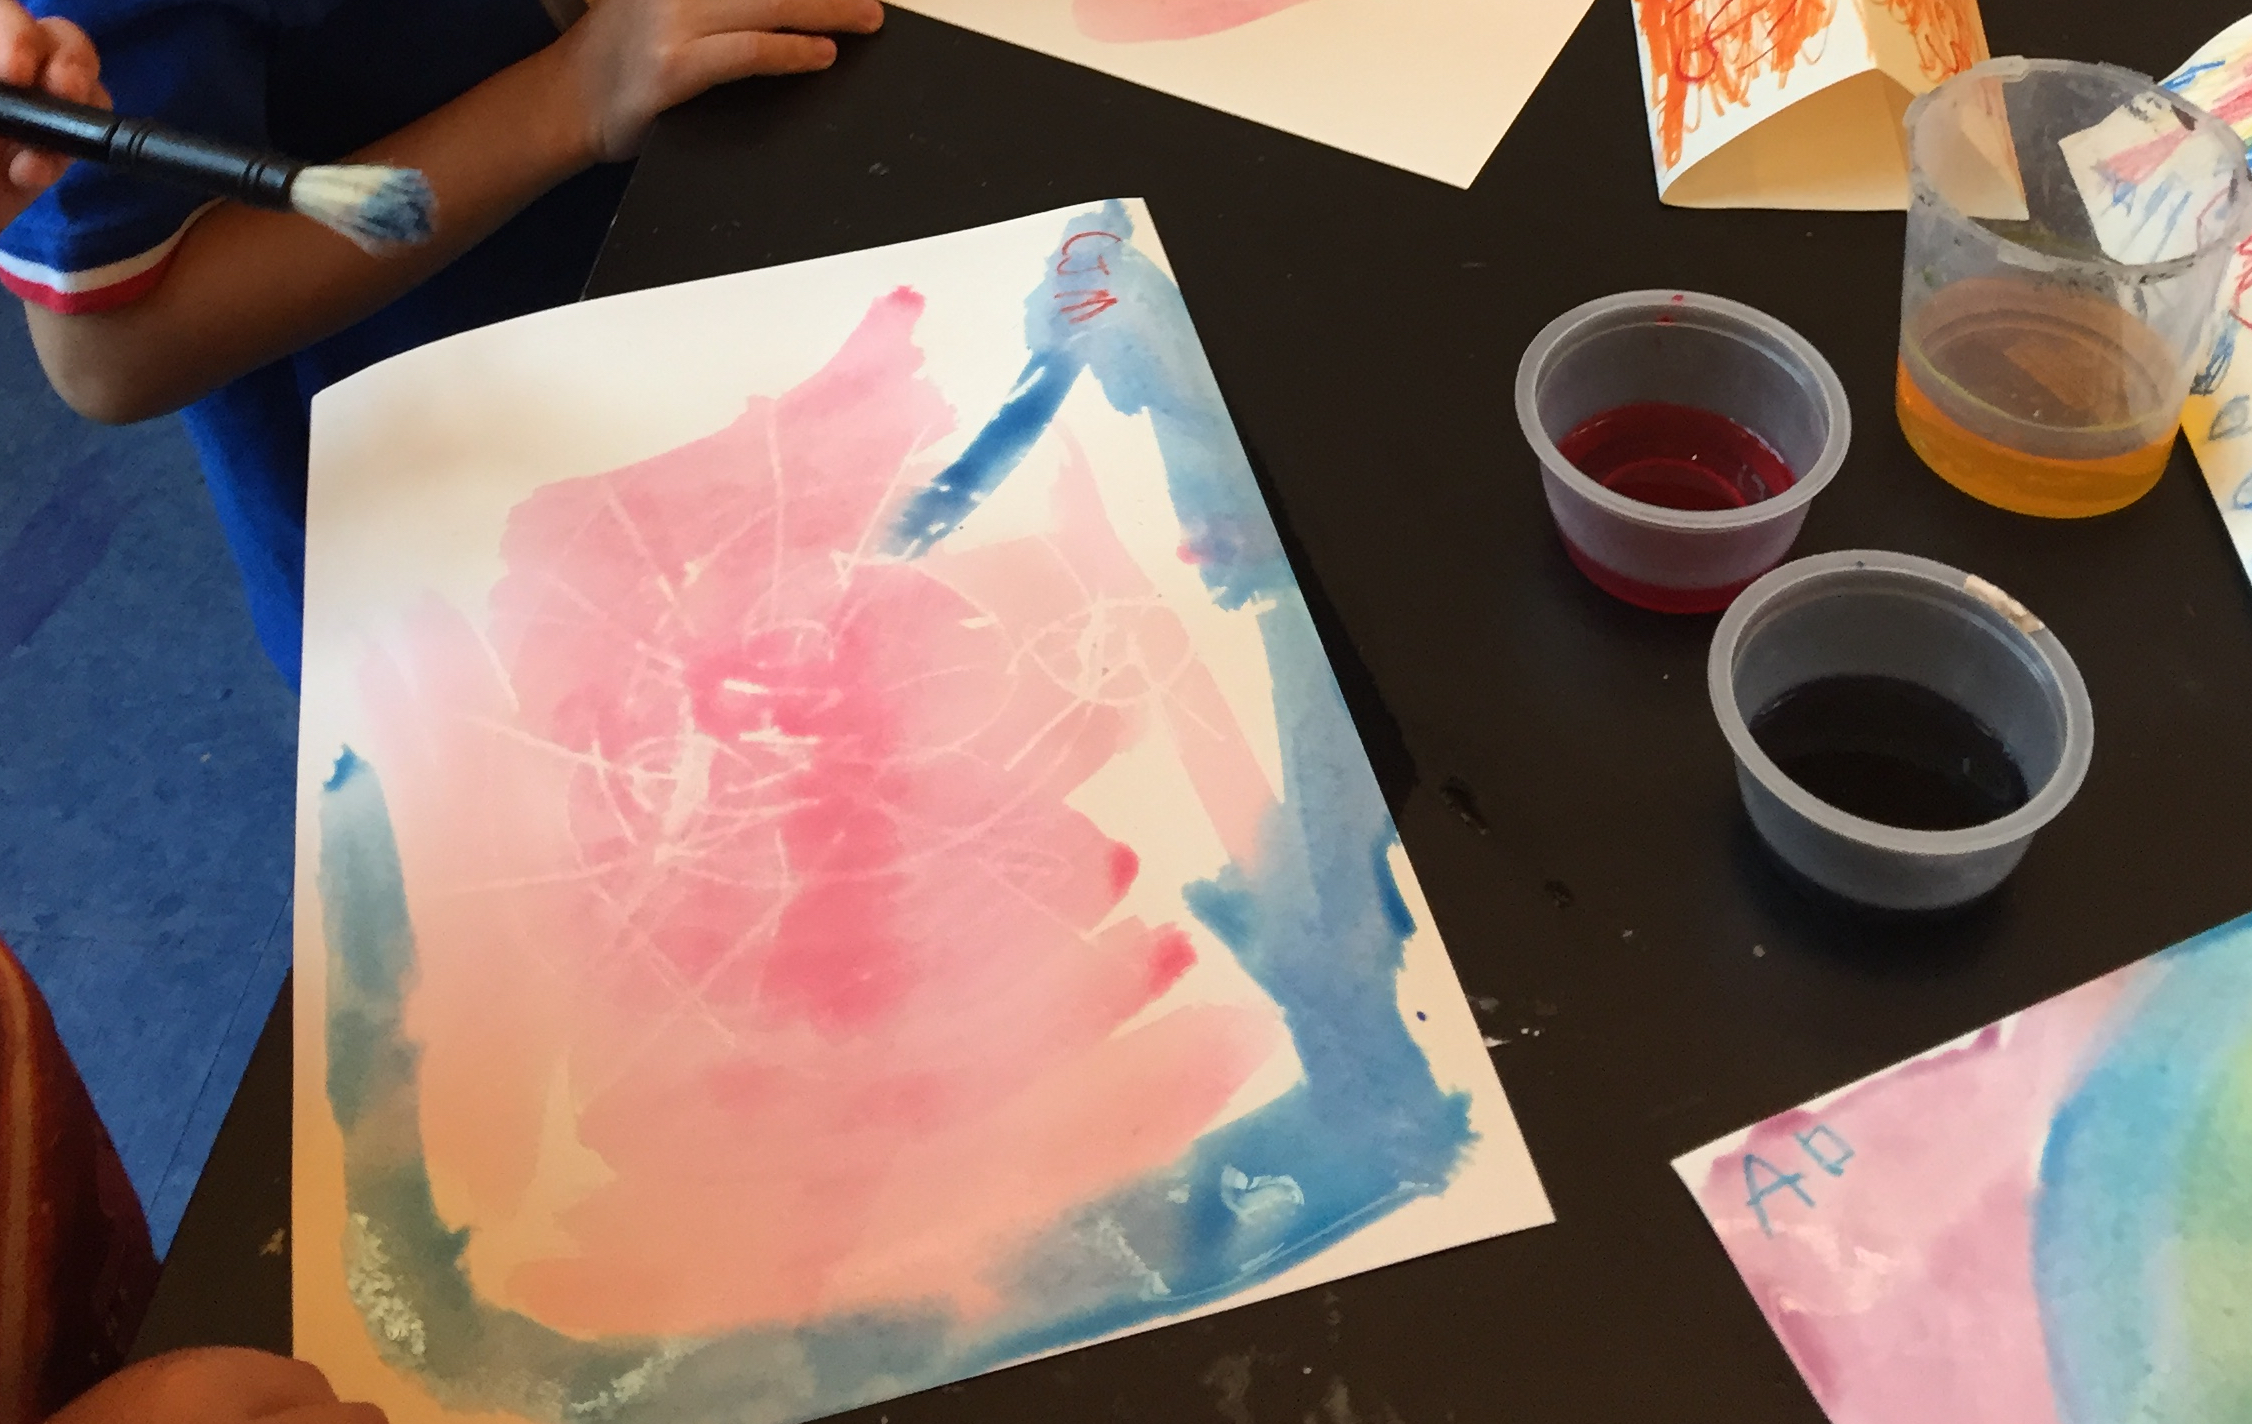 e began with making name tags (all the children were new to me) and name place cards which helped me remember who made which creation and also allowed me to select seating when needed. While painting with liquid water color on top of white crayon drawings on white paper the children experienced the phenomenon of resist.
Salt and water color
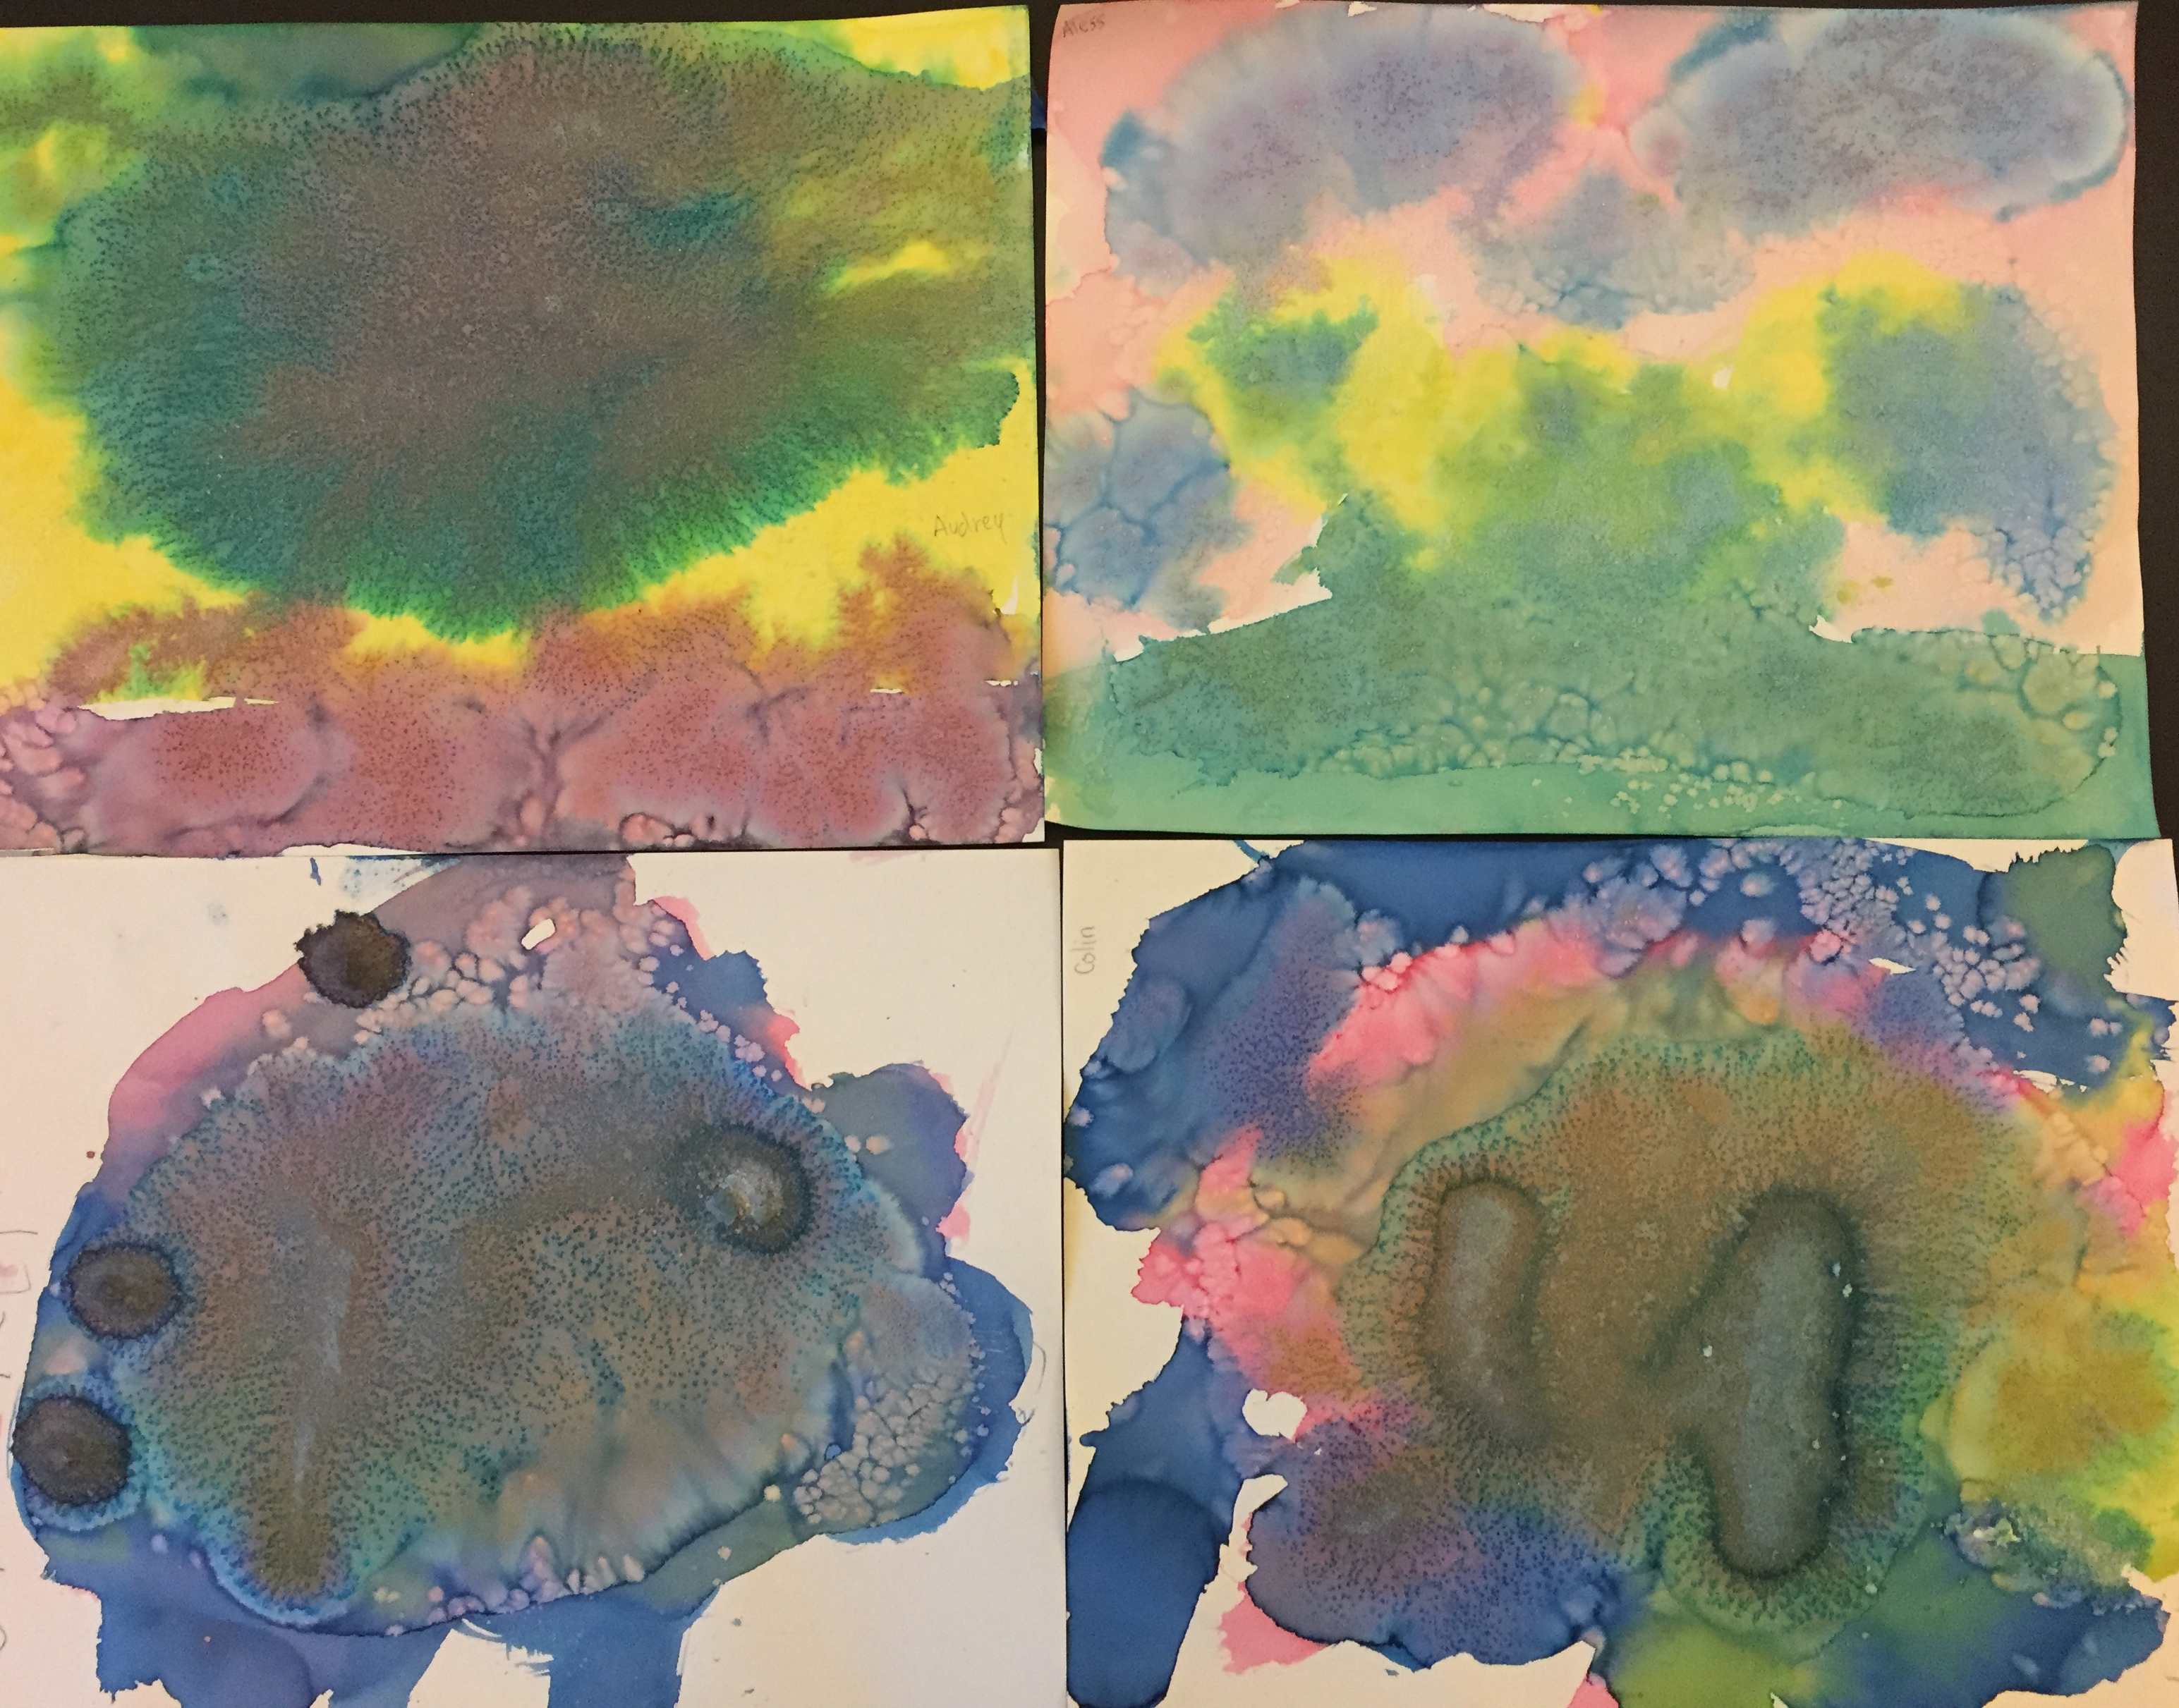 Feeling salt crystals and observing their “disappearance” when water was added did not help children understand what was happening on their watercolor painting when they used the “salt technique.” But they saw a phenomenon they can investigate more fully in later years. After painting, they sprinkled table salt onto areas of the wet paper. Salt absorbed some of the water color paint leaving small “stars” as the paint dried. If we had more time (and patience) we could have made close observations using a magnifier as the paint dried. Another way to observe the relationship between salt and water would be to add water drop-by-drop to a few pinches of salt in a cup. The children would have seen water filling in the spaces between the salt crystal grains, and, when enough water was added, the salt begin to dissolve. Children could taste the solution to affirm that the salt was still in the cup (all materials being clean) even when it has completely dissolved and is no longer visible.
Invisible ink
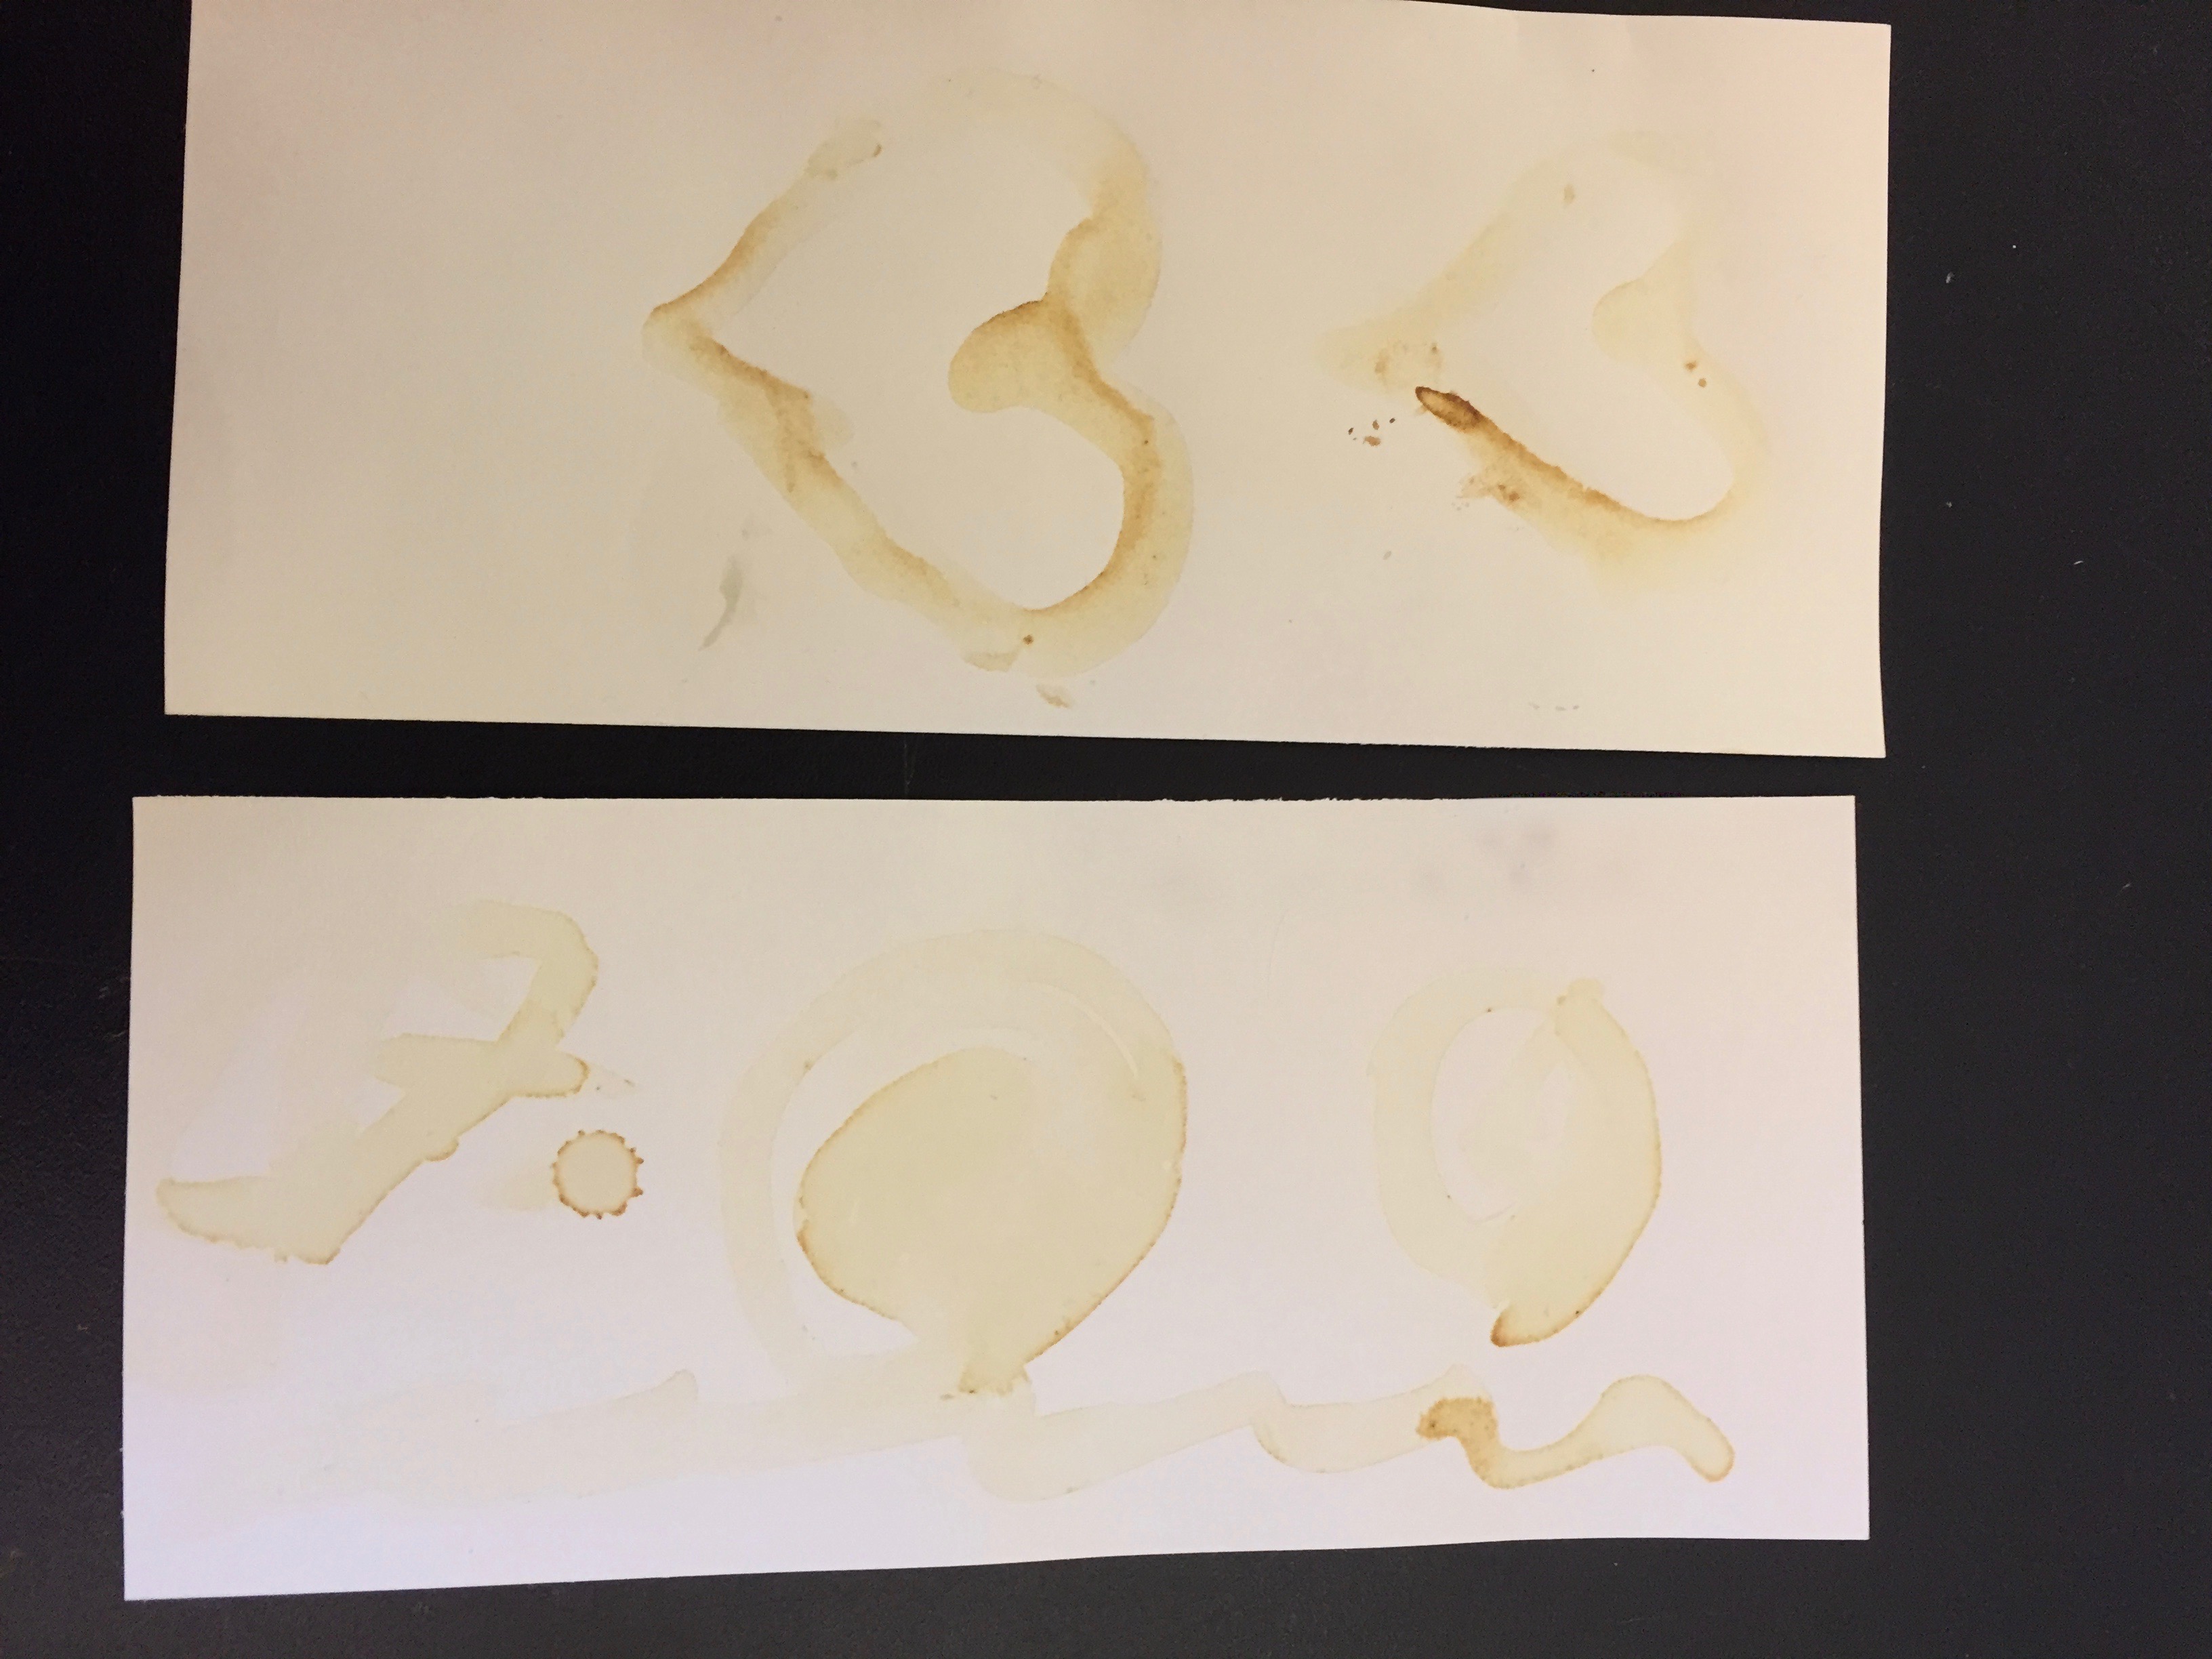
 Combining materials or applying heat produced changes to children’s “secret” messages, one painted with baking soda, and another with lemon juice they squeezed themselves. After allowing the messages to dry for a day we painted over the baking soda with grape juice, producing a grey color, slightly darker where baking soda was previously applied. The effect wasn’t dramatic and, if the painter vigorously brushed on the grape juice, all prior messages ended up well scrubbed and erased. We briefly talked about how trying a technique or process several times may lead to a better way of doing it. More legible results were revealed the following day by heating the paper painted with lemon juice with an iron (with adult guidance).
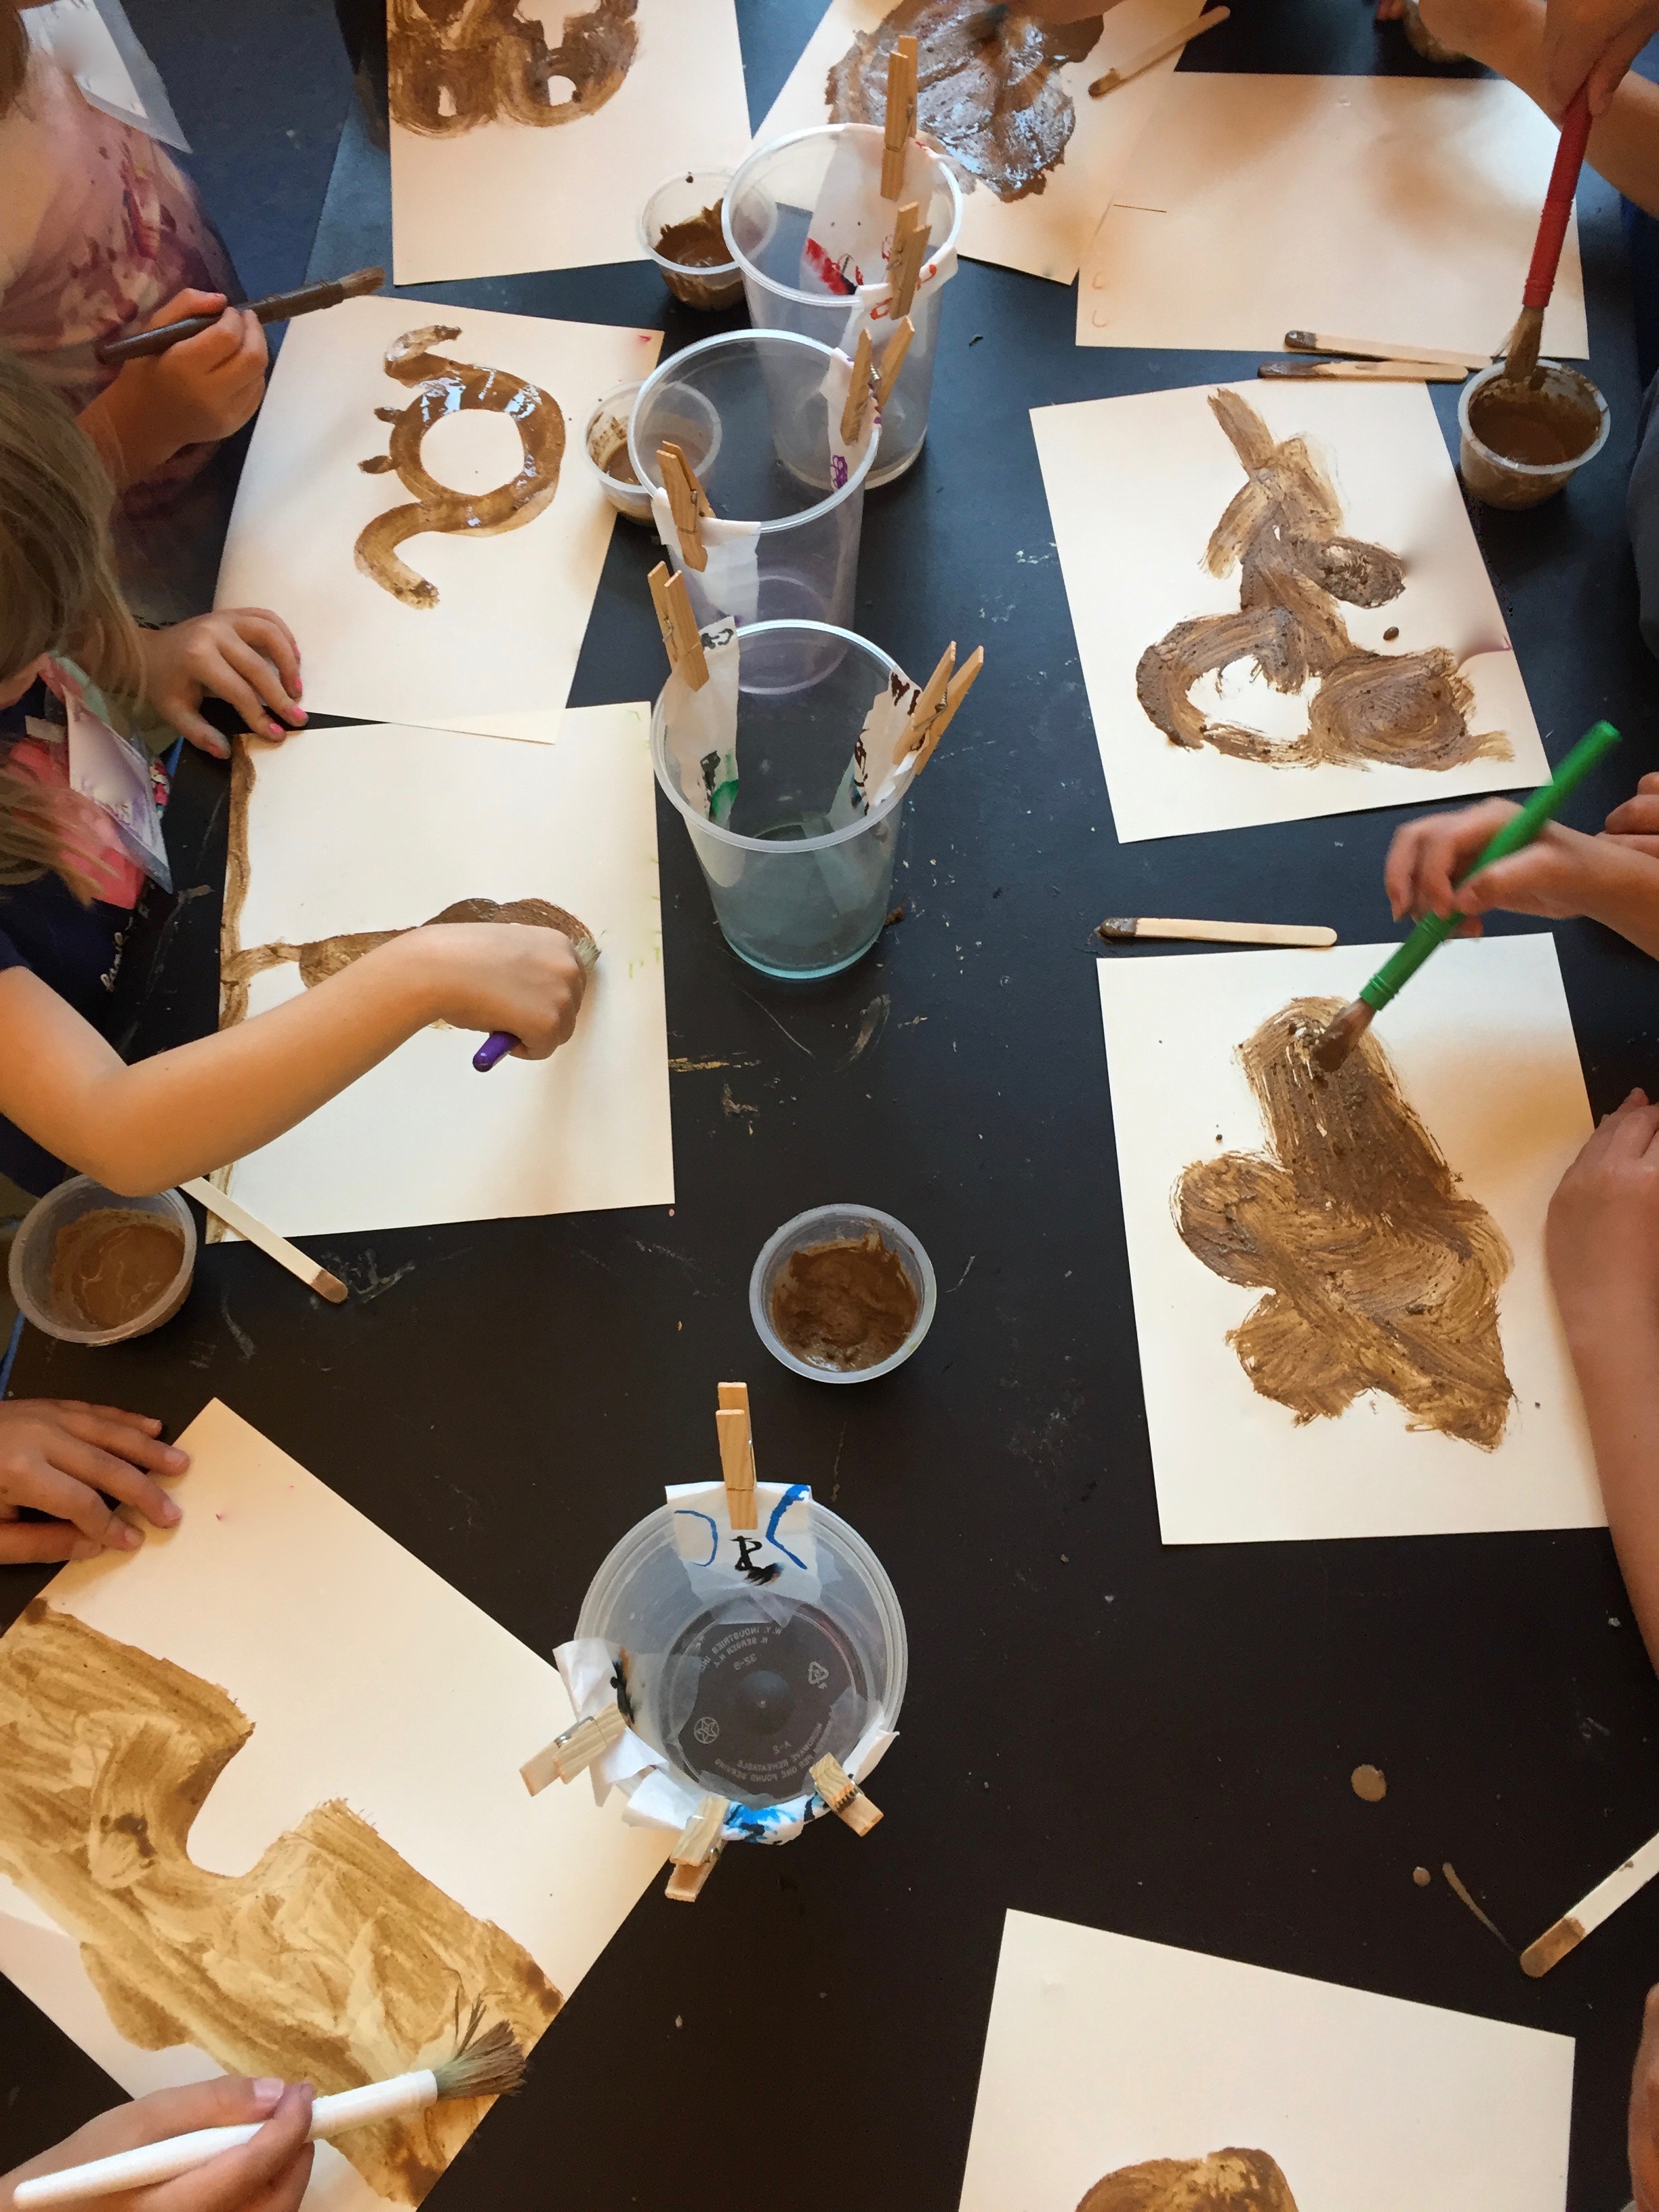
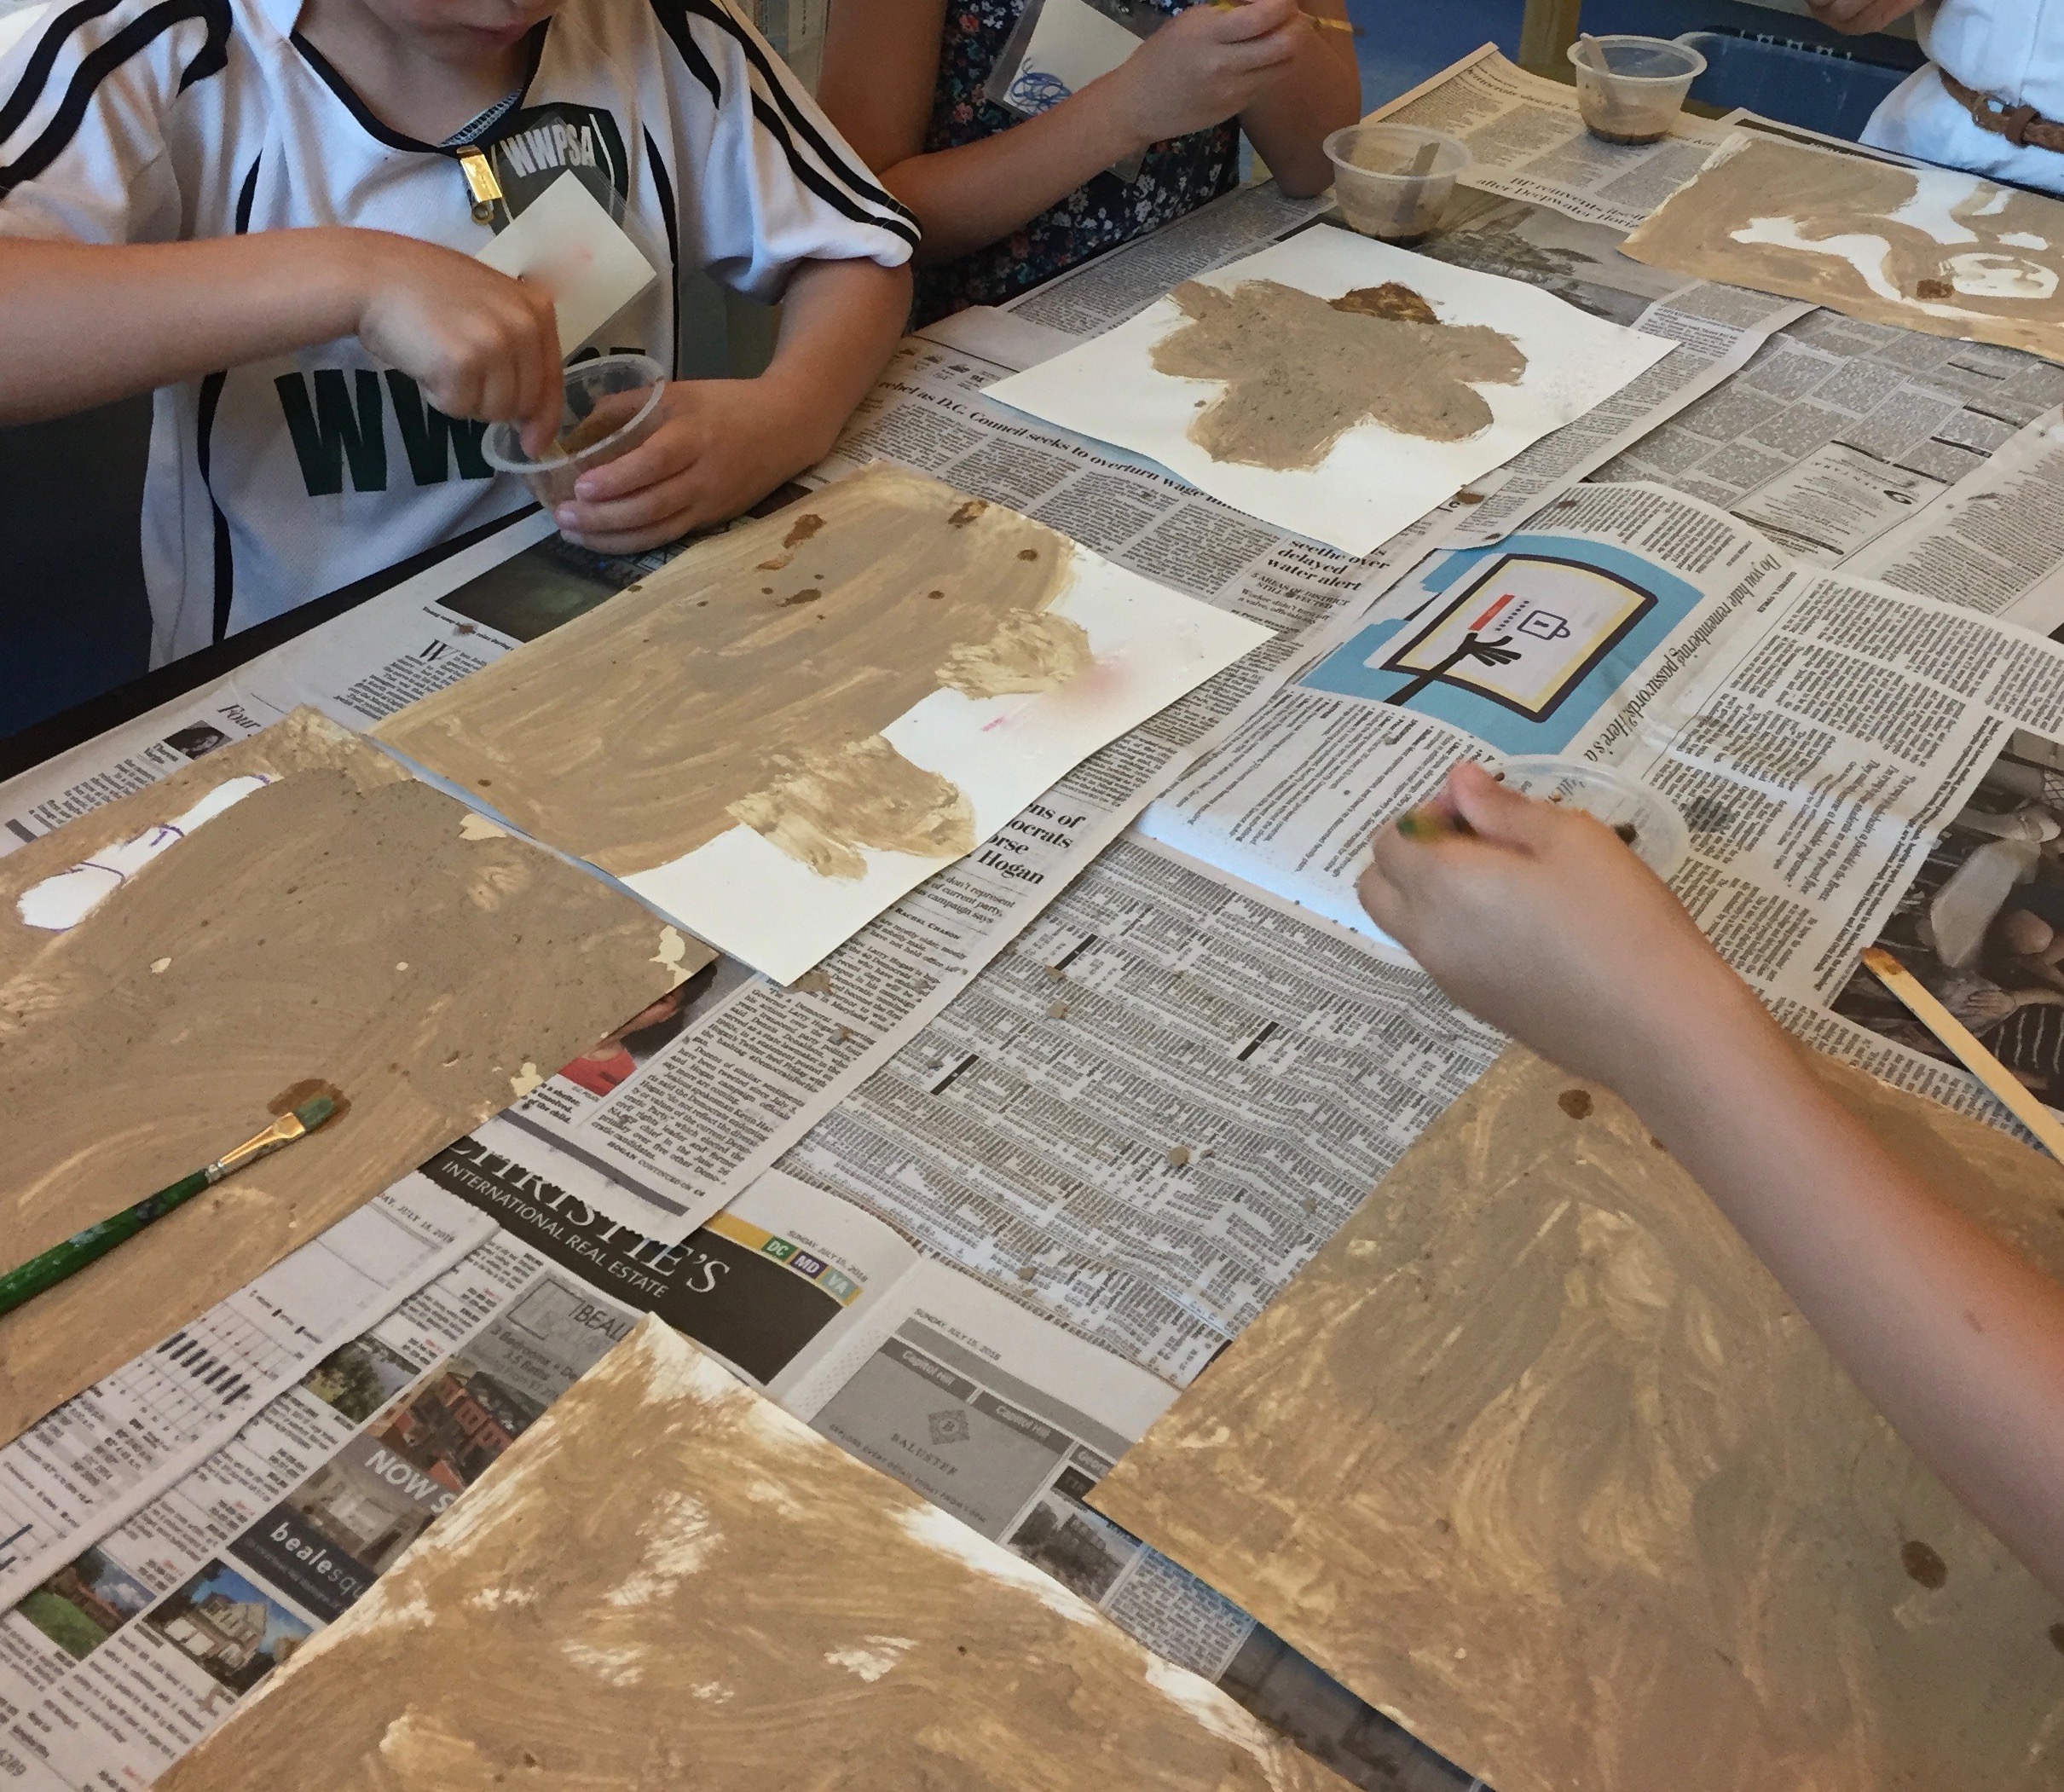
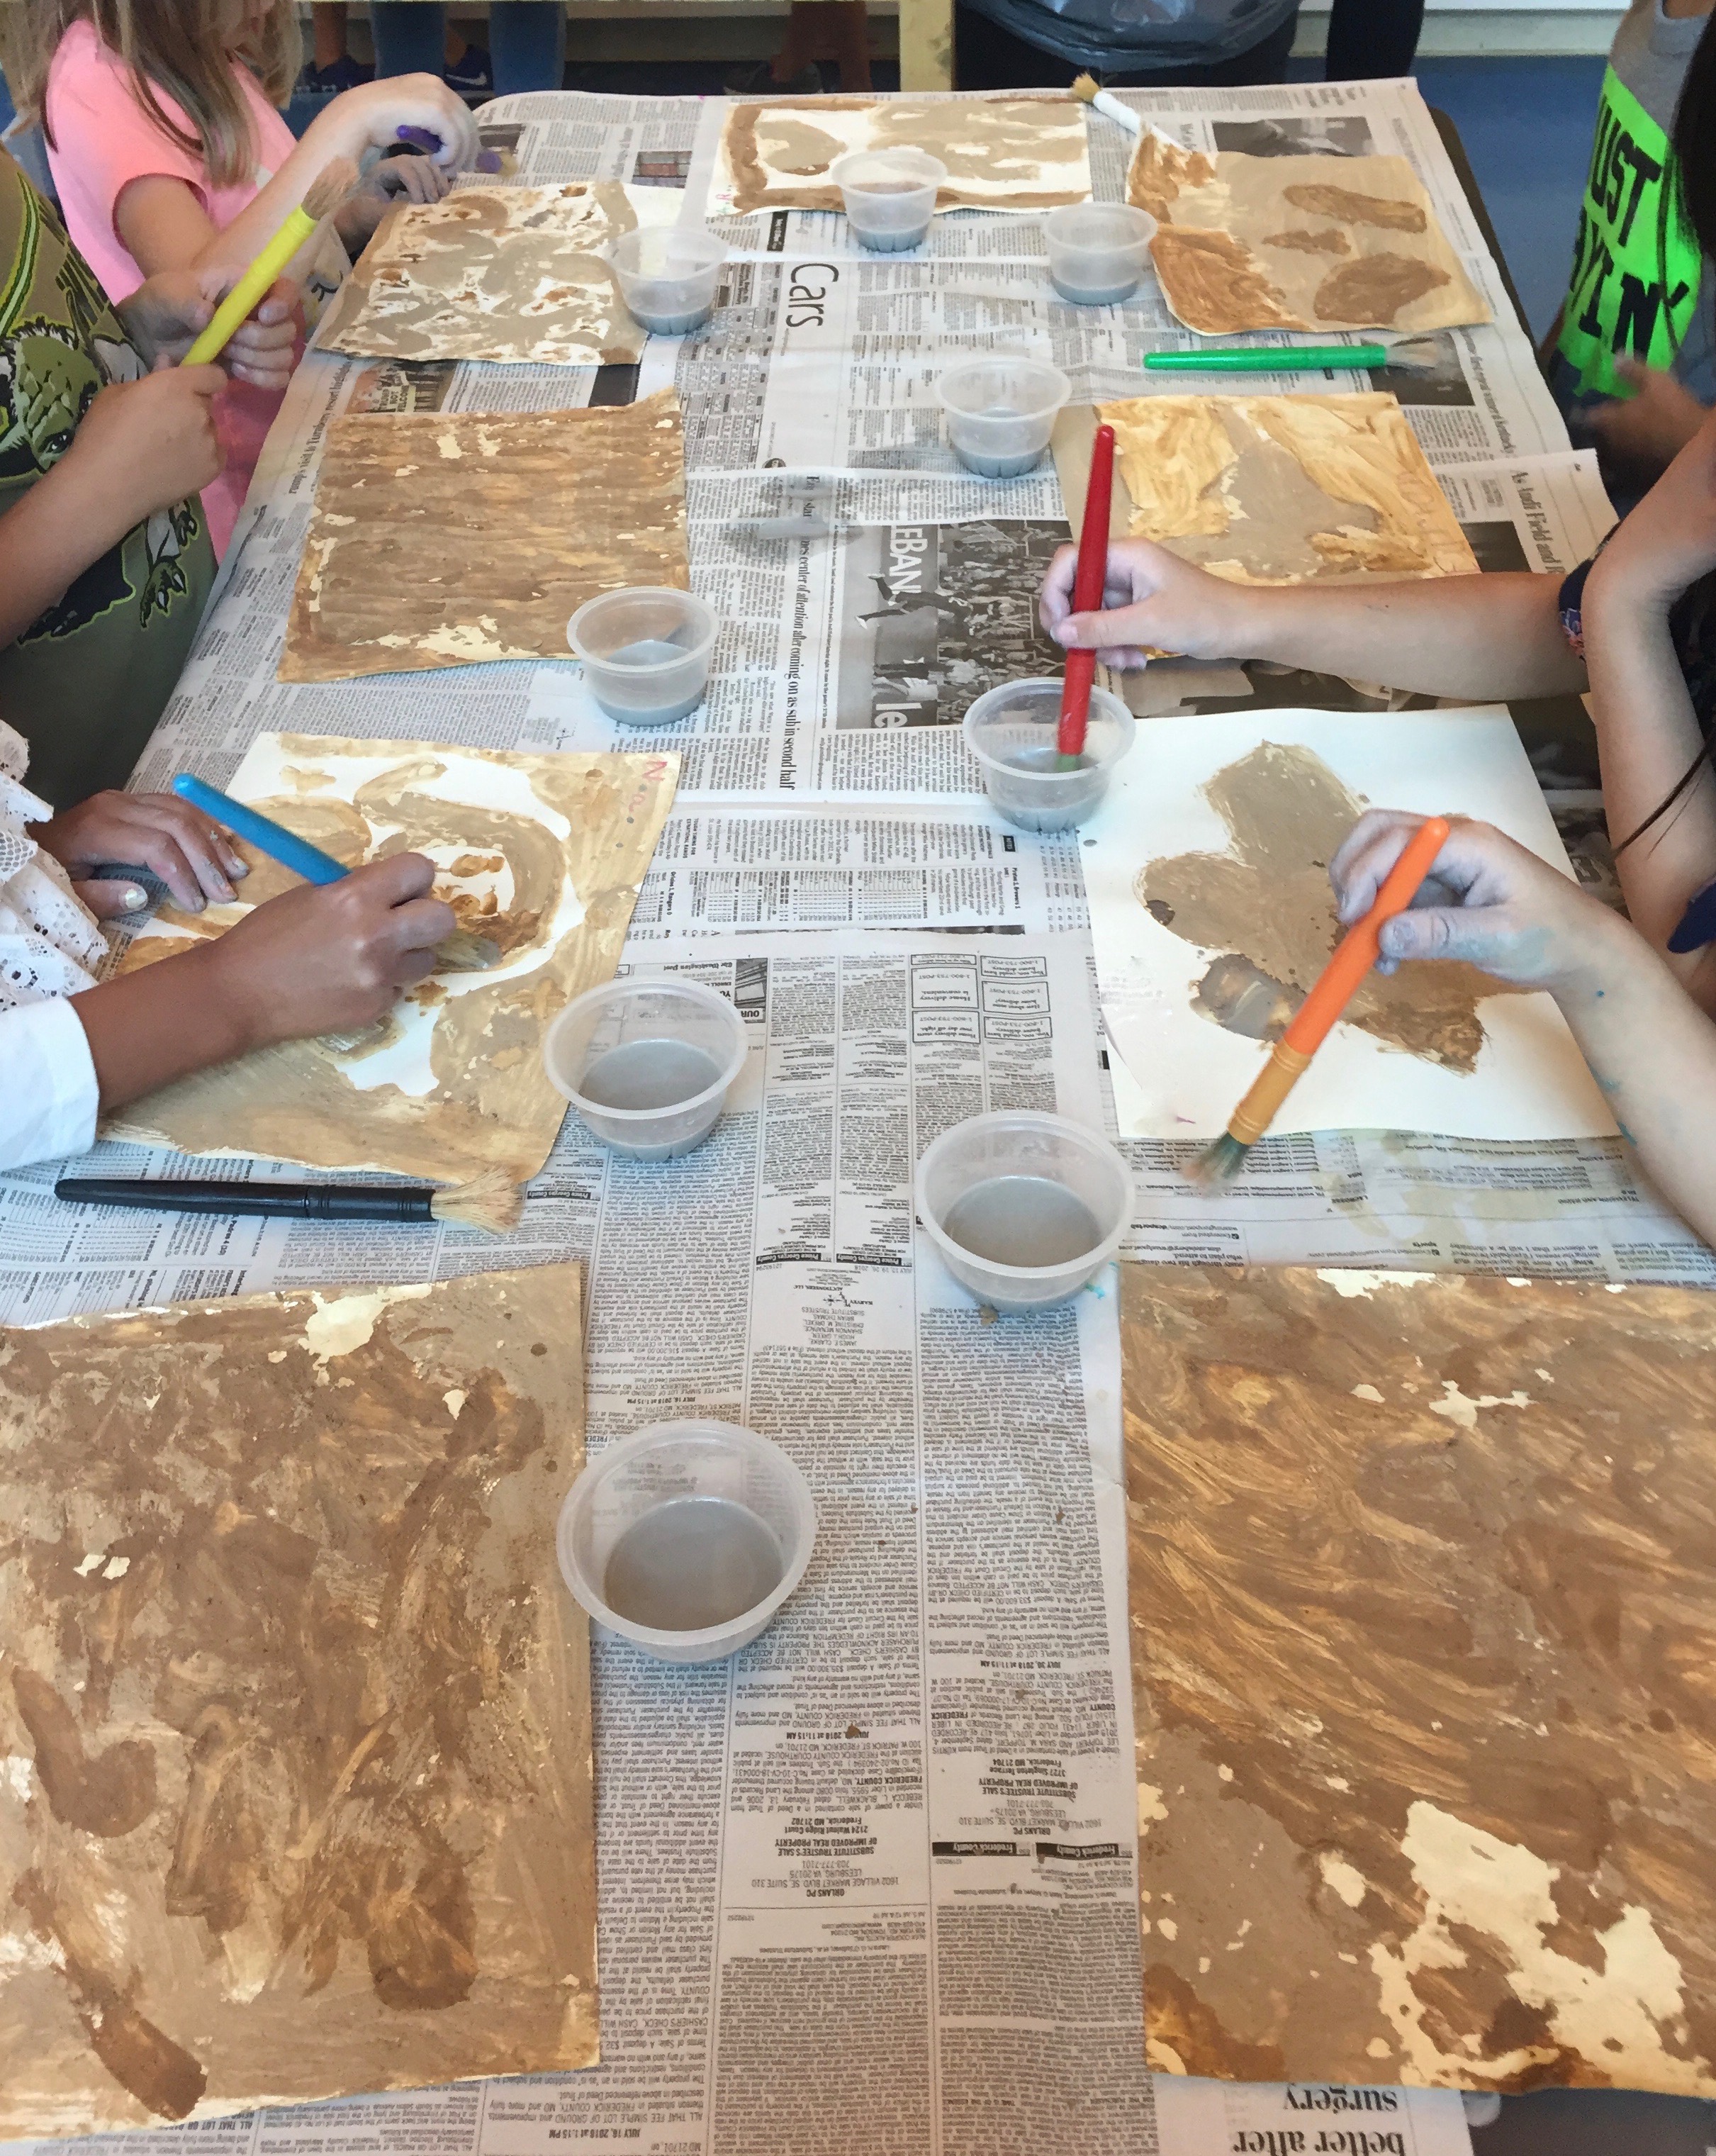
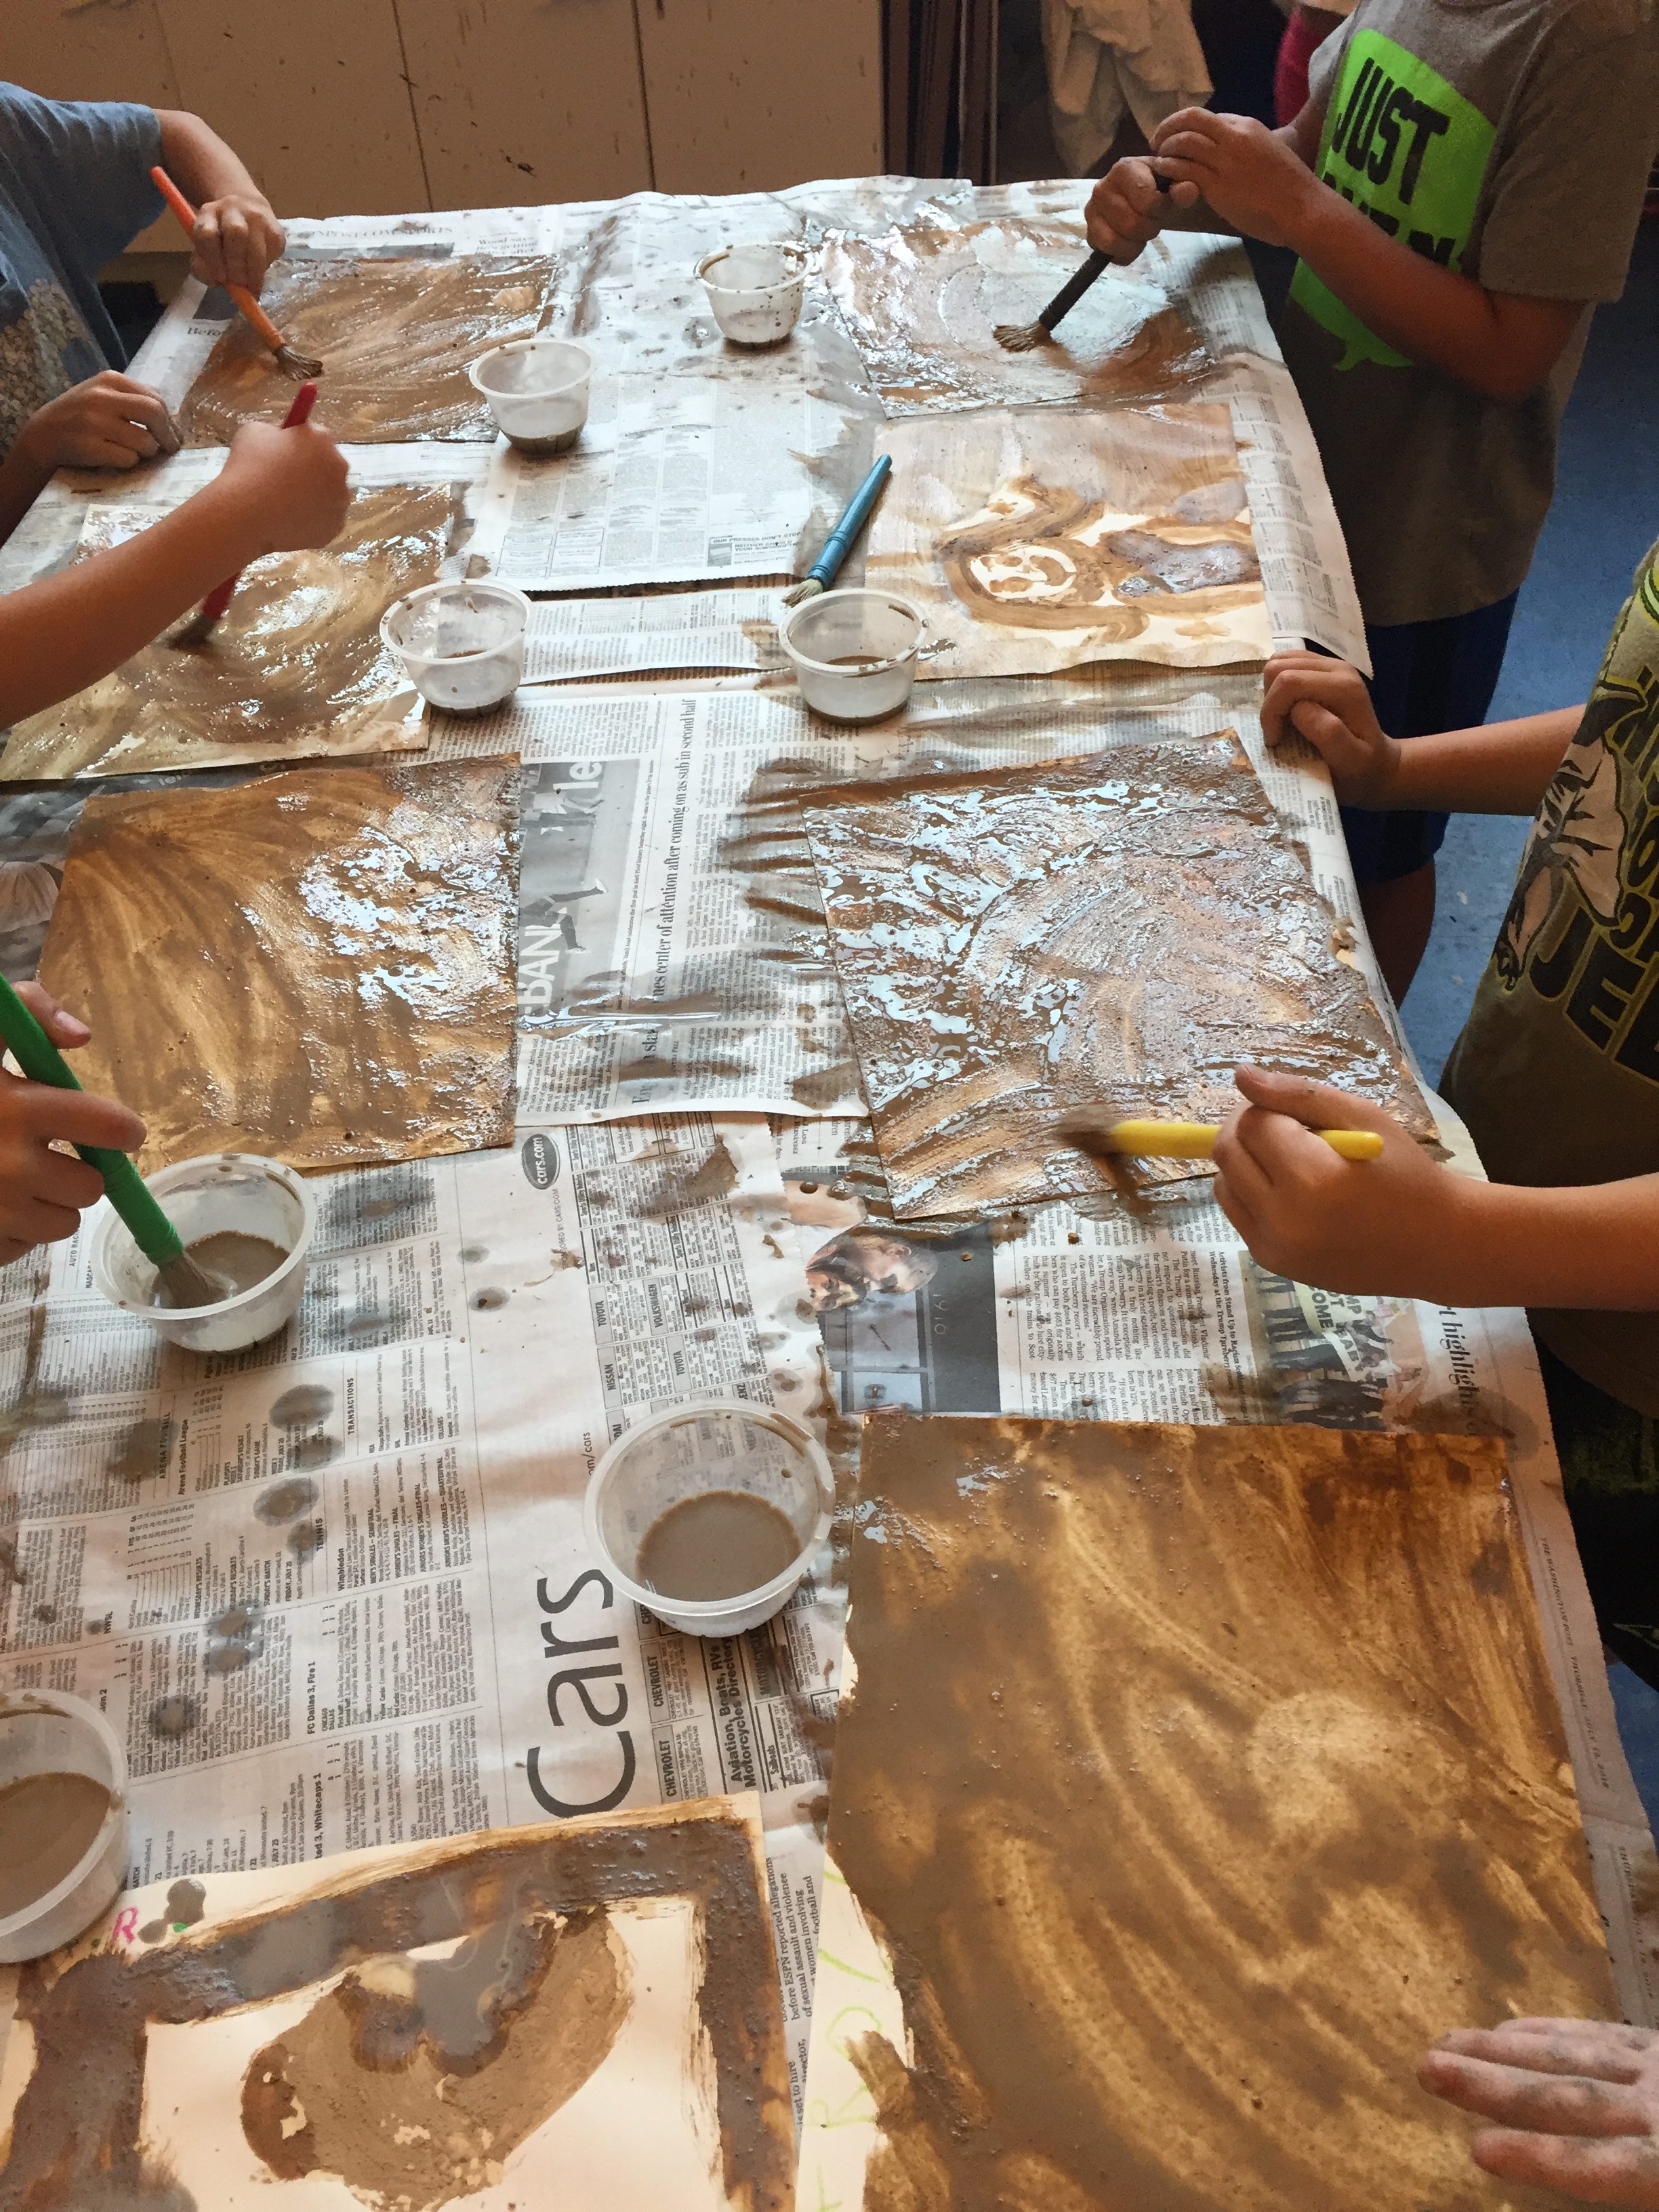
Painting with soil
Multiple experiences mixing soil into water as a pigment and painting with it produced work that does not reveal how it was created over three sessions. This reinforced for me how process is central to the children’s experiences with art media. Many were intent on seeing how the soil paint would apply to the paper, or on top of the previous coating of soil paint rather than making an image using each different color of soil paint.
Creating and painting with foam
The group also mixed up foam from dish soap and water using spring whisks, added liquid water color, and applied it to fingerpaint paper with their hands. This small class enjoyed conversations with each other during this group paint and every other moment in the morning.

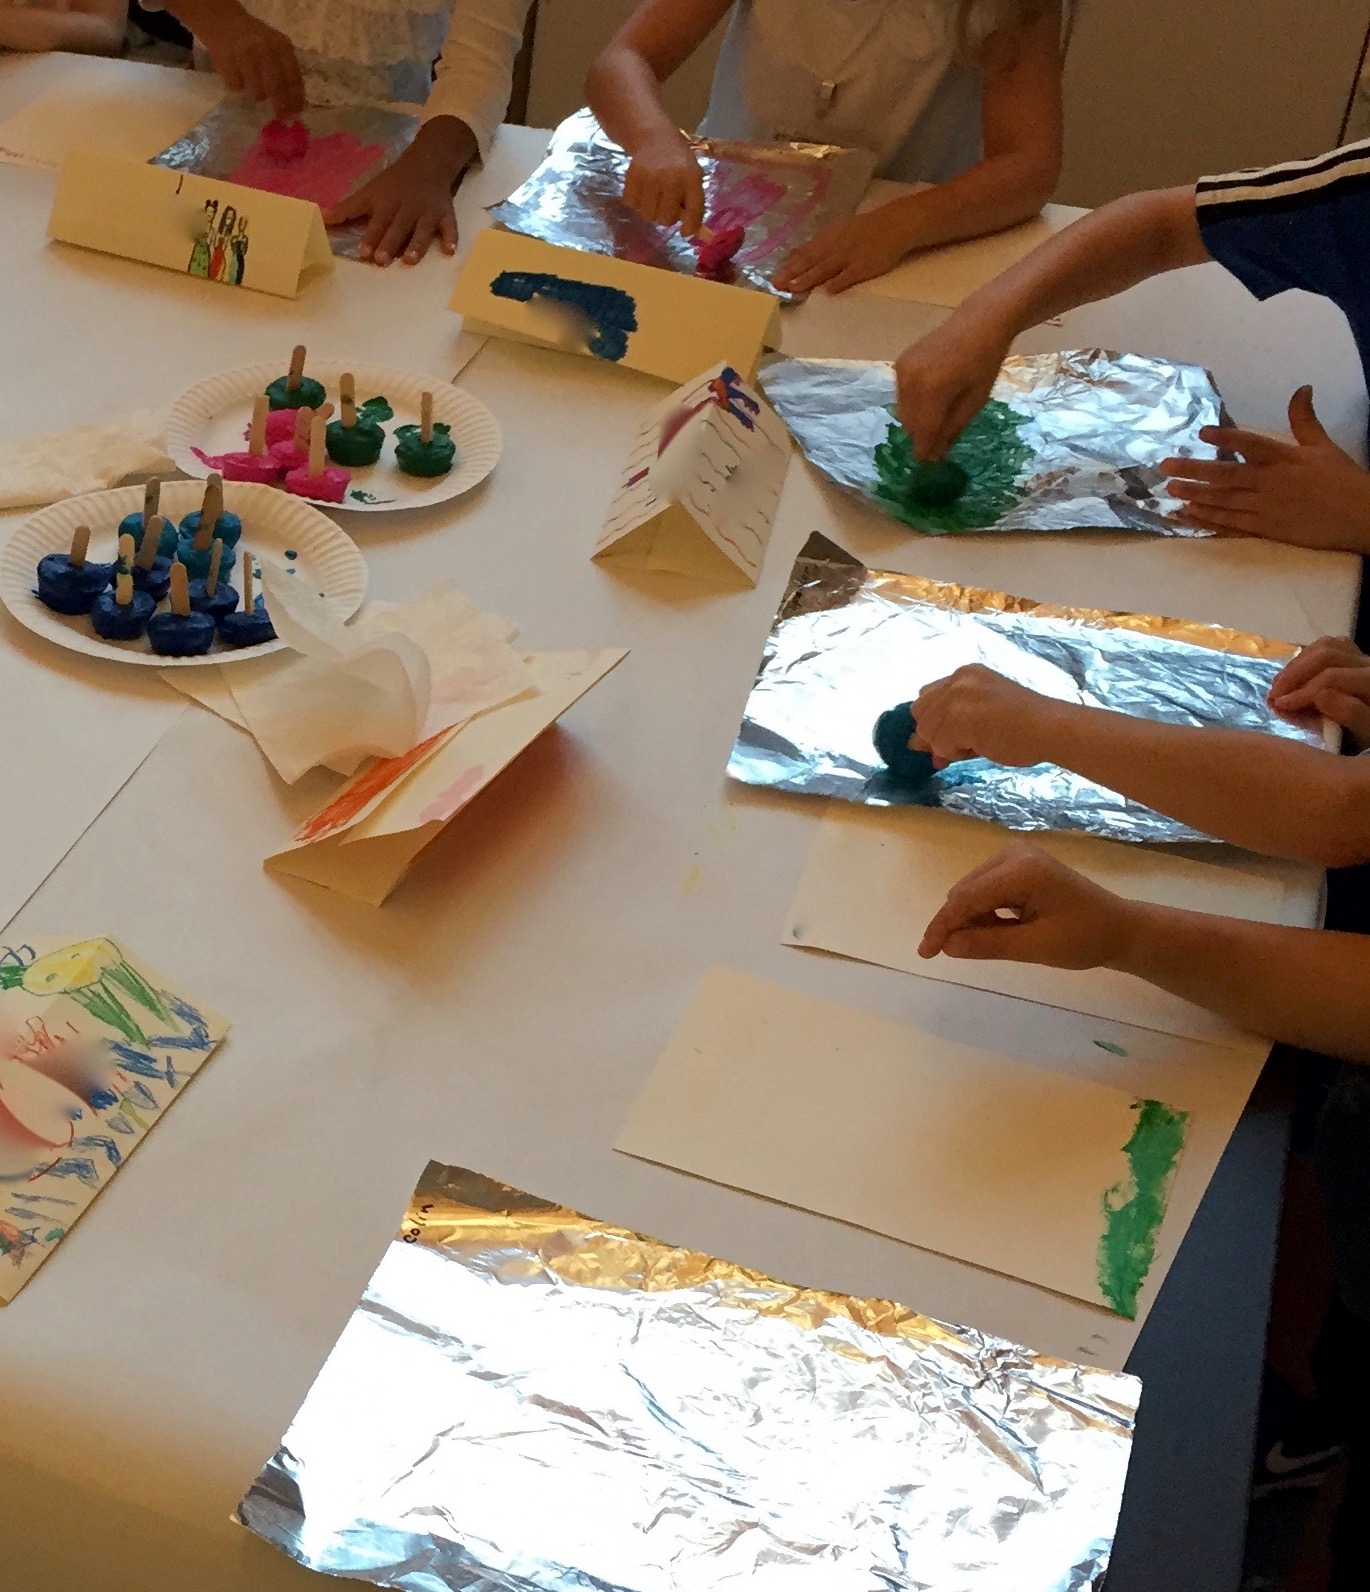
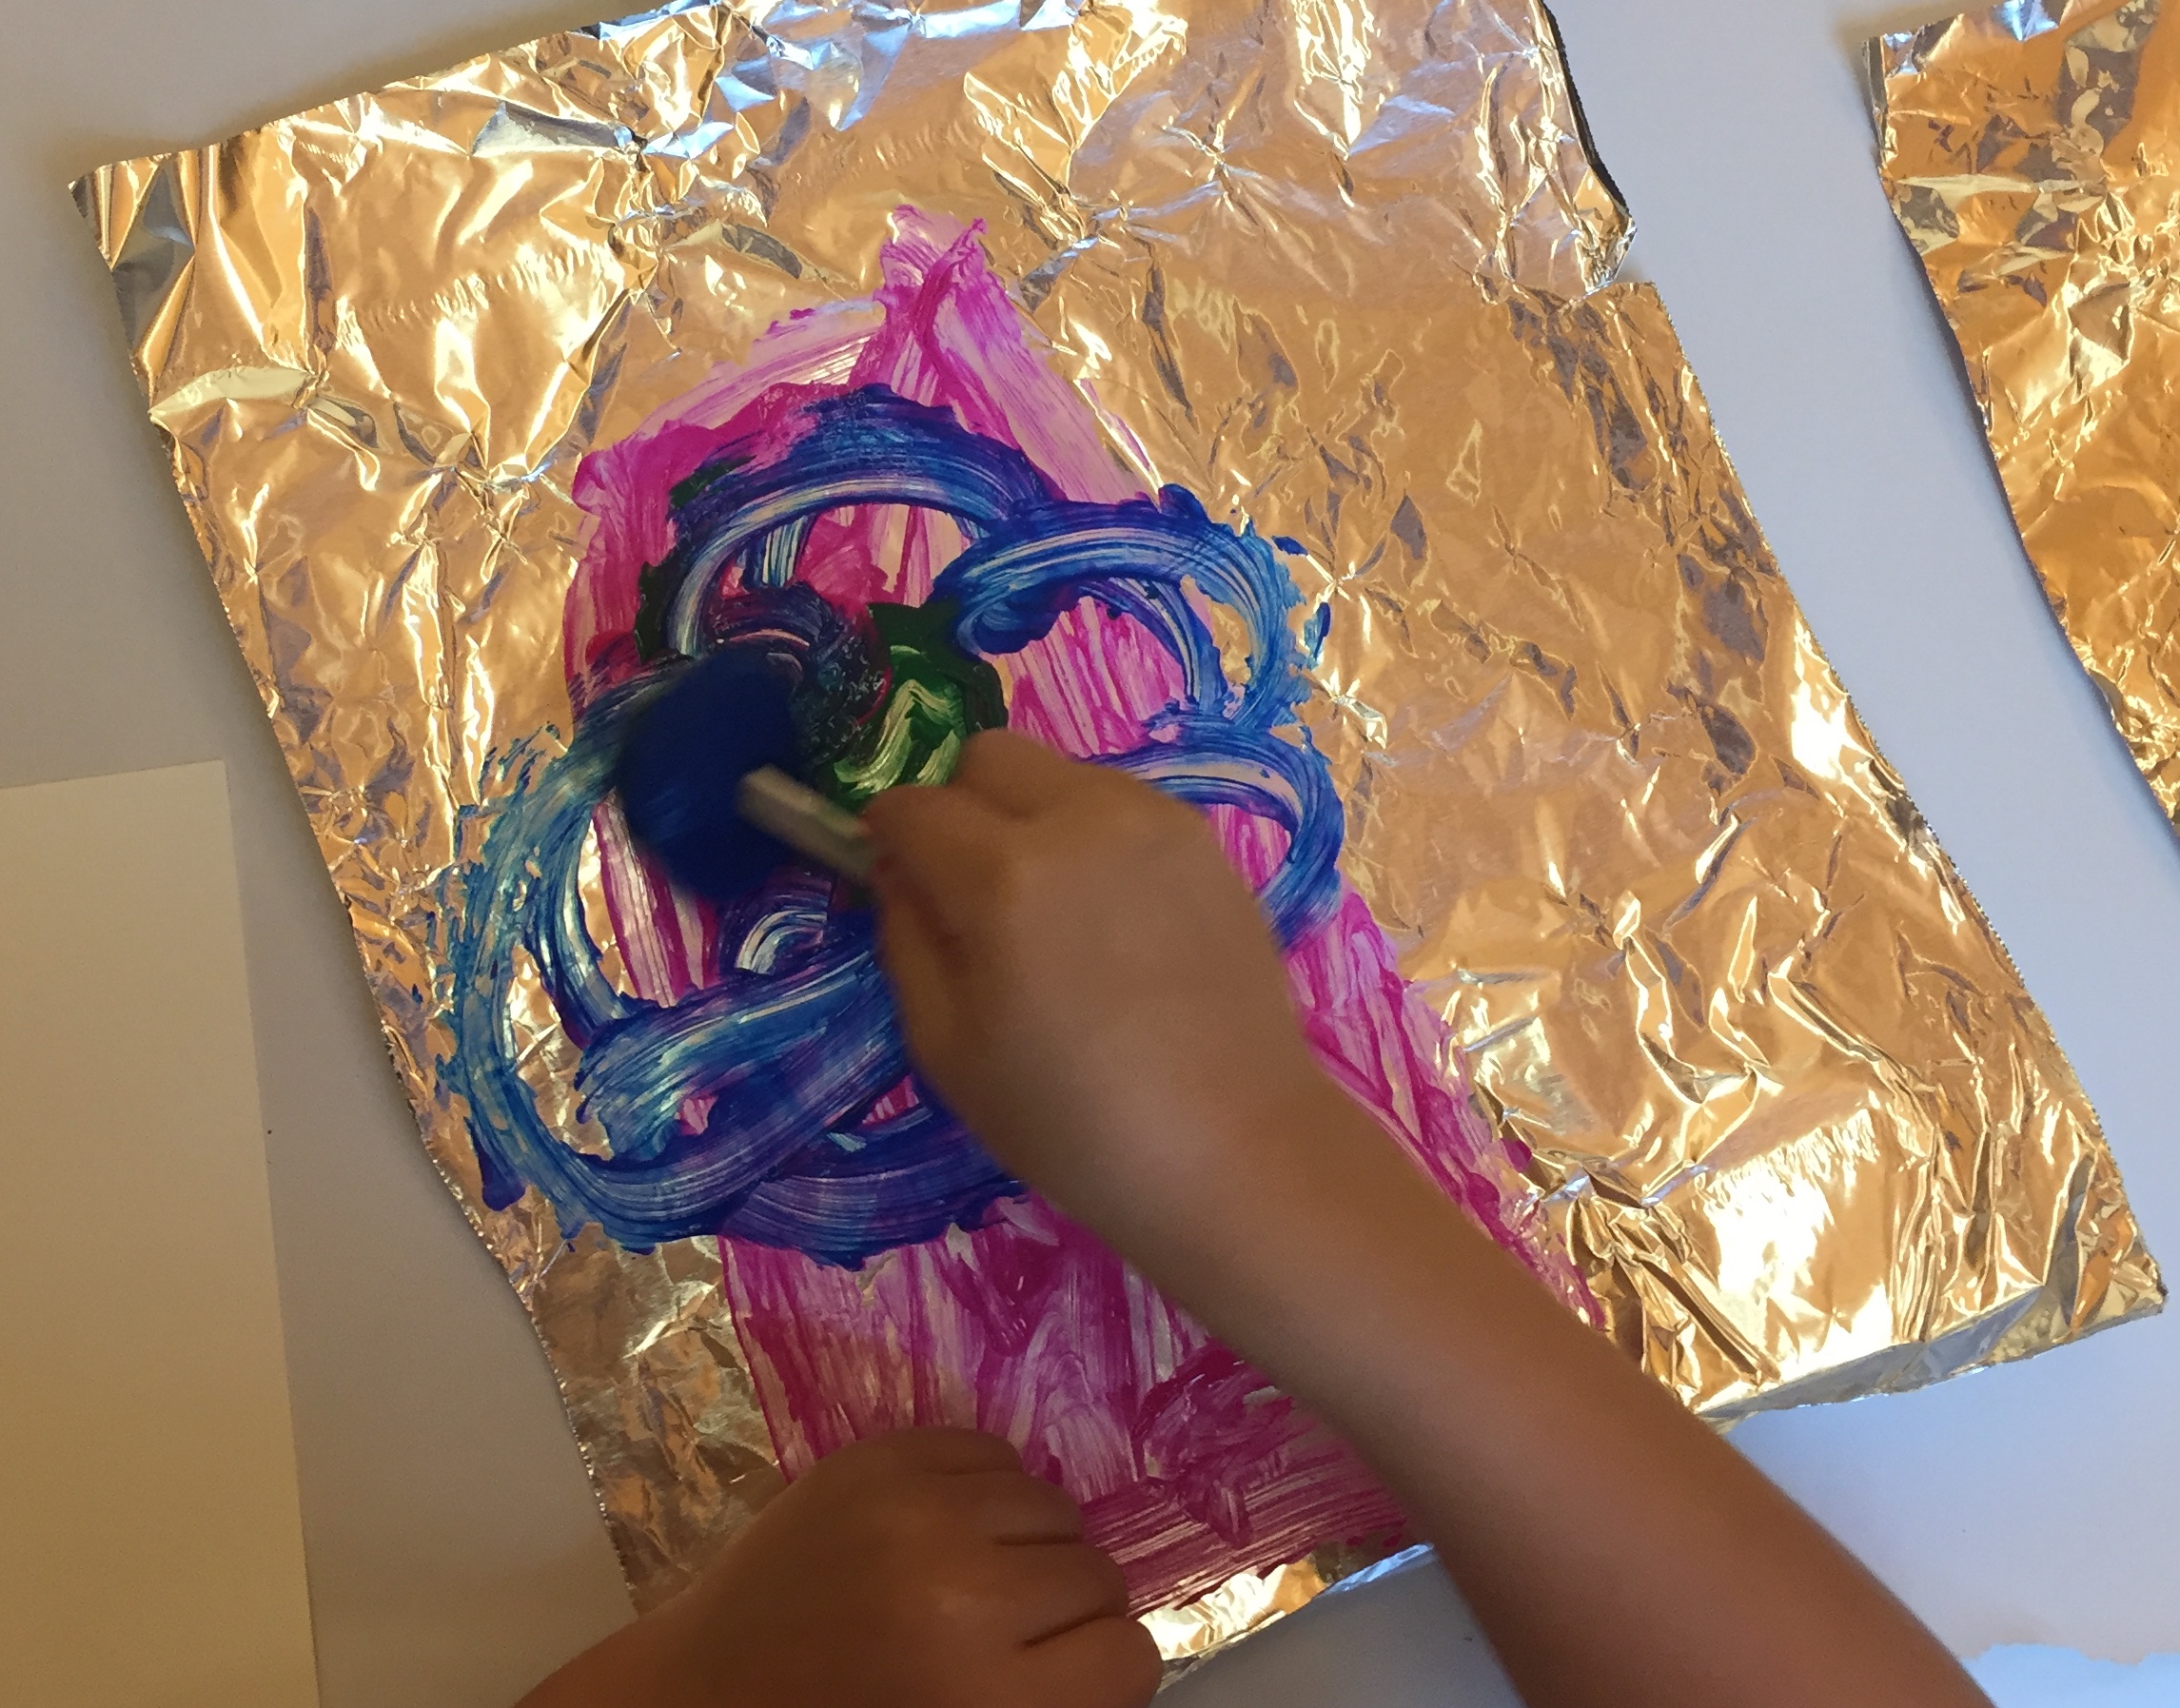
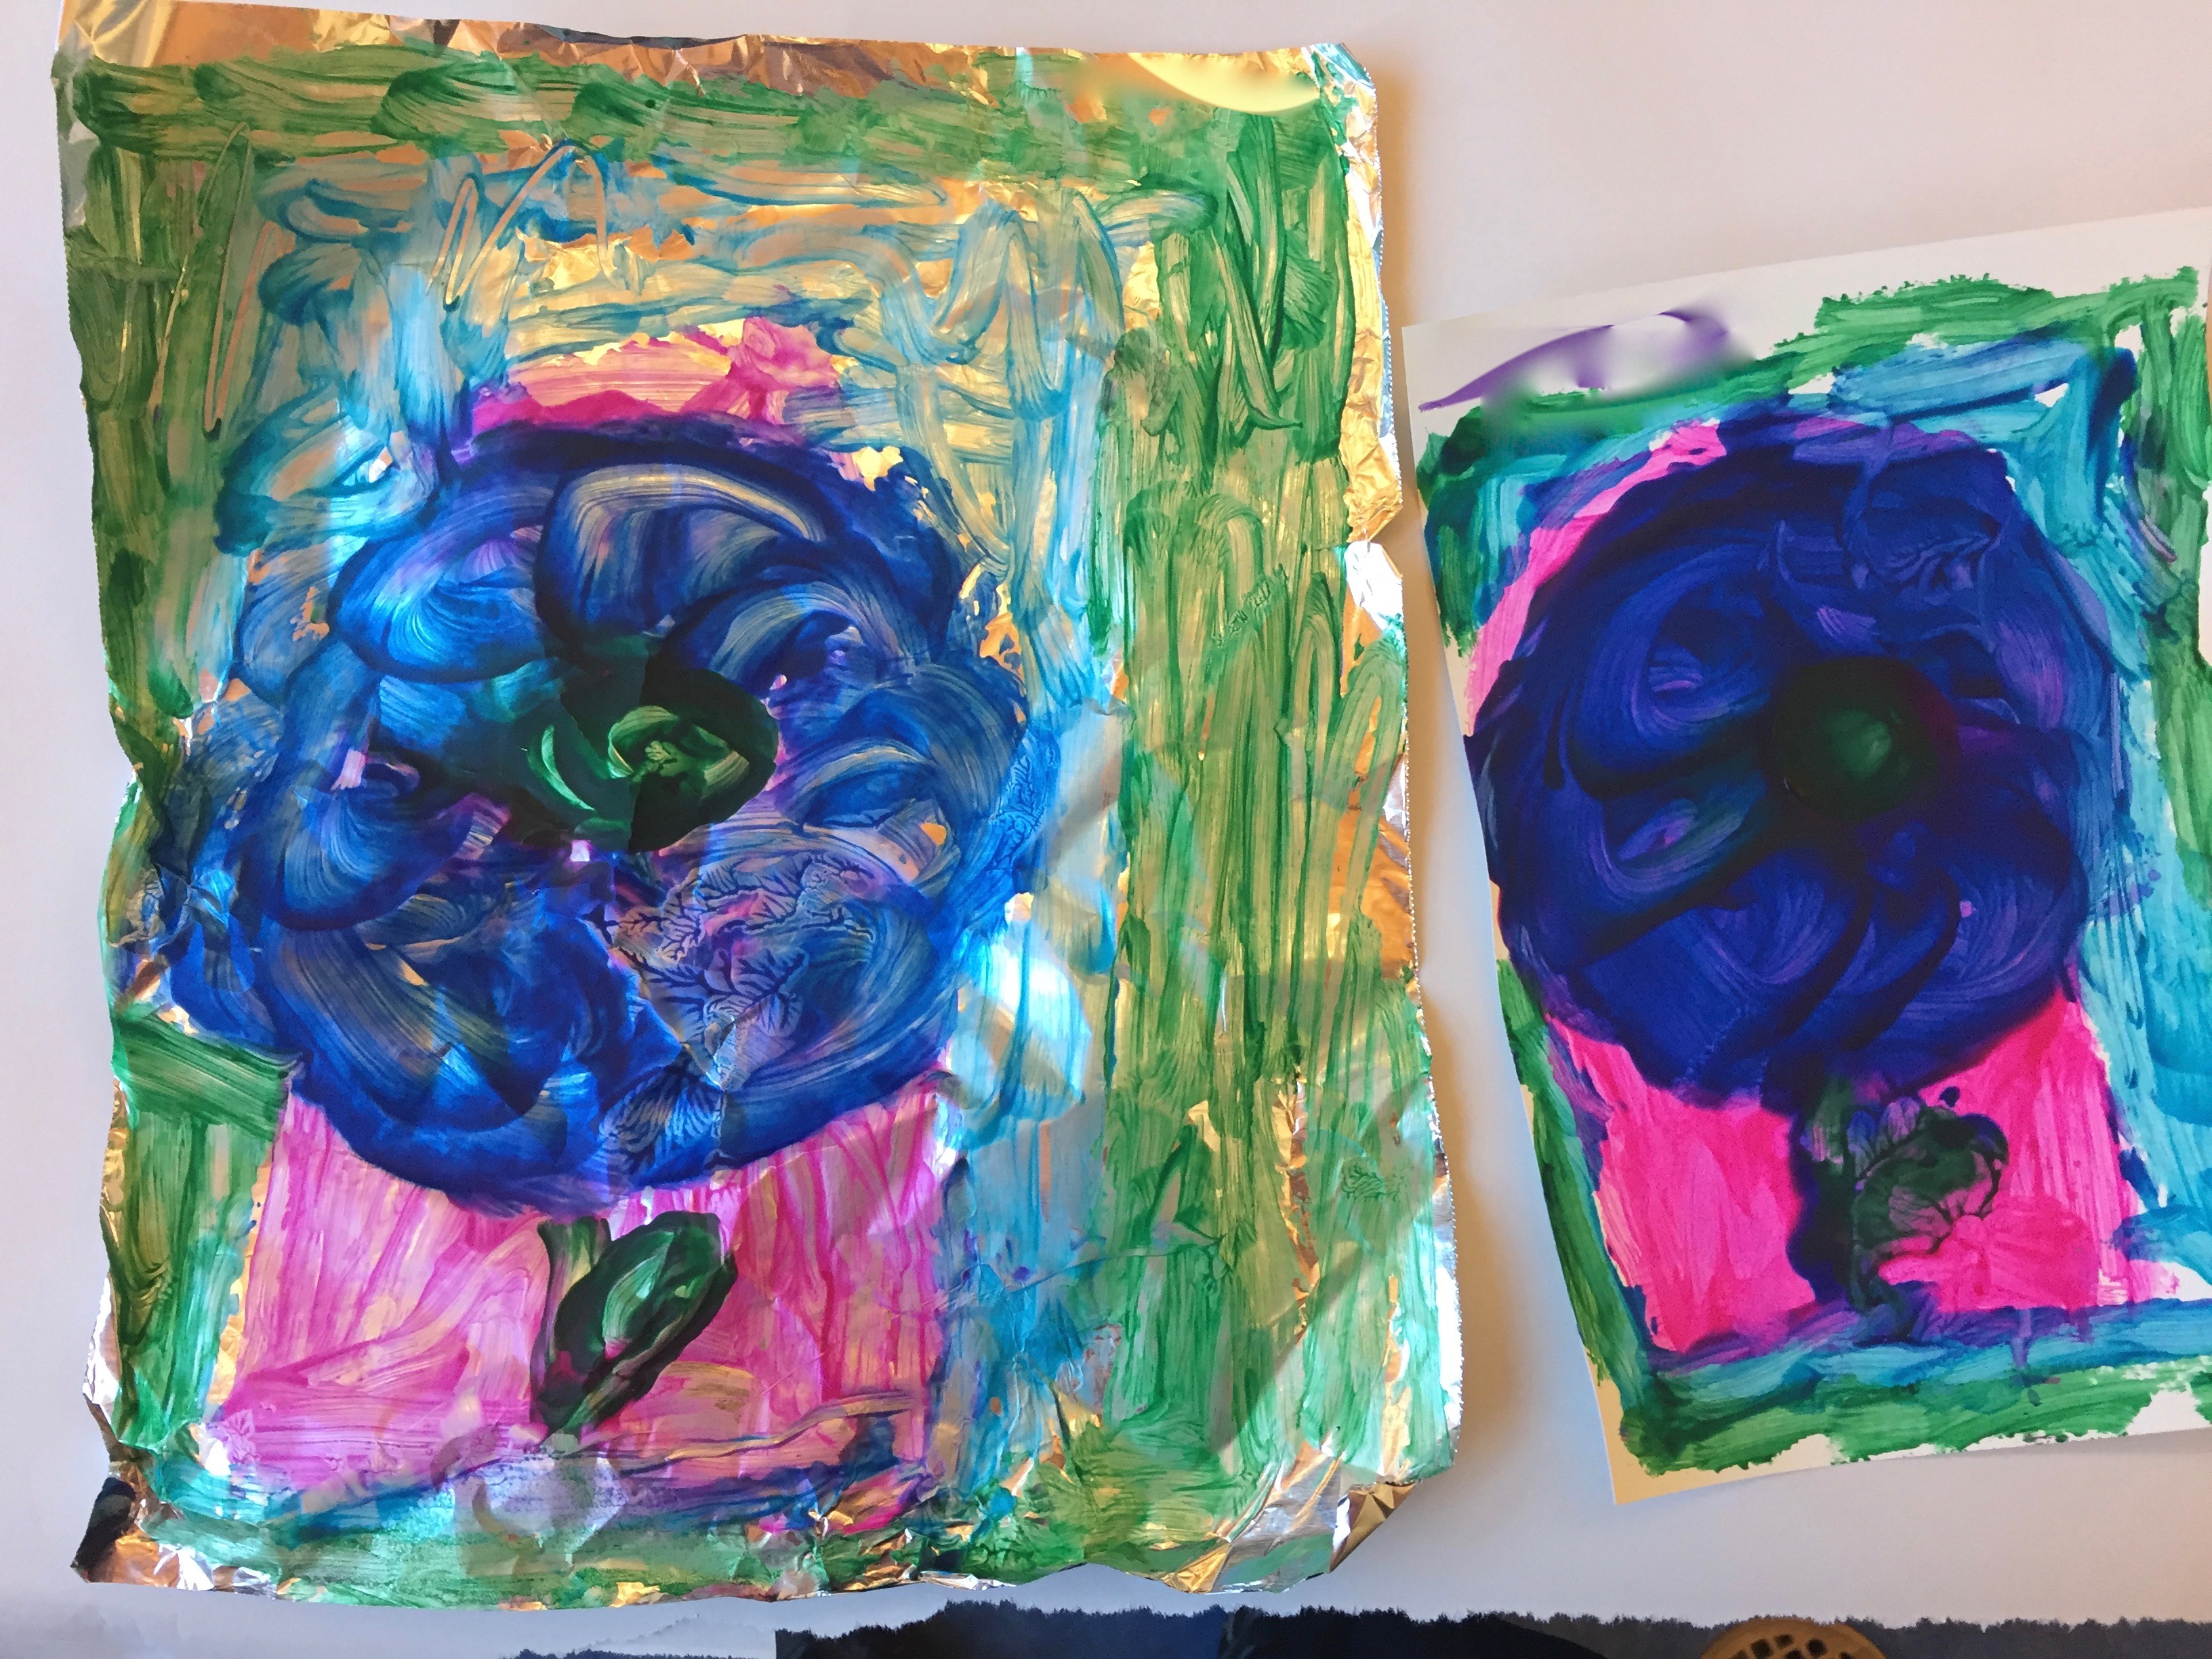
Painting with frozen tempera…on foil and paper
Side-by-side painting with pieces of frozen tempera on aluminum foil and water color paper allowed children to compare the way tempera paint applied to different surfaces. Their reflection on any differences were about the size of the page and the color of the paint rather than the different surfaces. After drying, comments on the following day showed an understanding of how the paper absorbs paint so it doesn’t flake off the way it does from the aluminum foil.
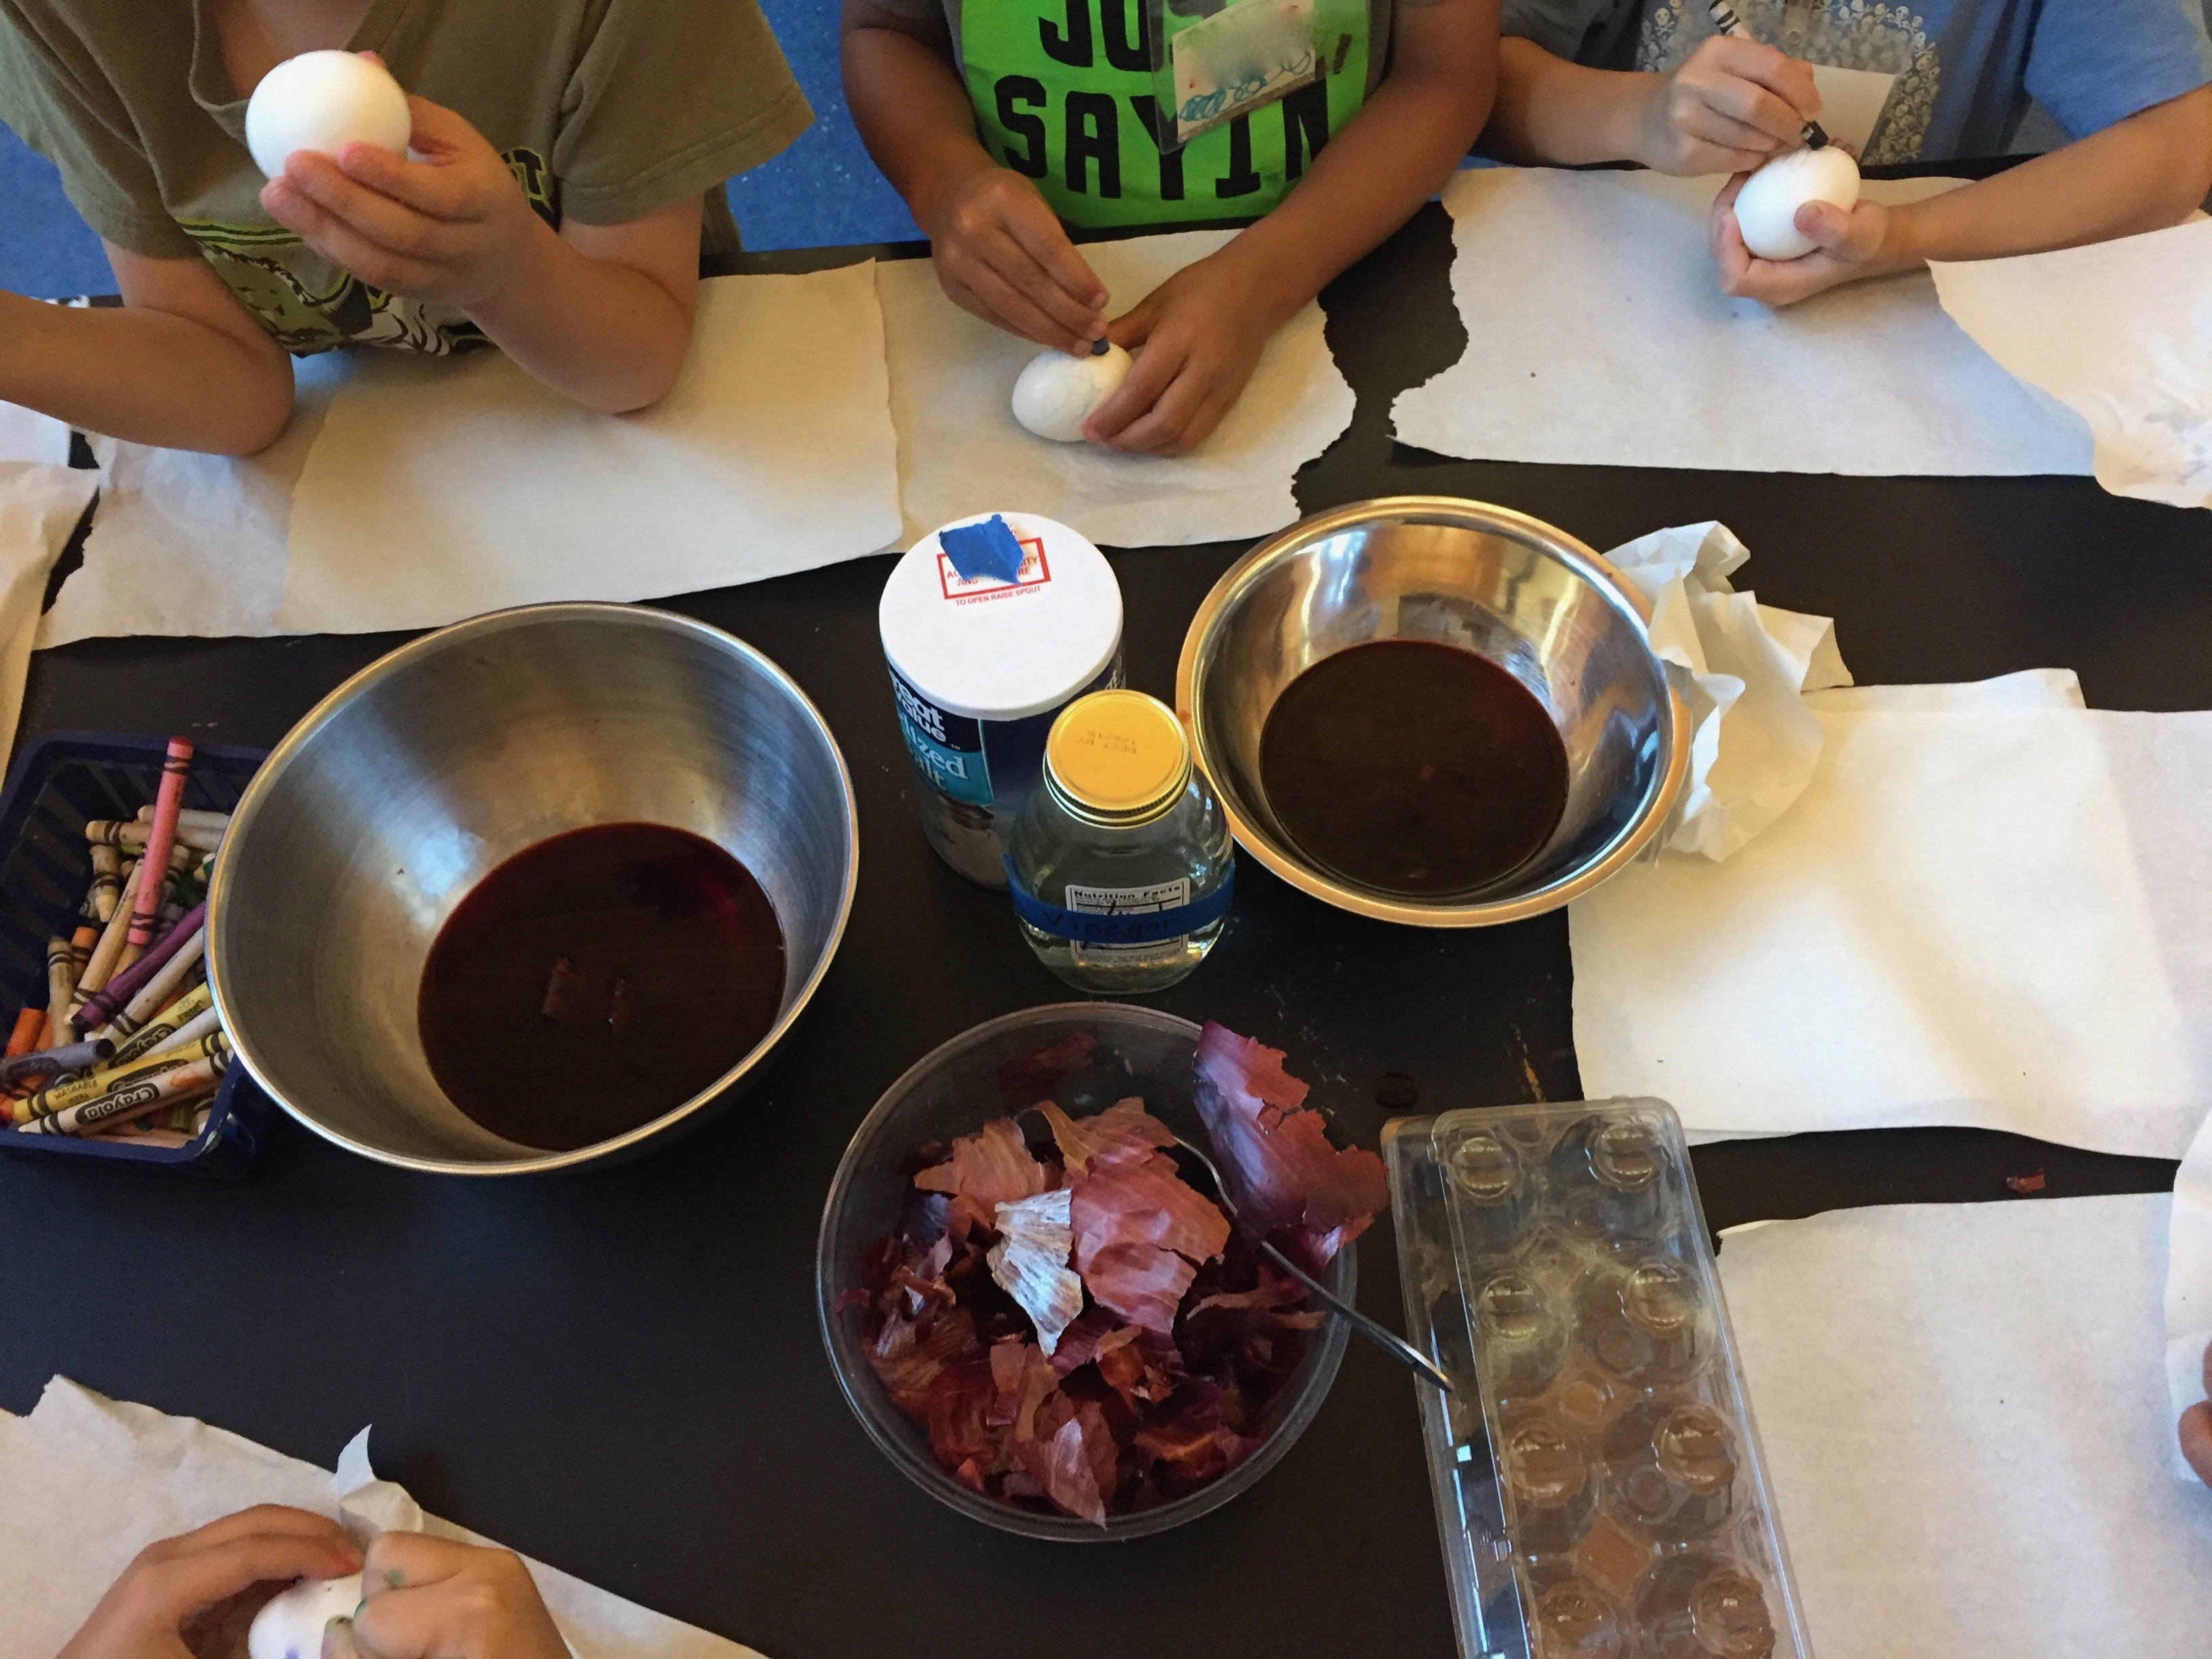
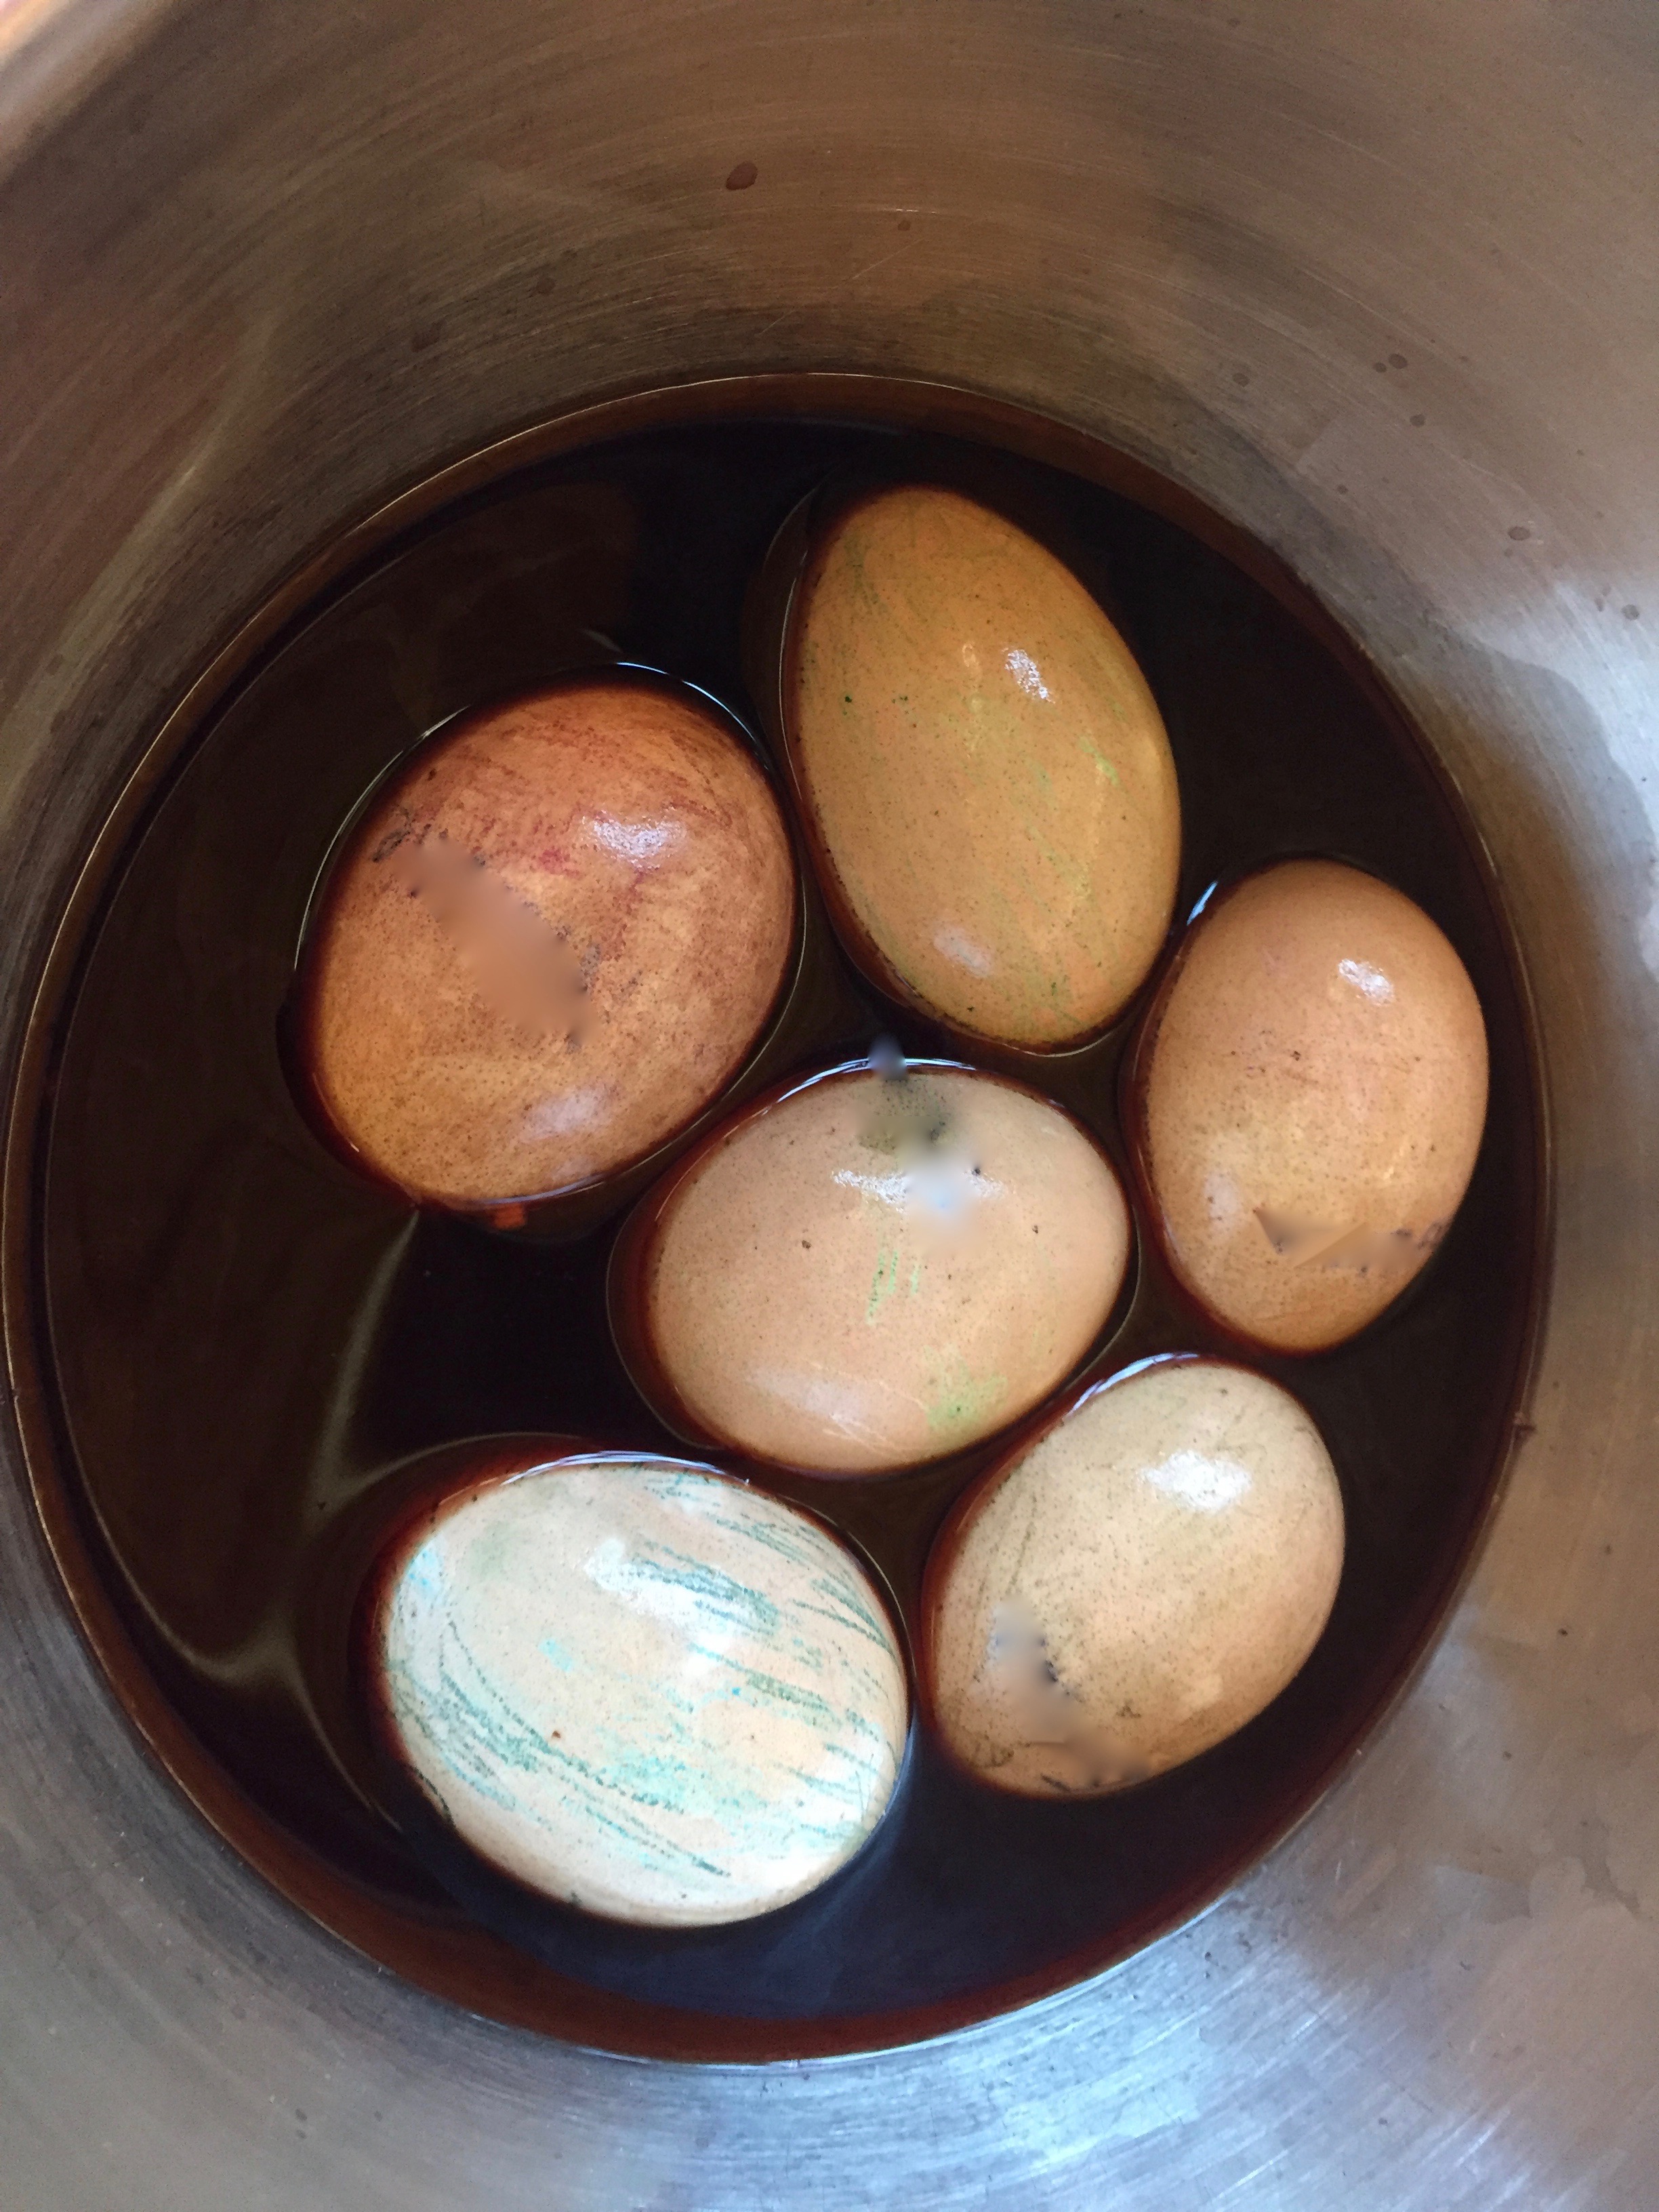
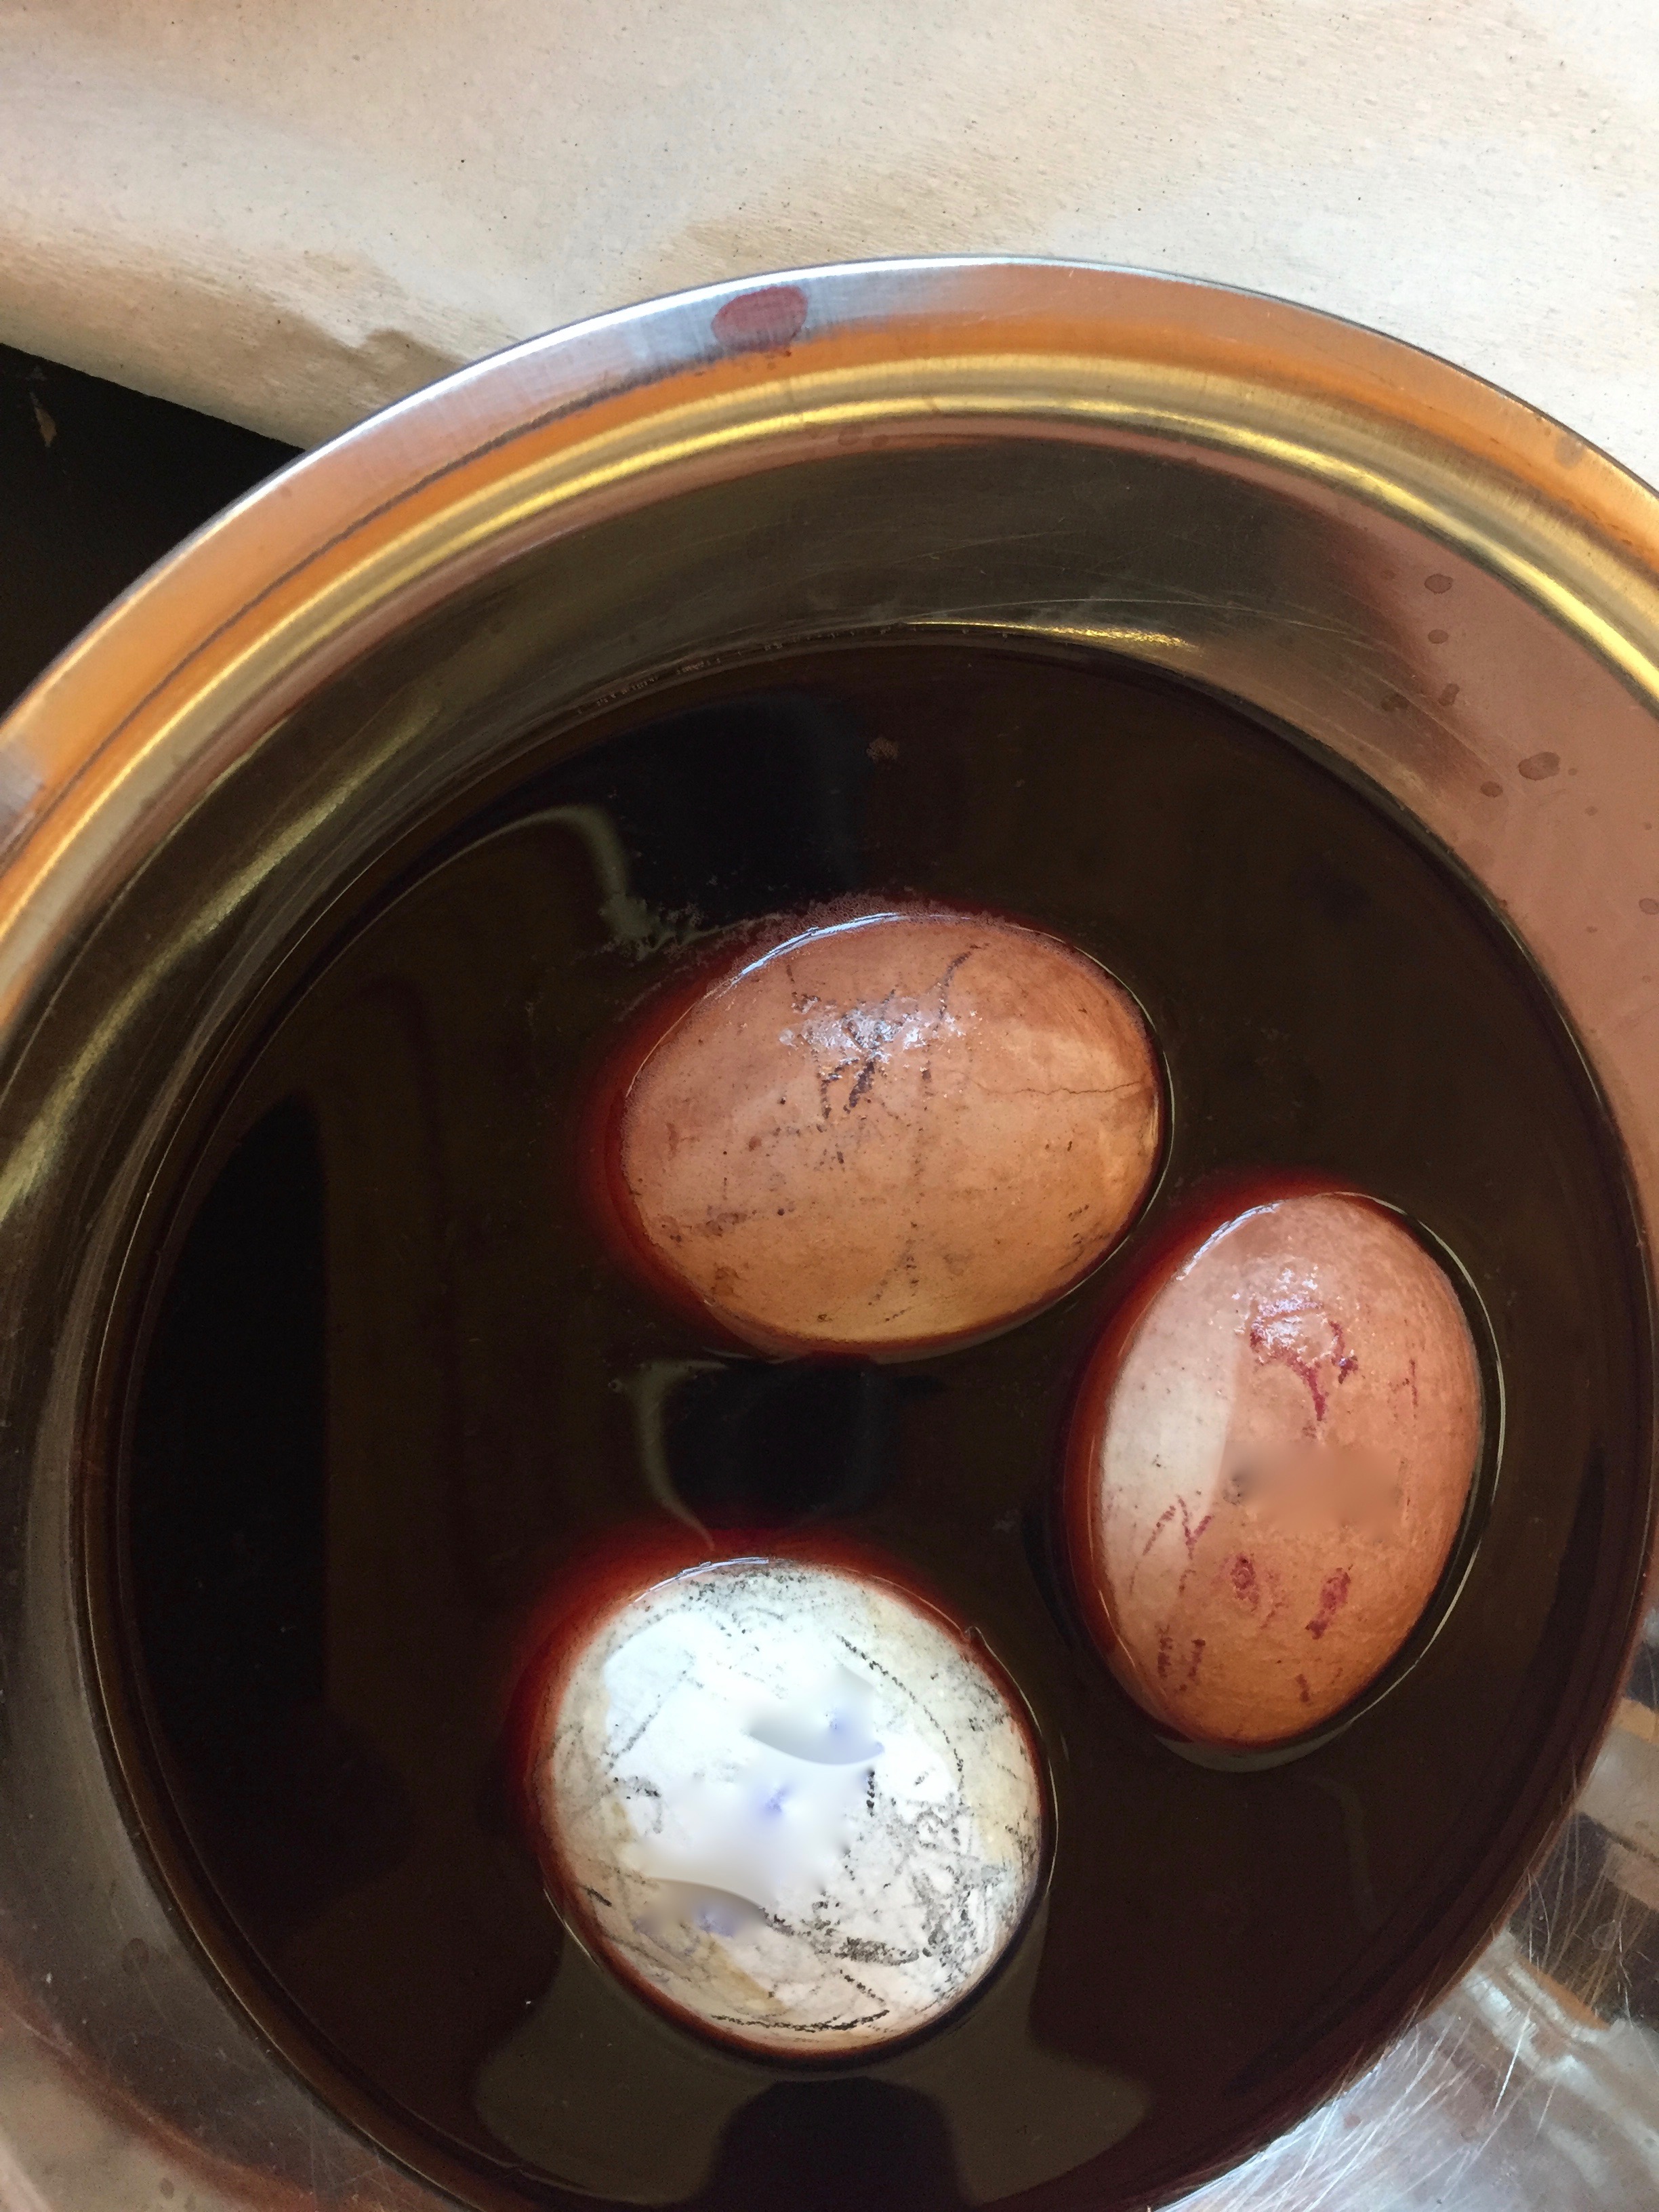
Coloring eggs with onion skins
Handling the onion skins engaged children in thinking about where we get pigments for artwork. We soaked the red onion skins in hot water in two bowls, one with added salt, and the other with vinegar. Using crayons as a resist the children drew on hard-boiled eggs to identify them later. After 40 minutes in the color bath the children asked, “Why wasn’t the color on the eggs as red as the color of the onion skin water?” With more time and more eggs this question could have developed into a scientific inquiry.
Slime
Yes, we made the ever popular slime, and even though they had mixed water, white school glue, and a Borax solution together at least several times before in previous camps and classes, they weren’t sure what would happen this time. What could be making this liquid mixture “bunch up” into something “more solid” and “bouncy?”
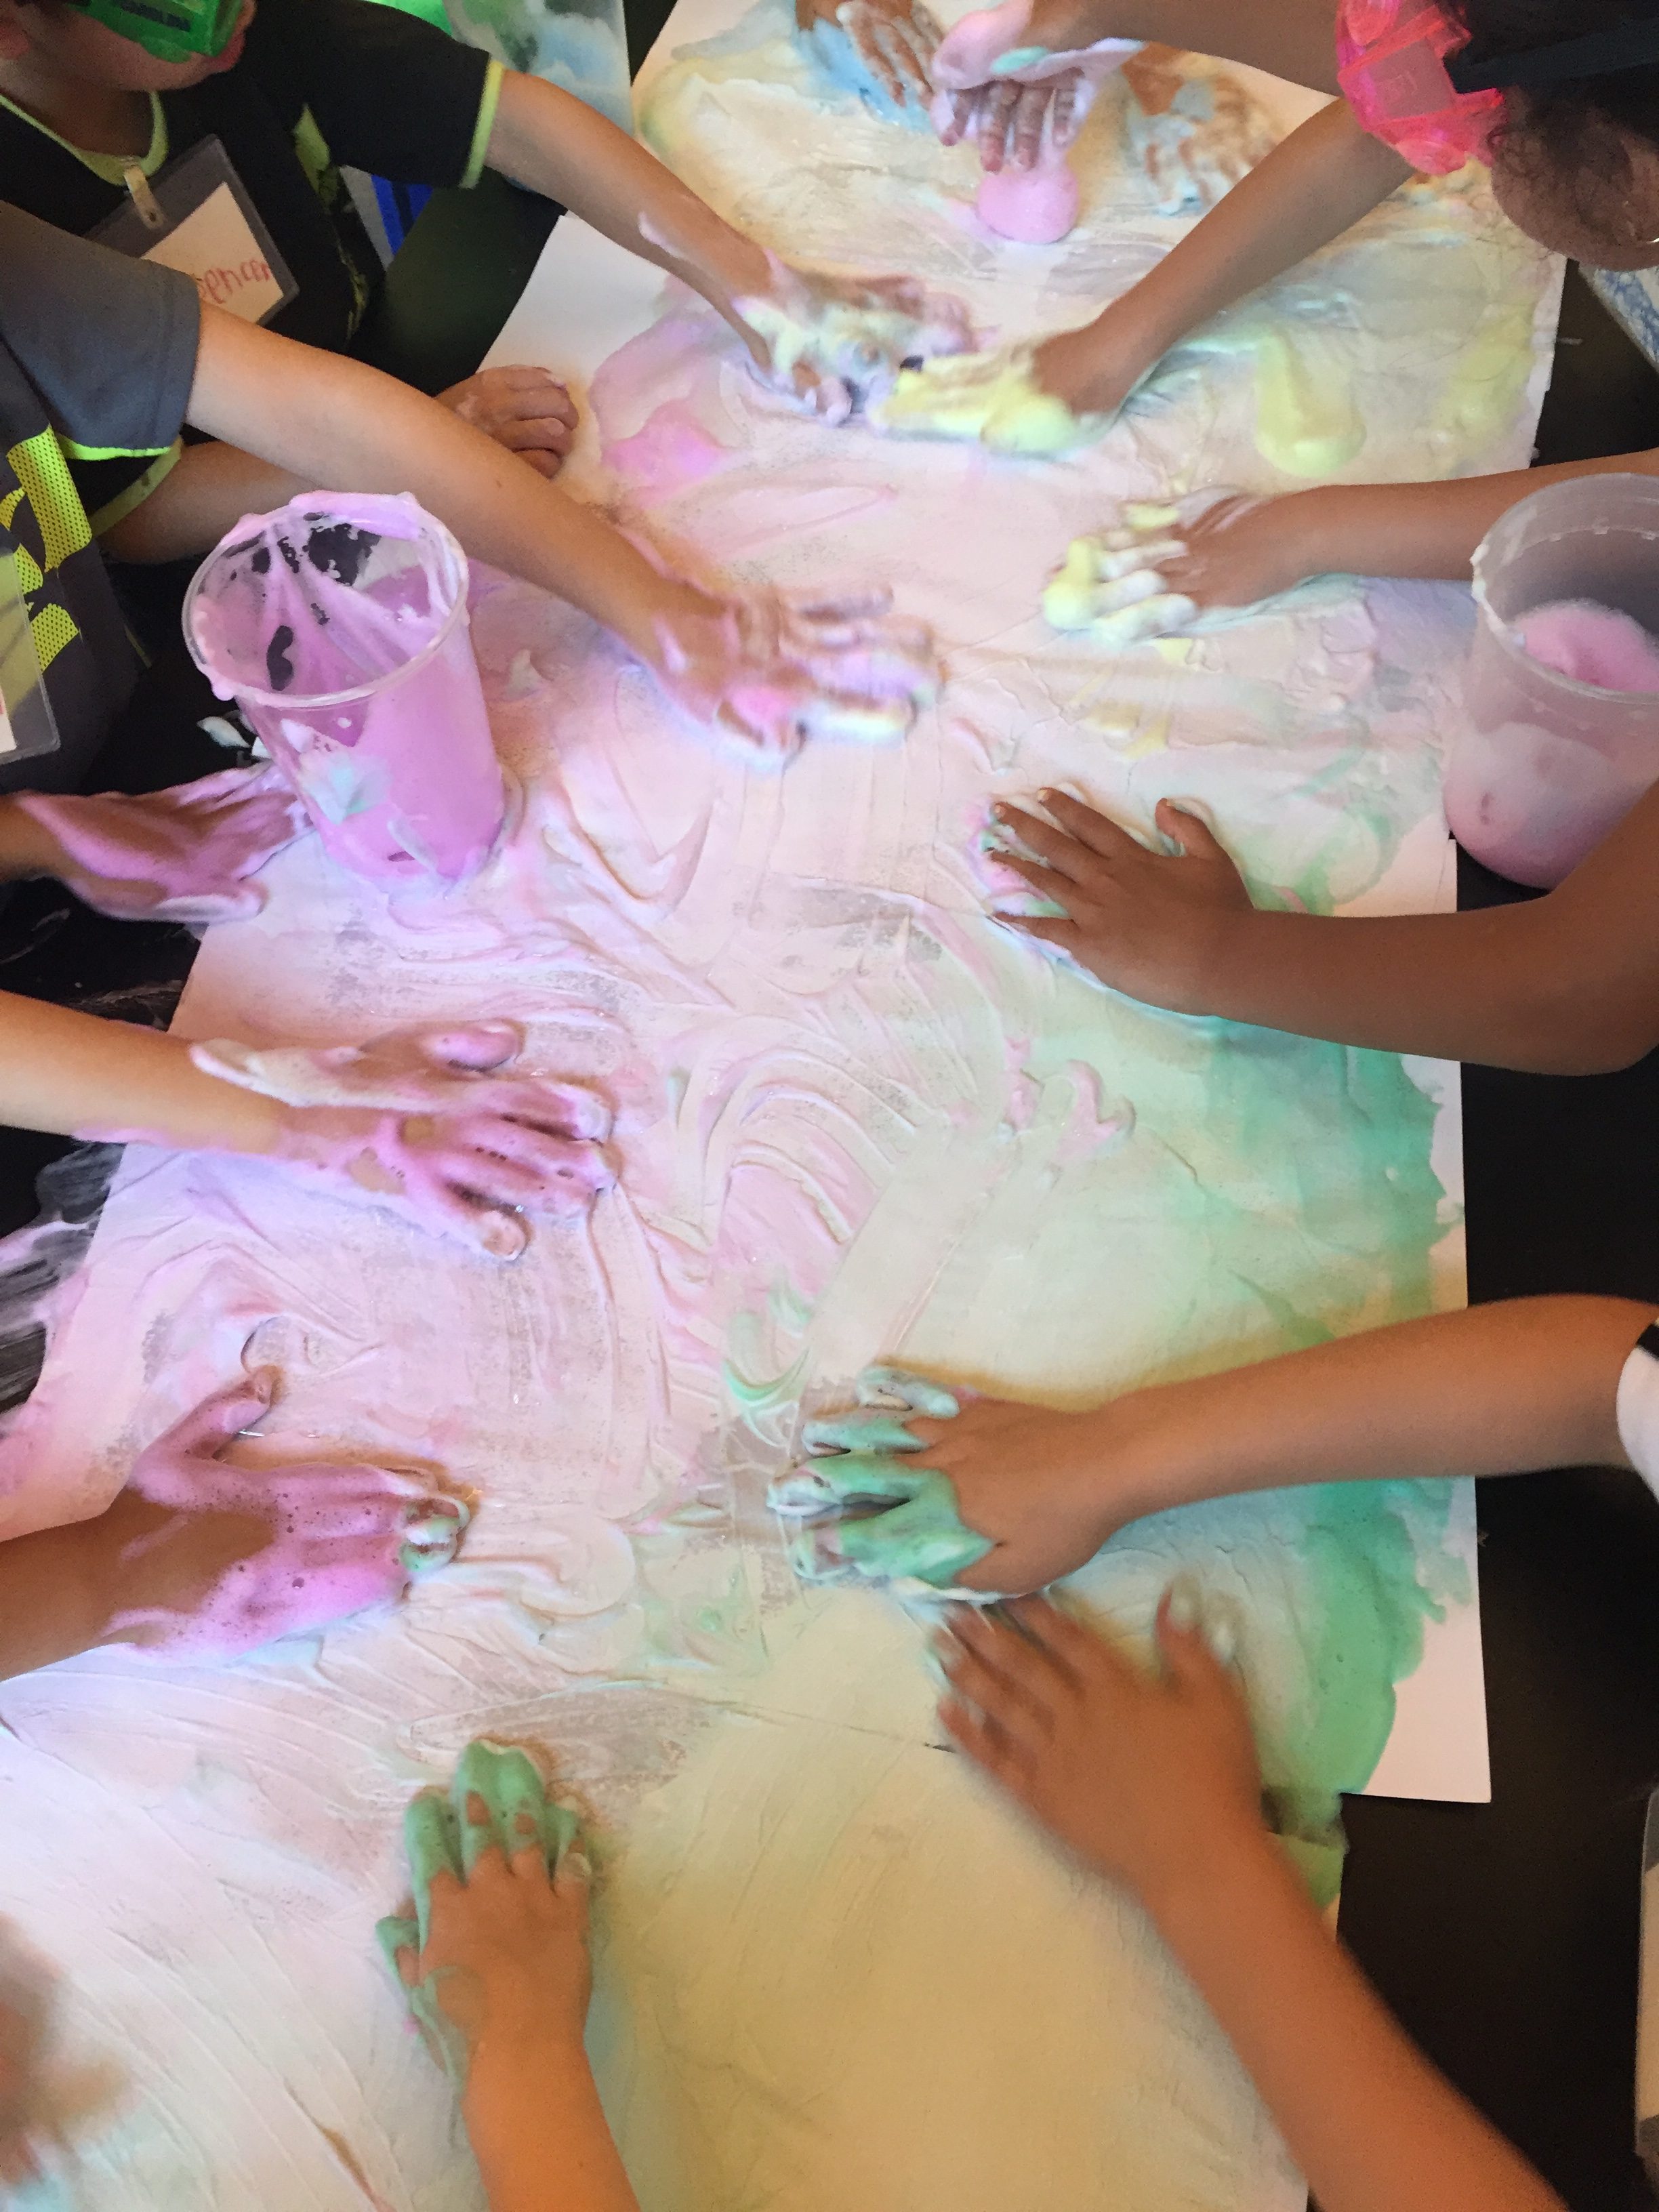
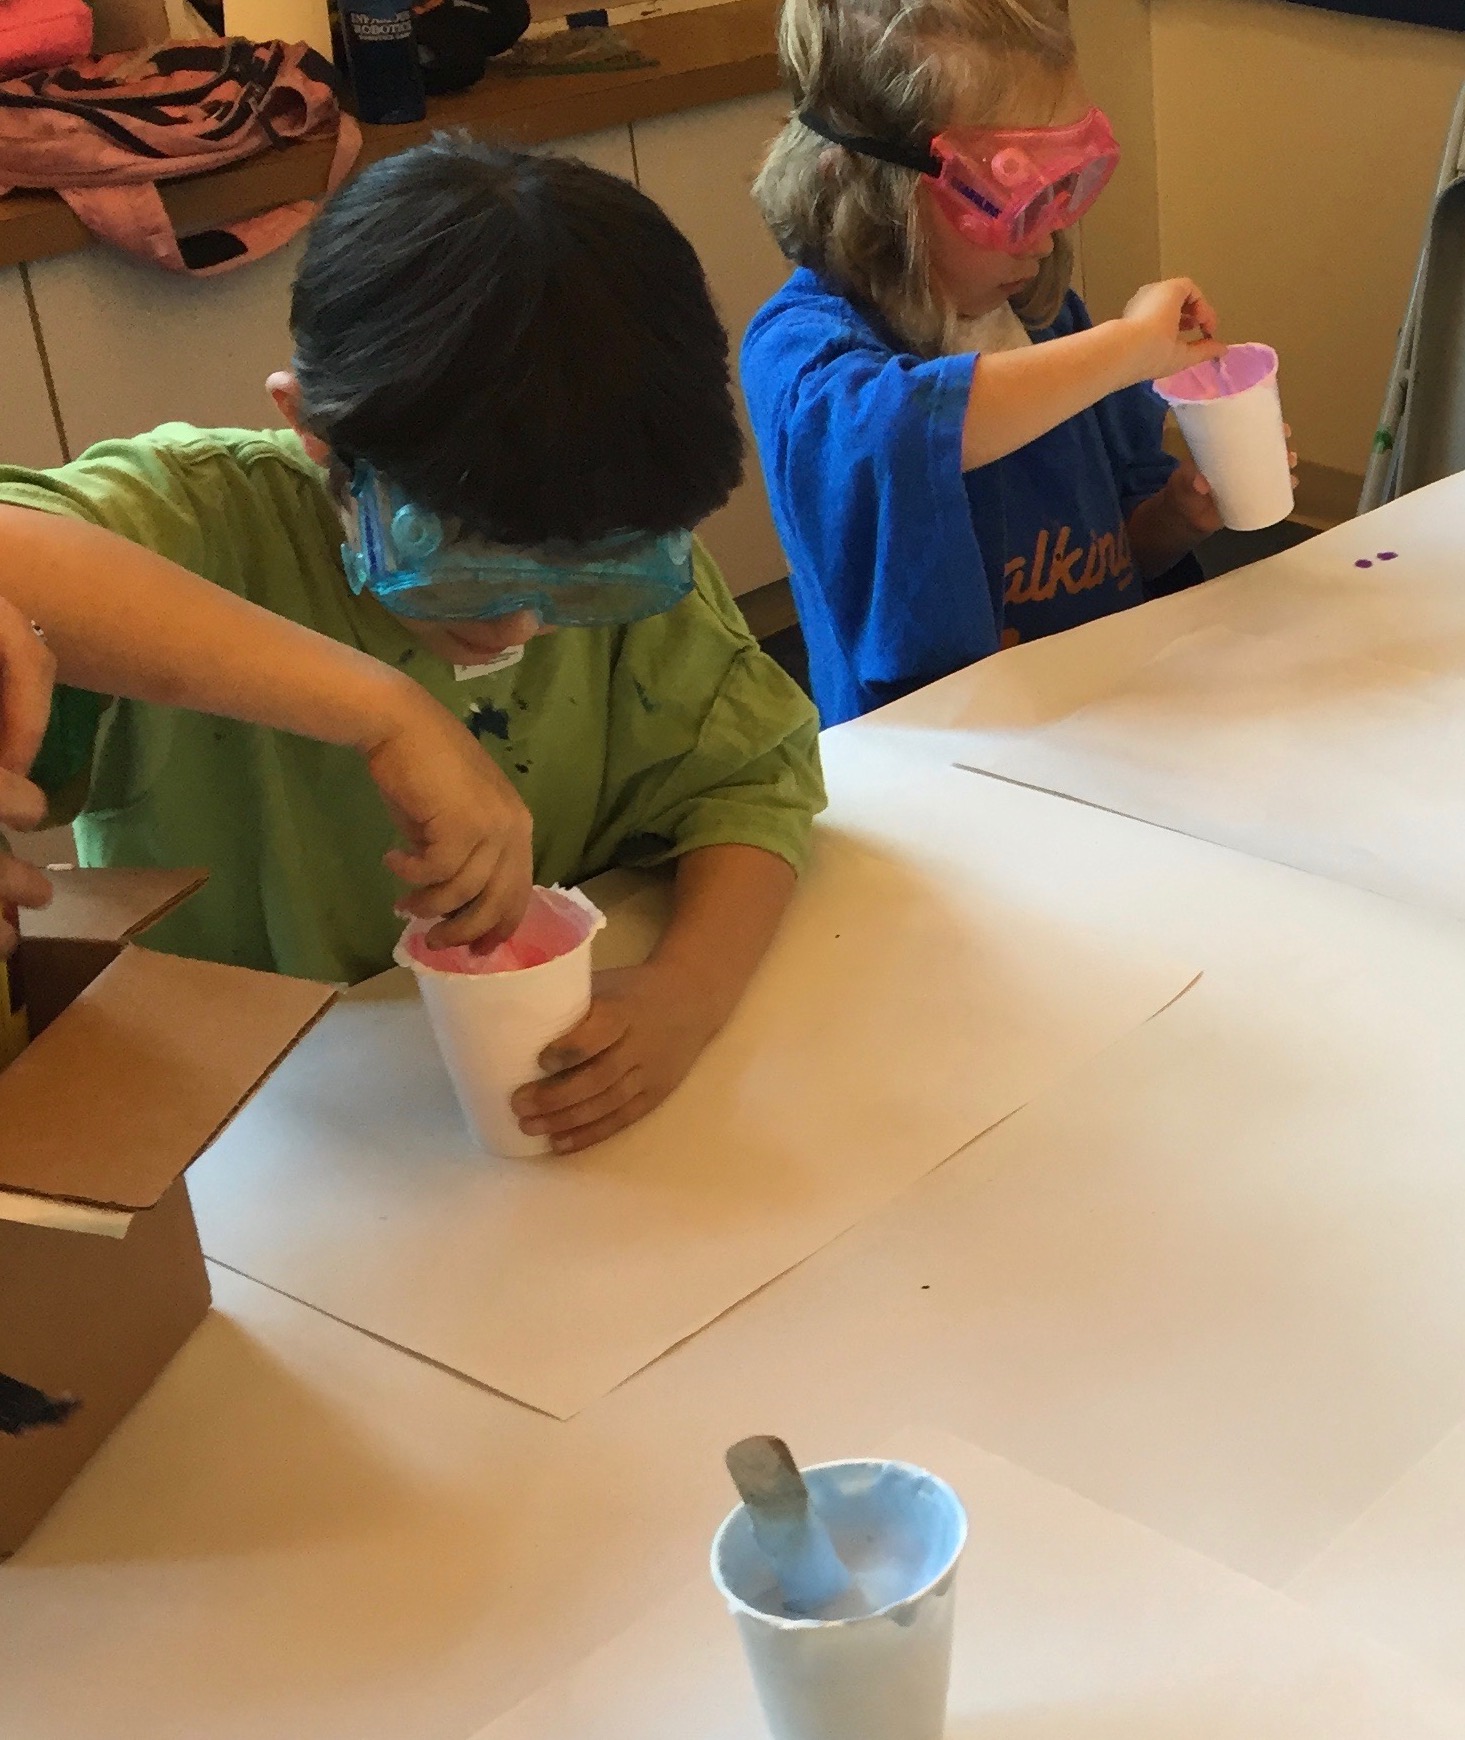
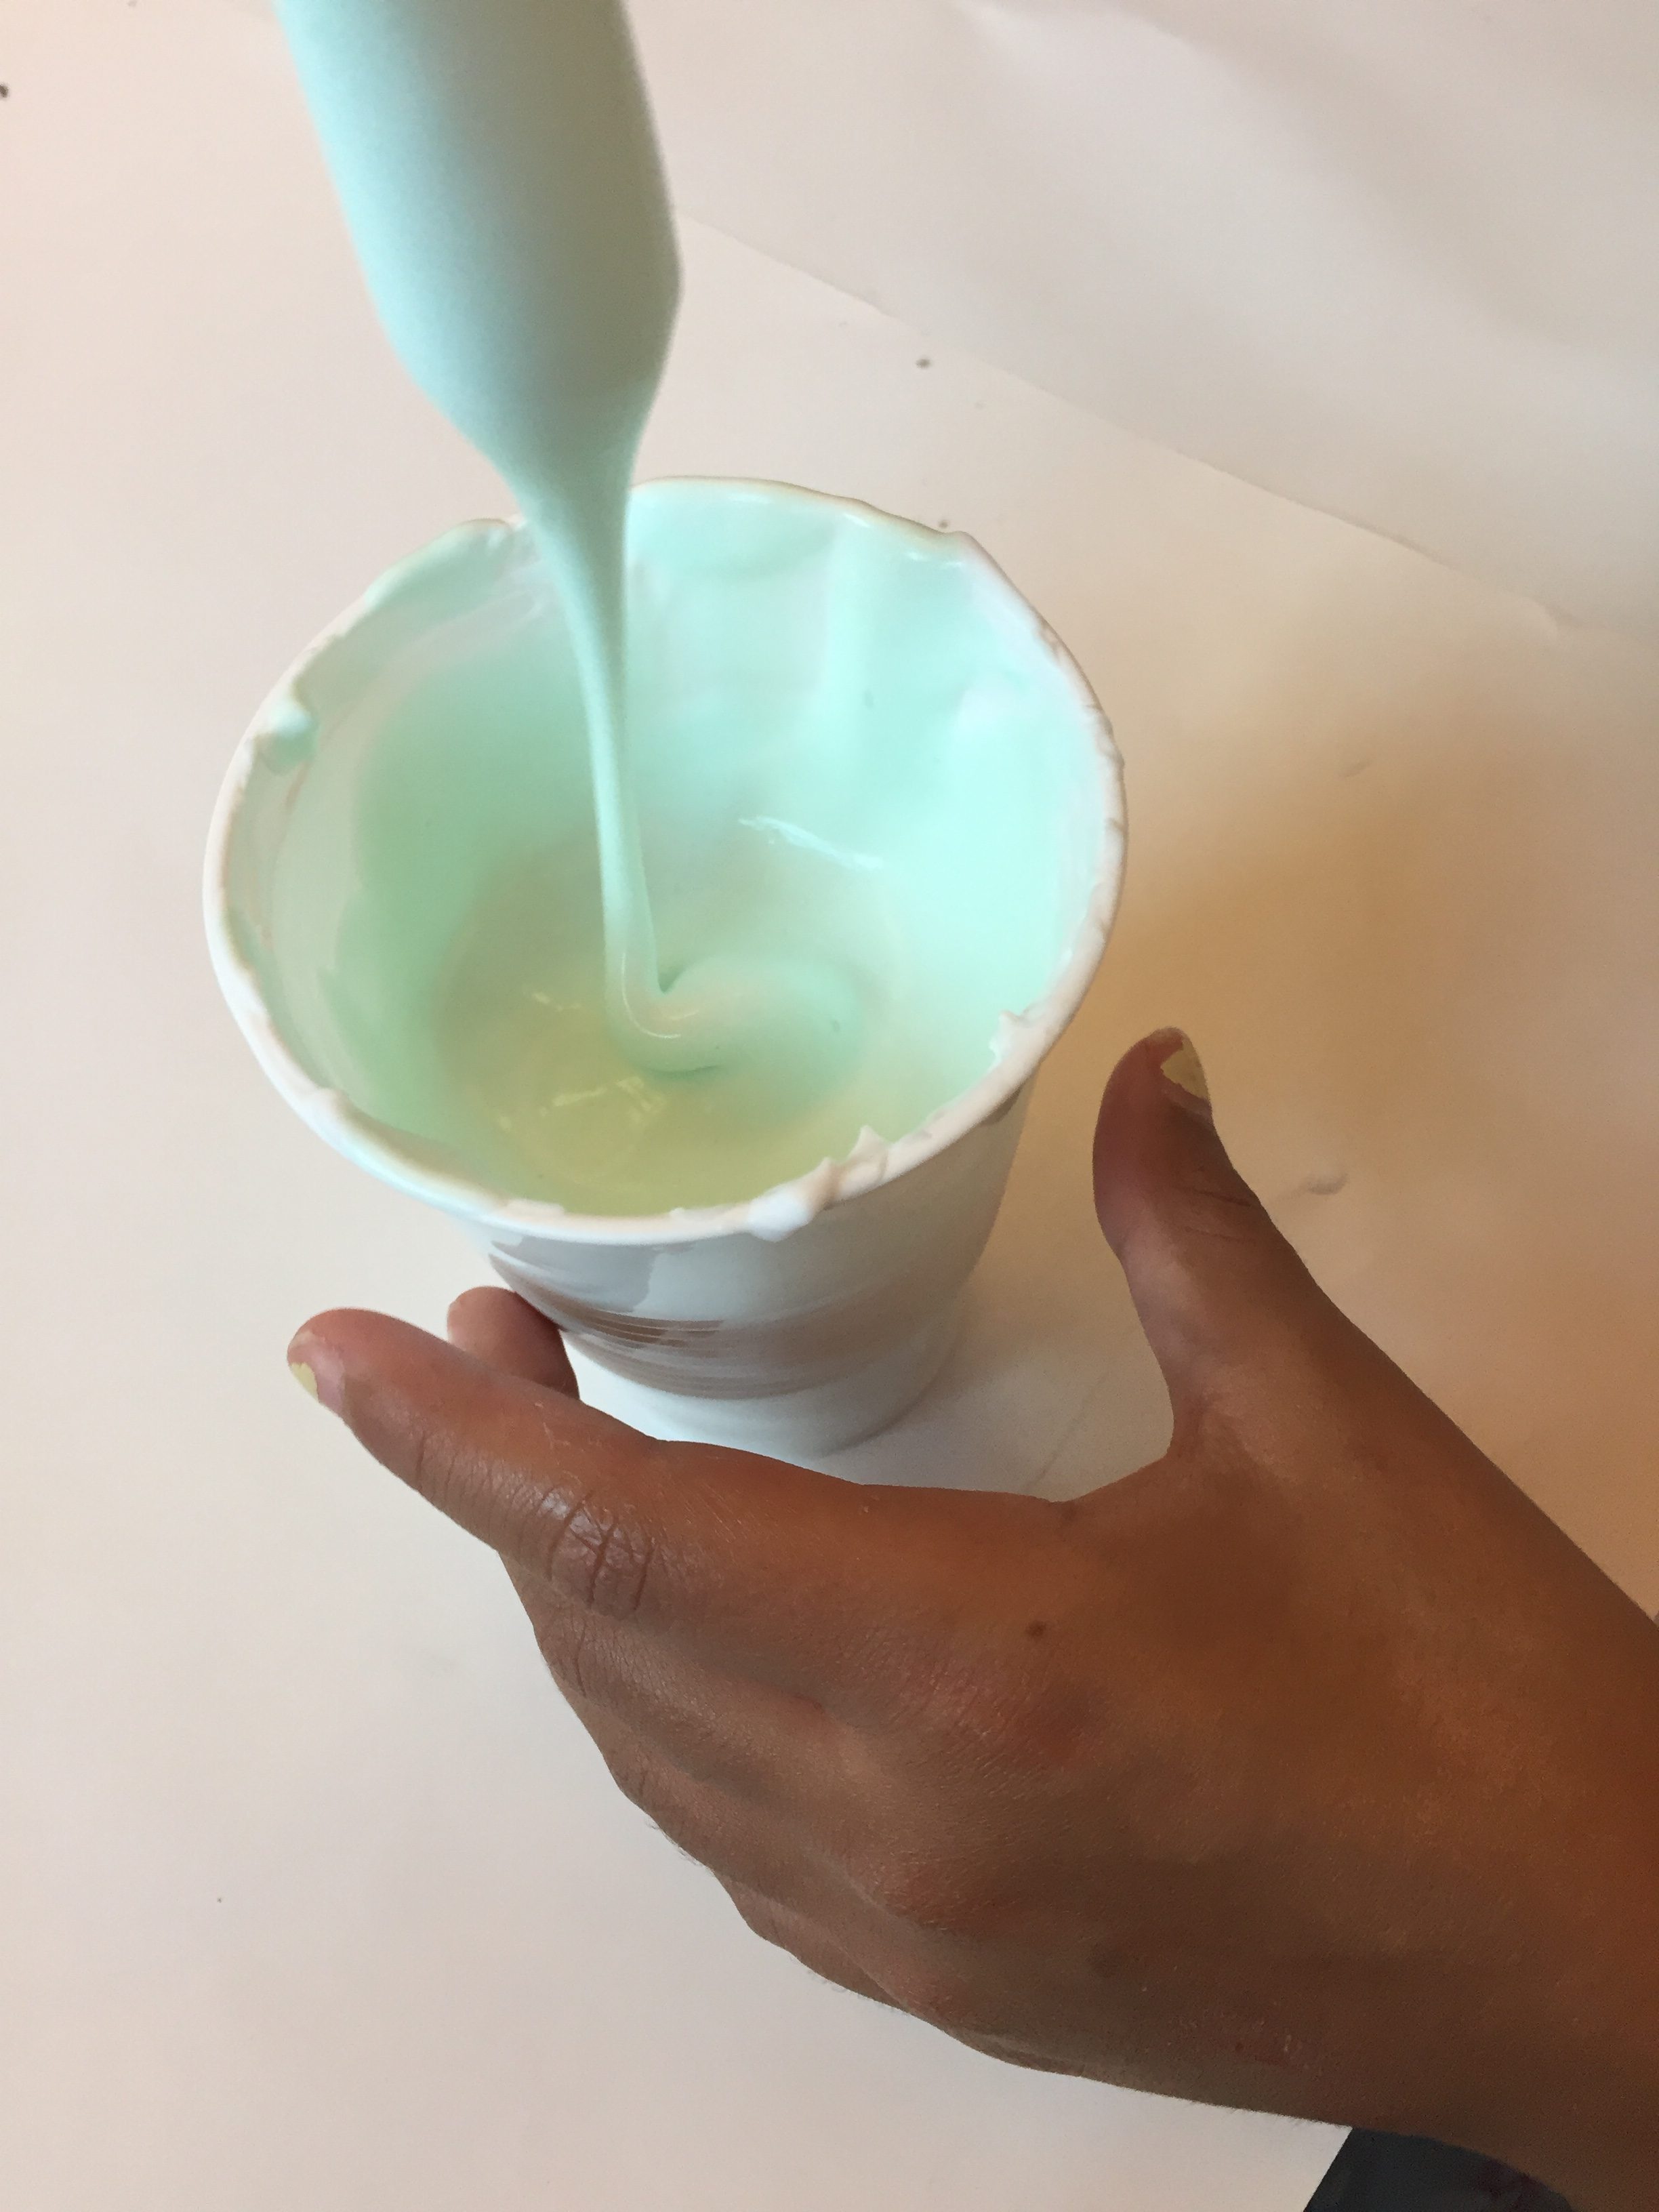
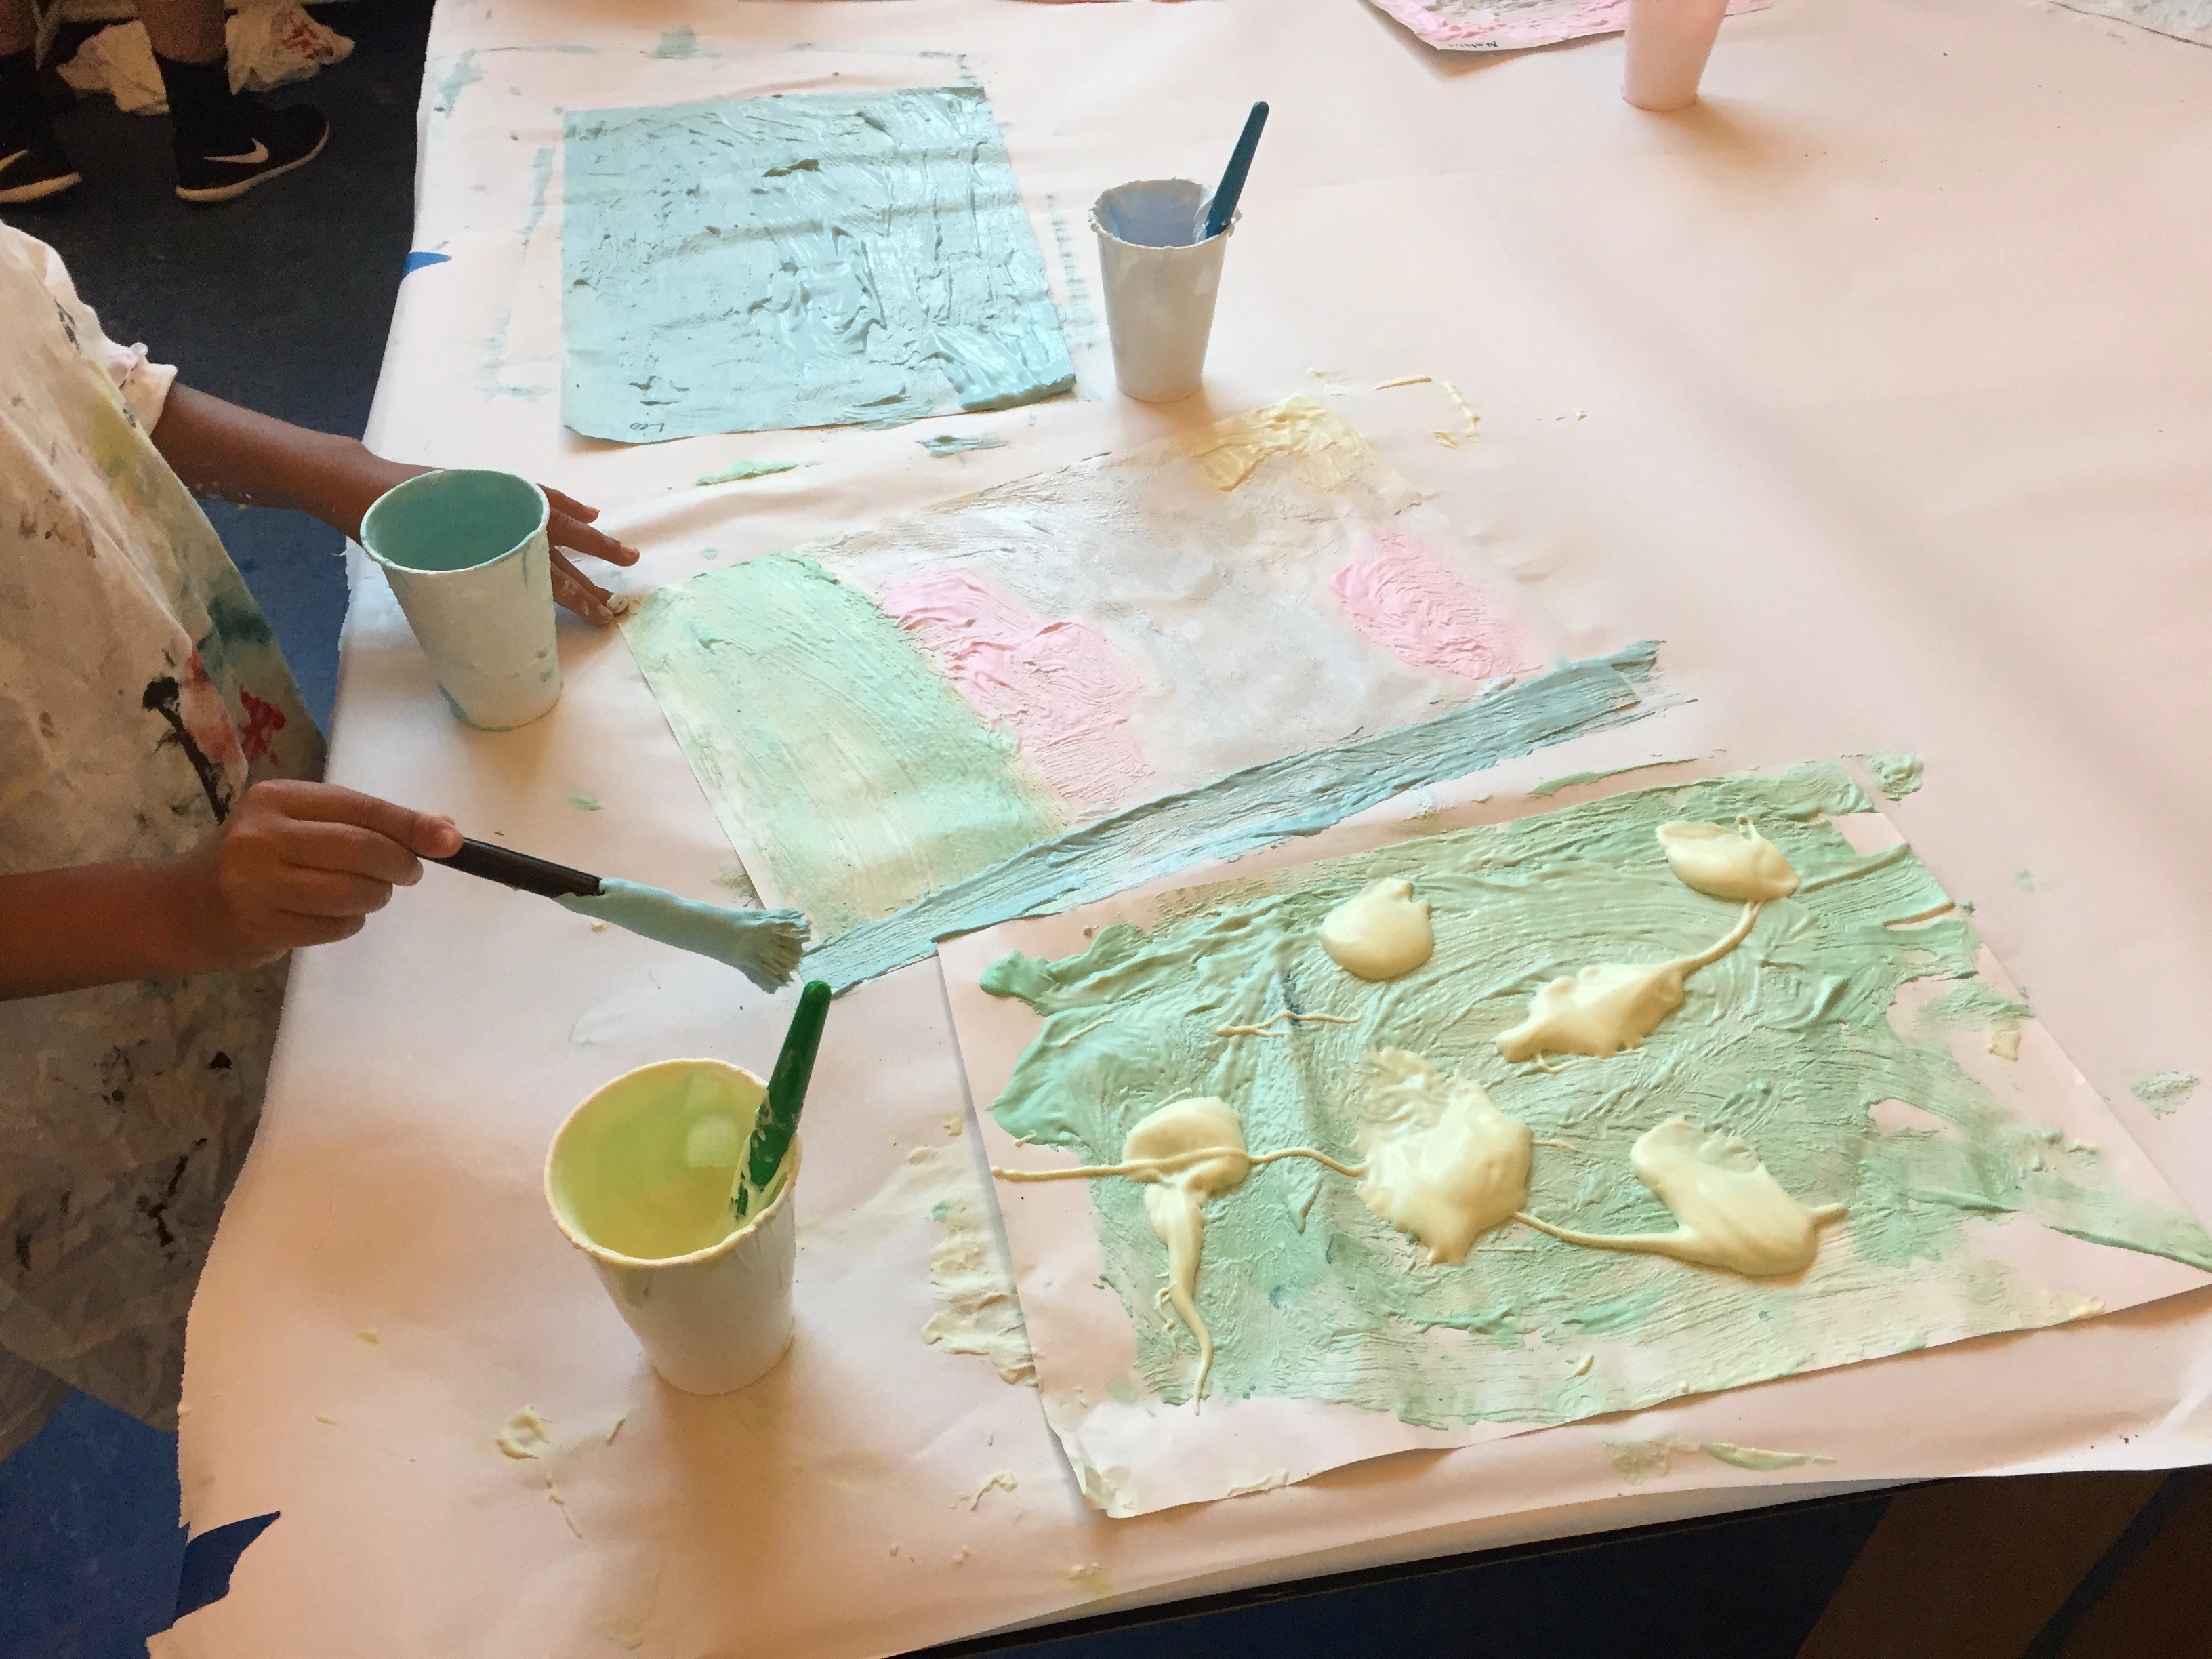
Puff paint
Familiarity with this medium did not reduce the children’s enthusiasm for mixing shaving cream and white school glue with a little liquid water color to create a thick paint. They commented on the textures of each material and asked for more pigment when they wanted a darker color. Using magnifiers revealed the tiny bubbles, even smaller than those they had made by whisking the dish soap.
Paint chips and color value
We examined a group of paint color samples and I asked the children what they thought made a single color get lighter and darker, creating a range of color values from almost white to almost black. Referencing a prior experience with crayons, a child said, “They pressed harder” to get the darker colors, and another child remembered adding more liquid water color to the the puff paint mixture.
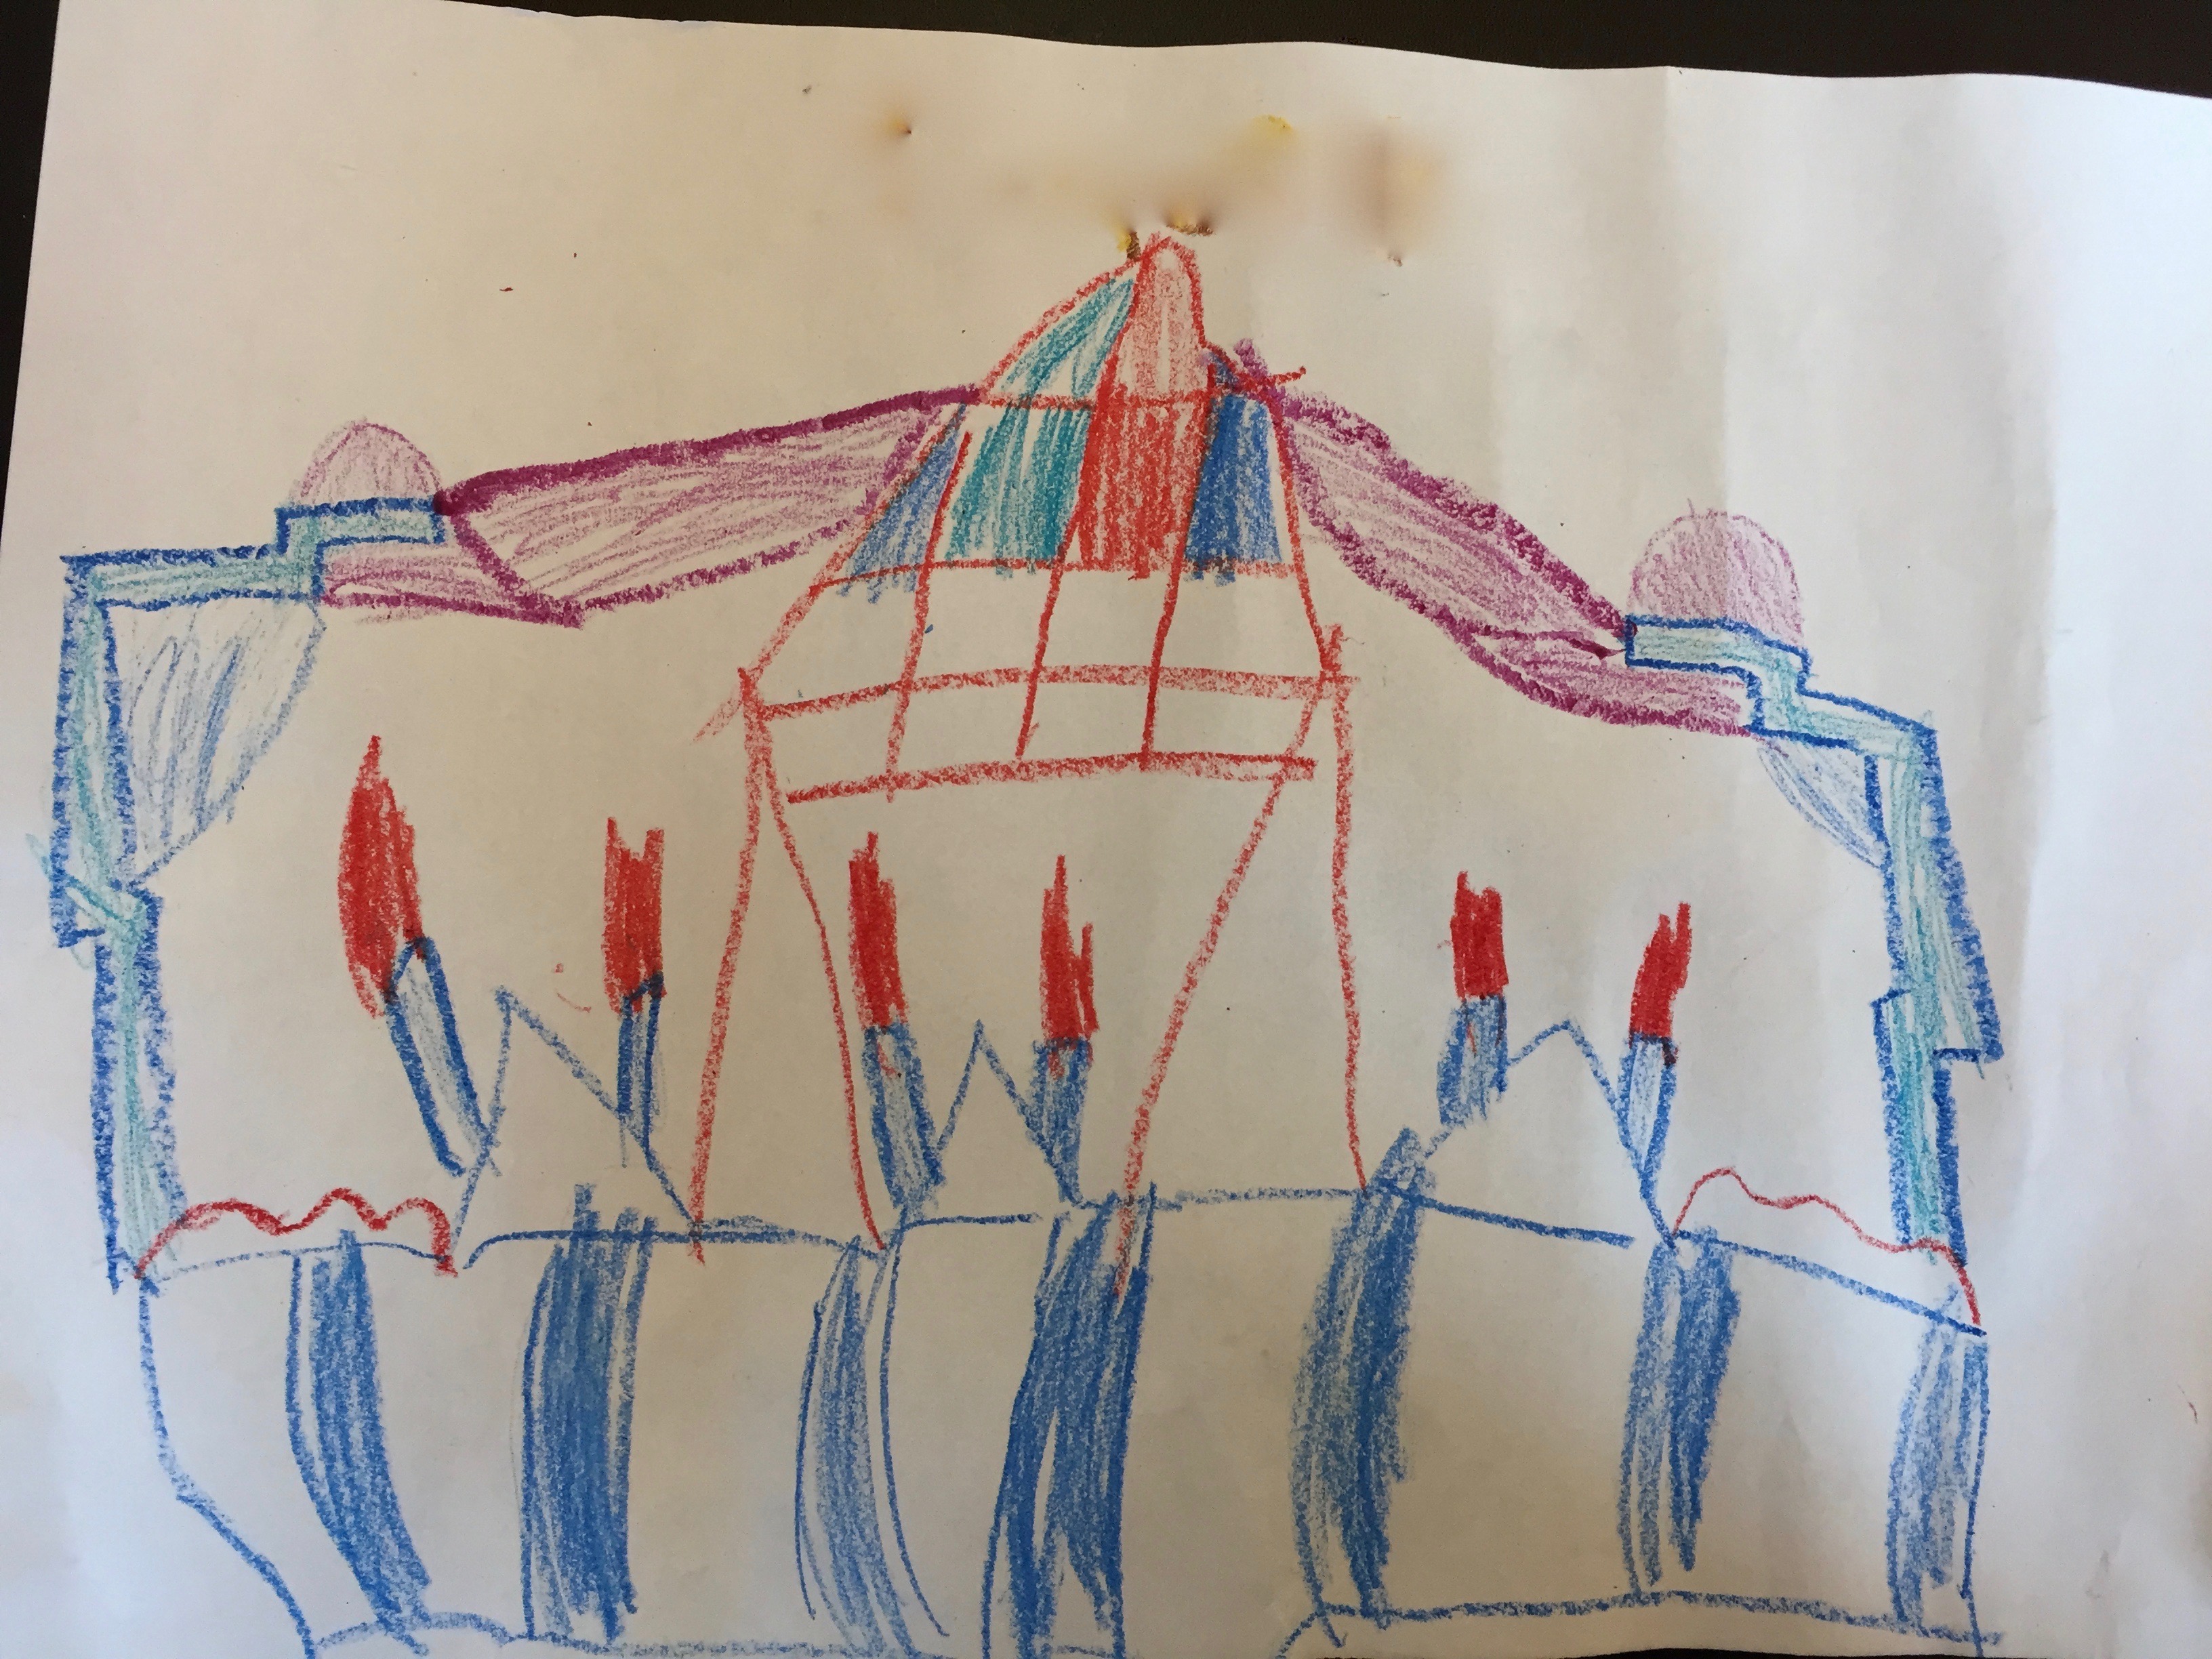
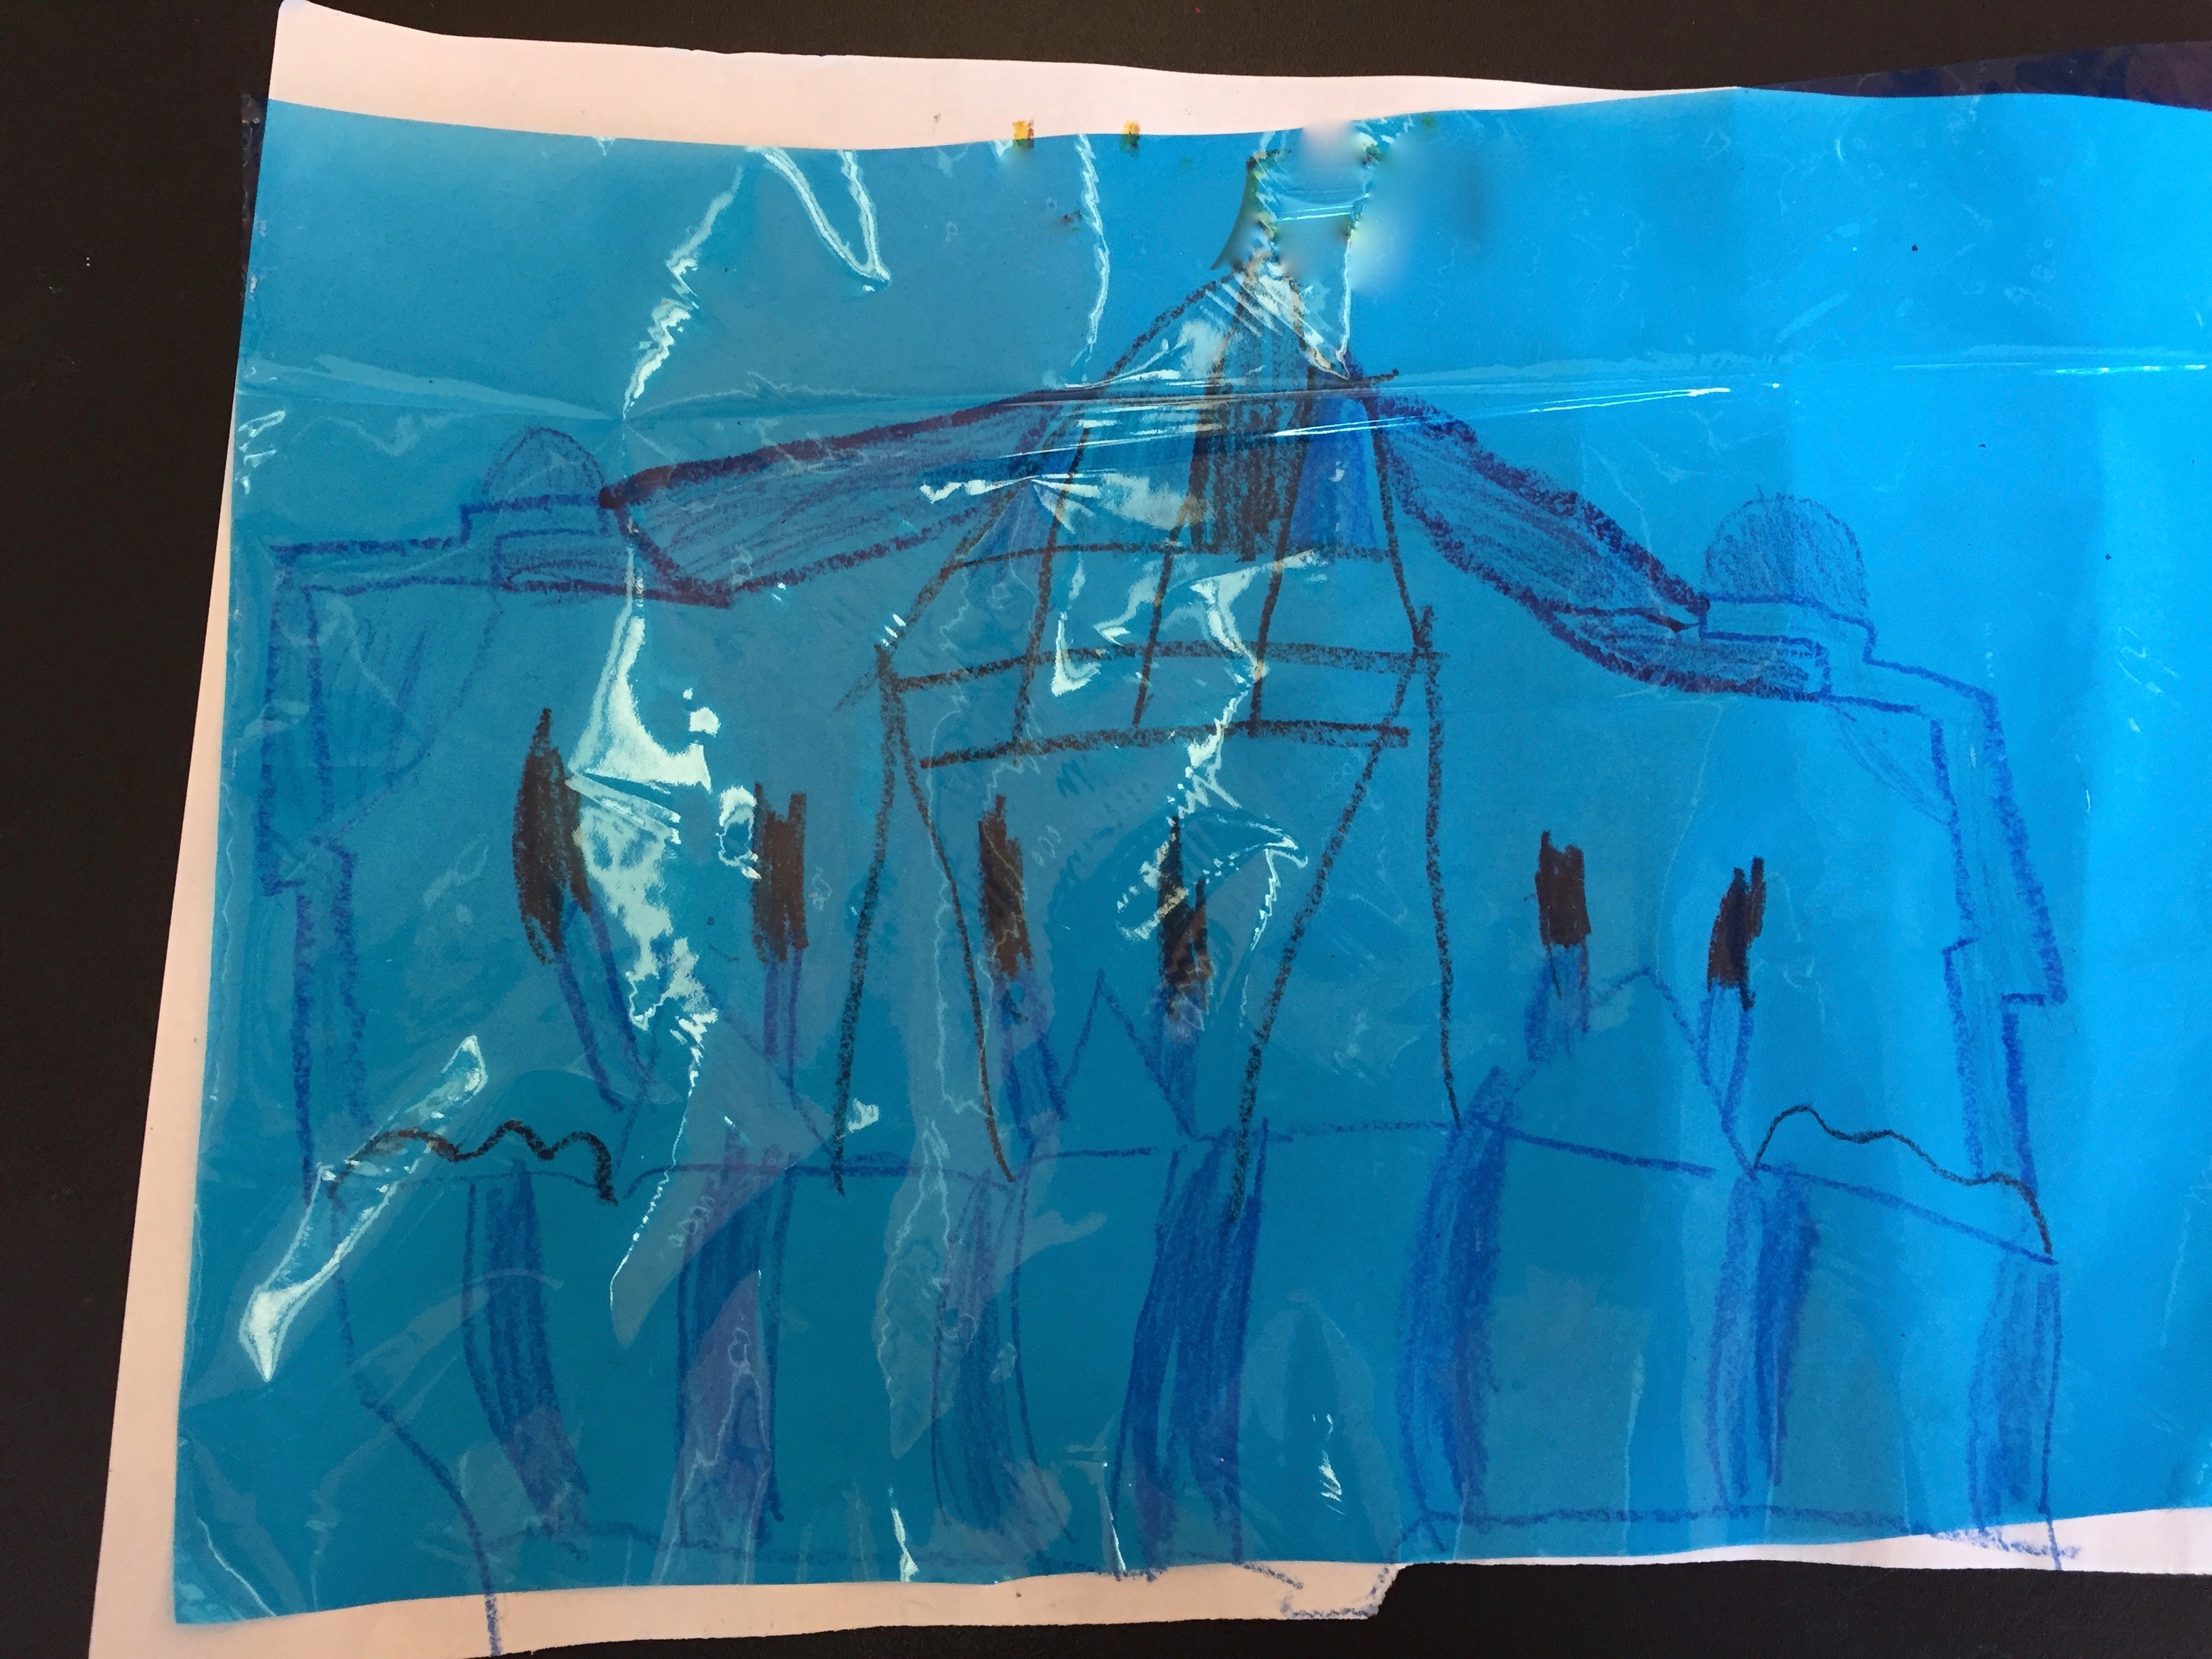
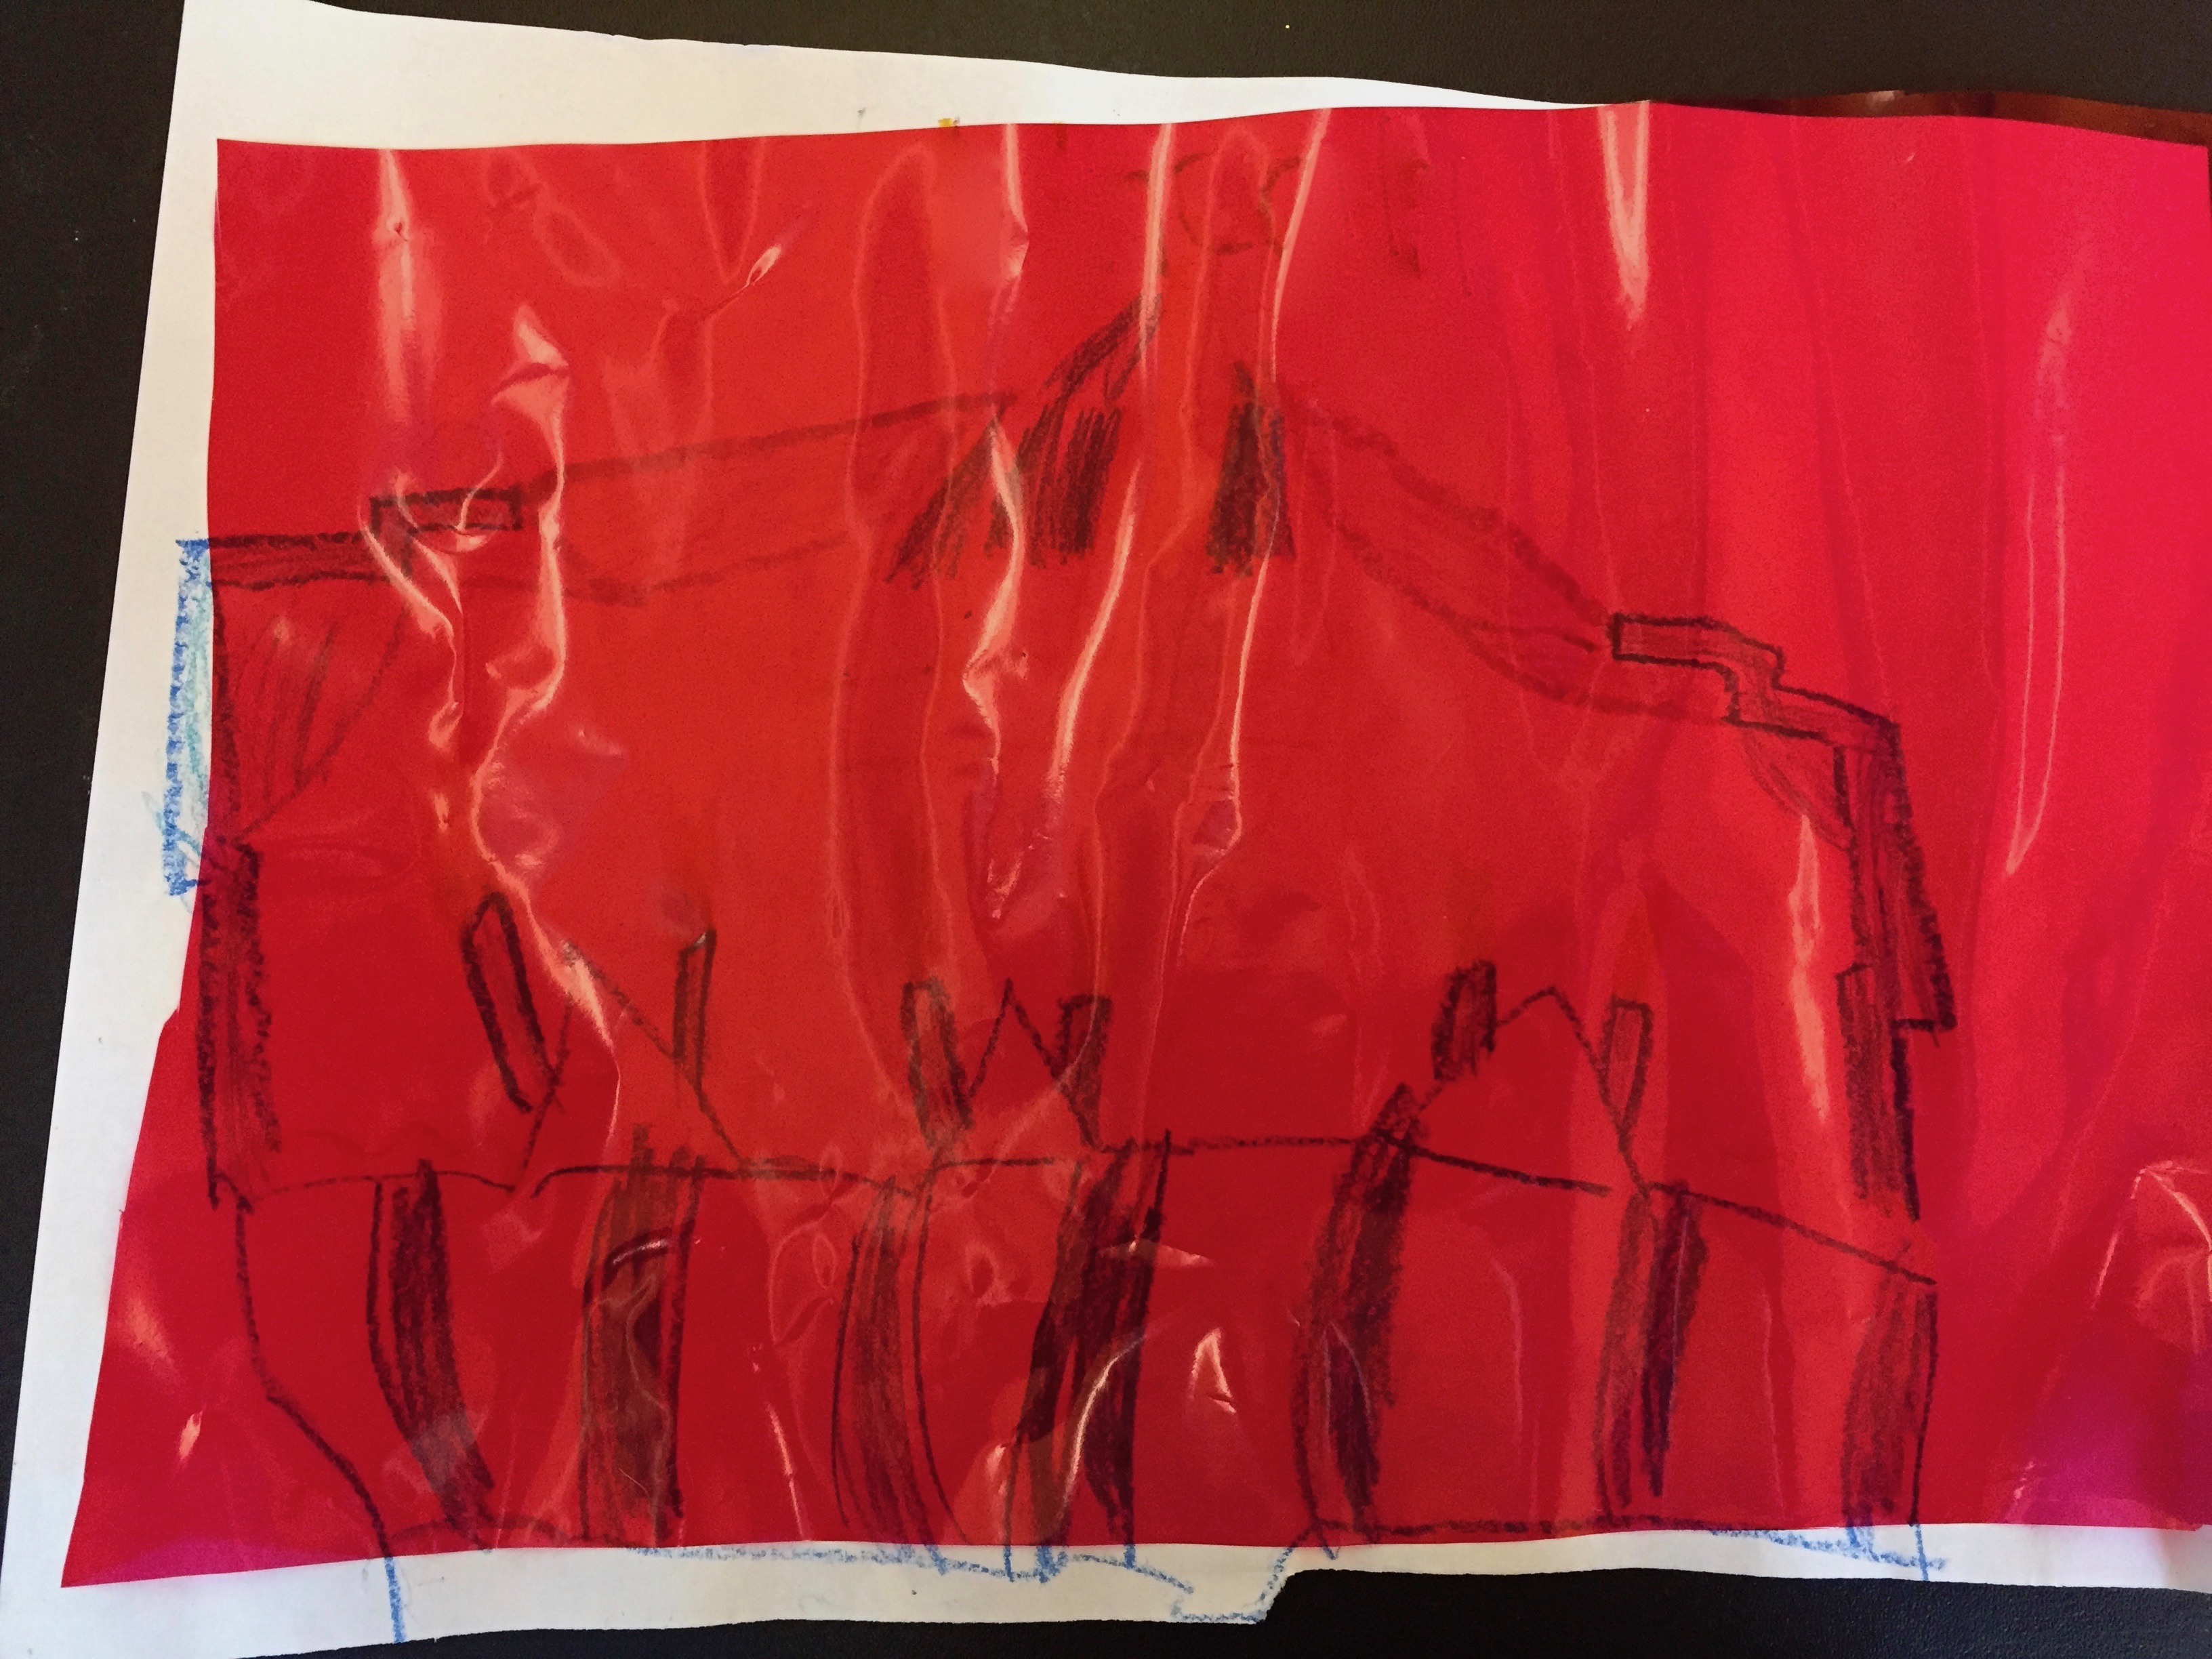
Color acetate film as a filter
Last day of camp projects should be dry ones to make it easier to take them home. Giving each child a set of red, blue, and blue-green crayons with the instructions to draw from their imaginations set them up to consider how visible each color is when seen through either red or blue colored acetate. Since it was the first day in 10 that it wasn’t raining I thought we could skip the discussion to spend more time outside. They came back in after enacting the Harry Potter books 1, 2, and 3!
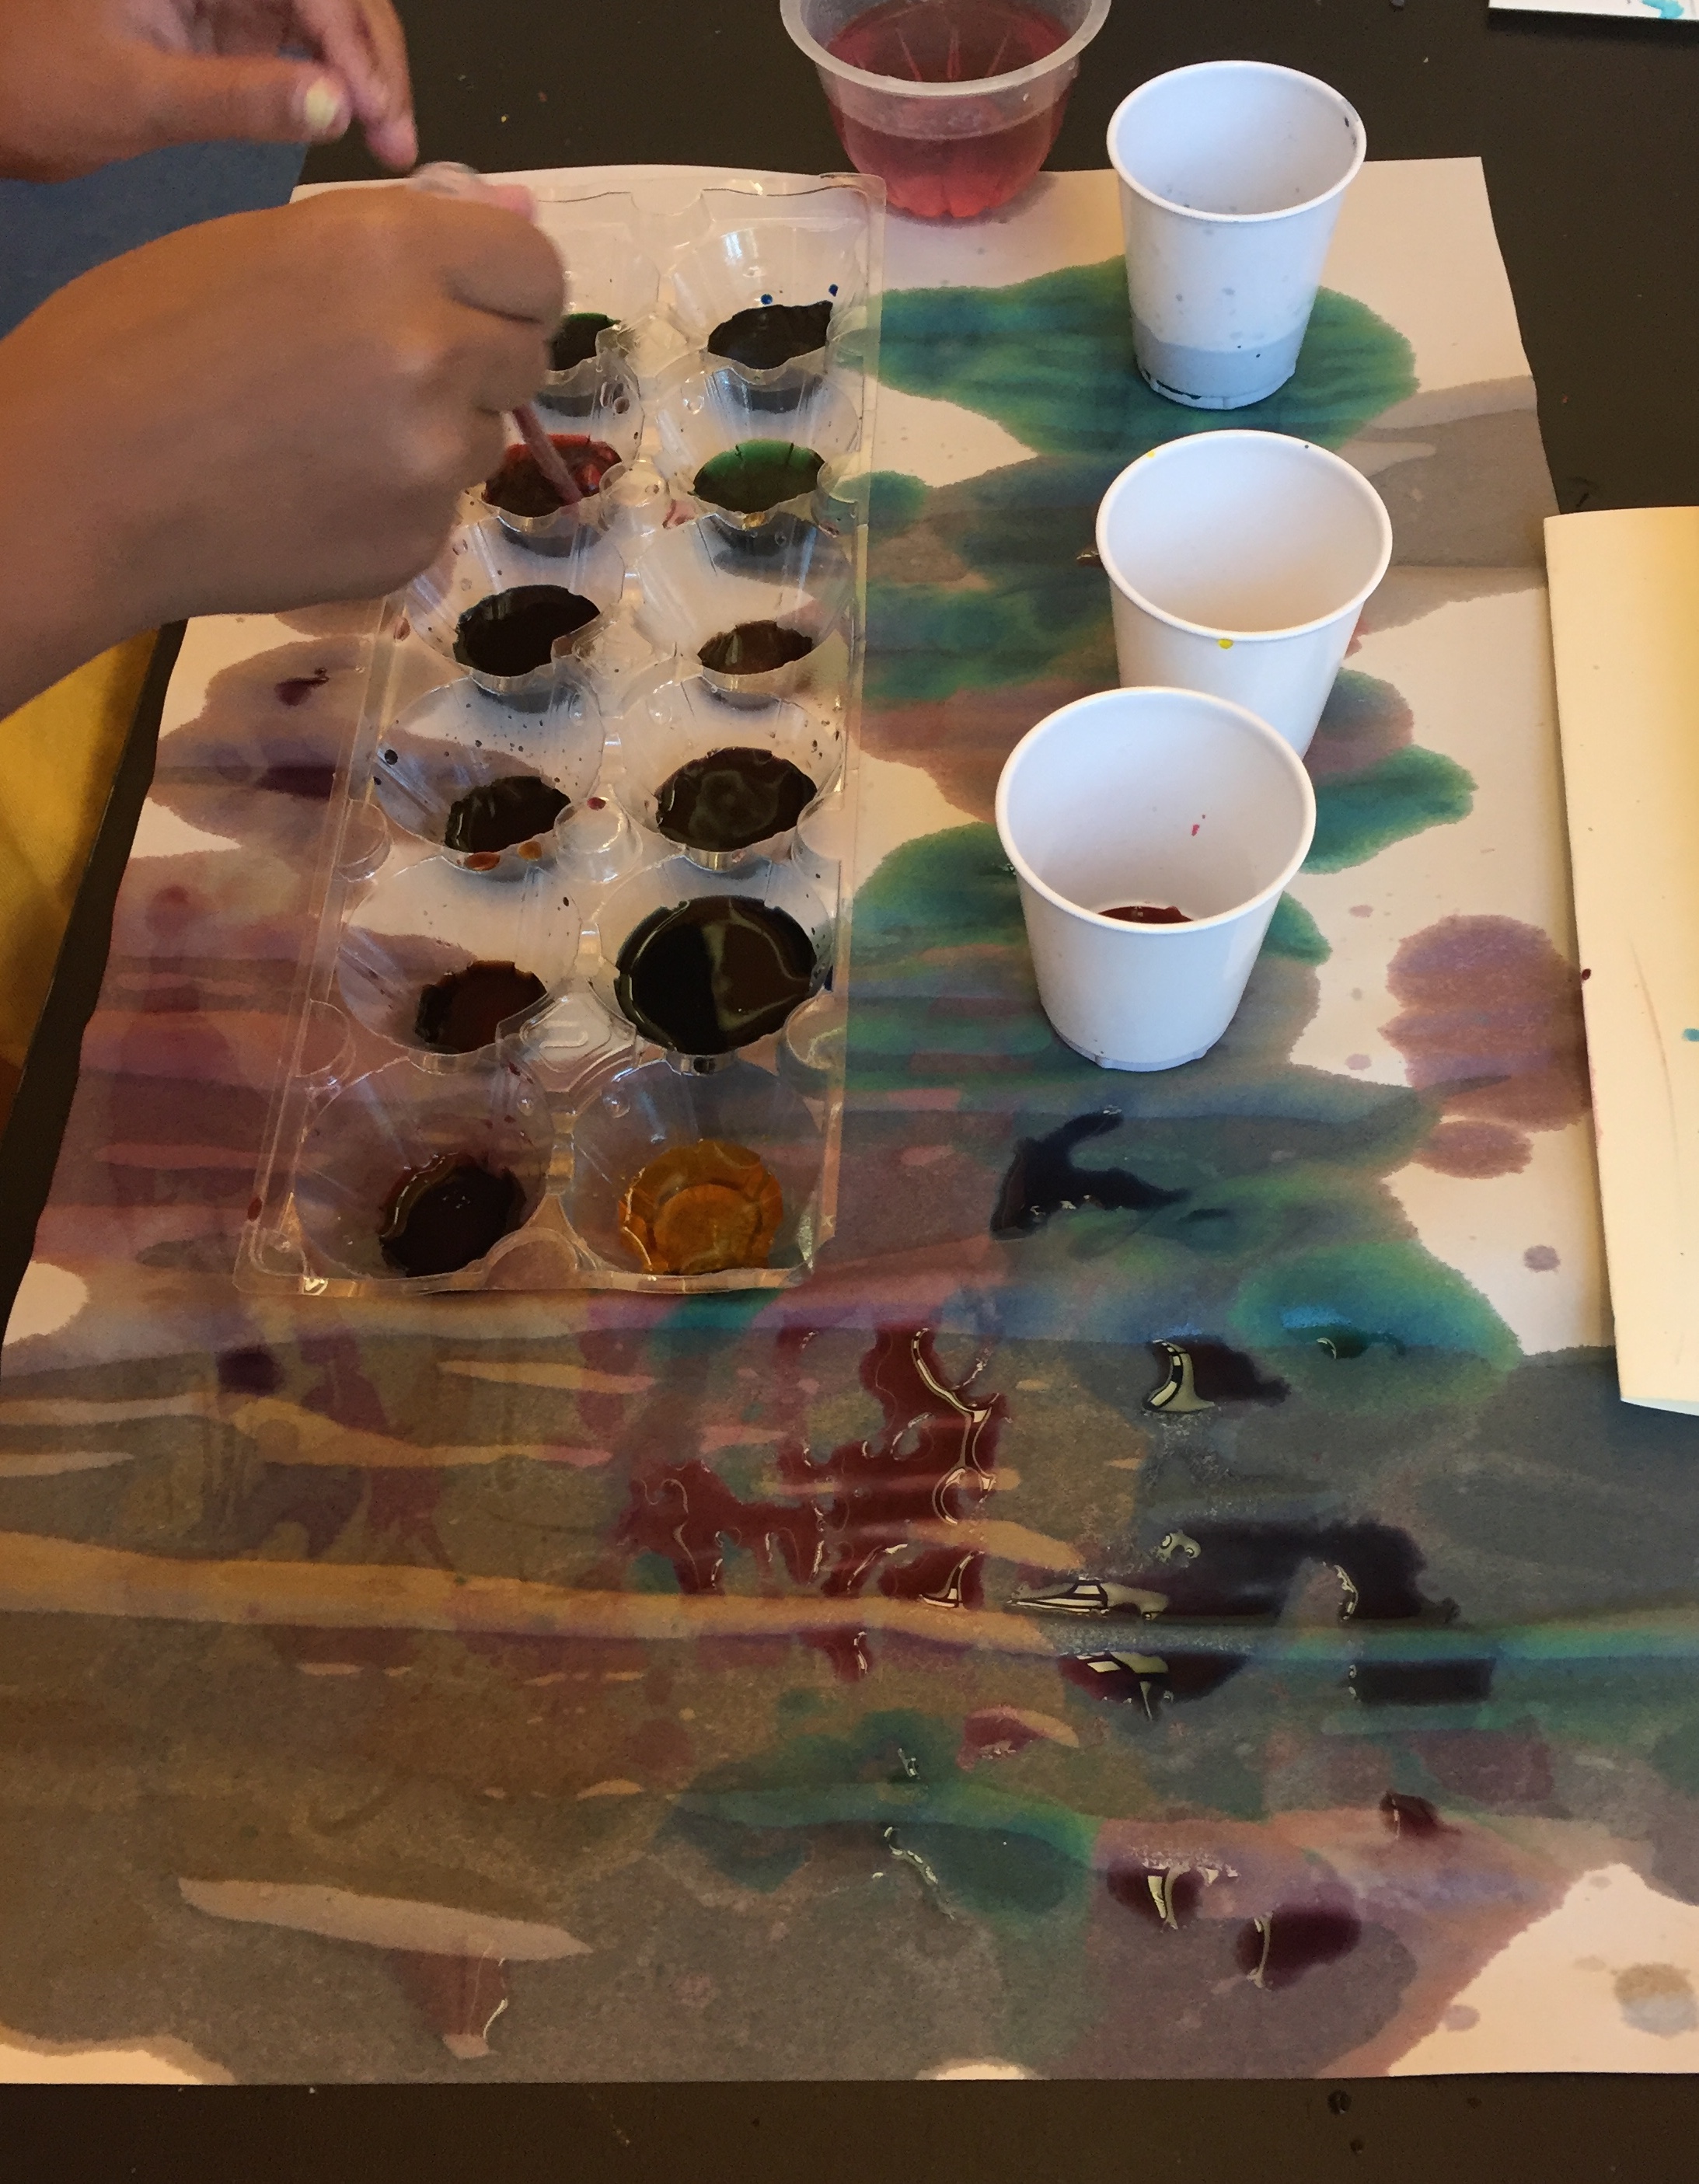
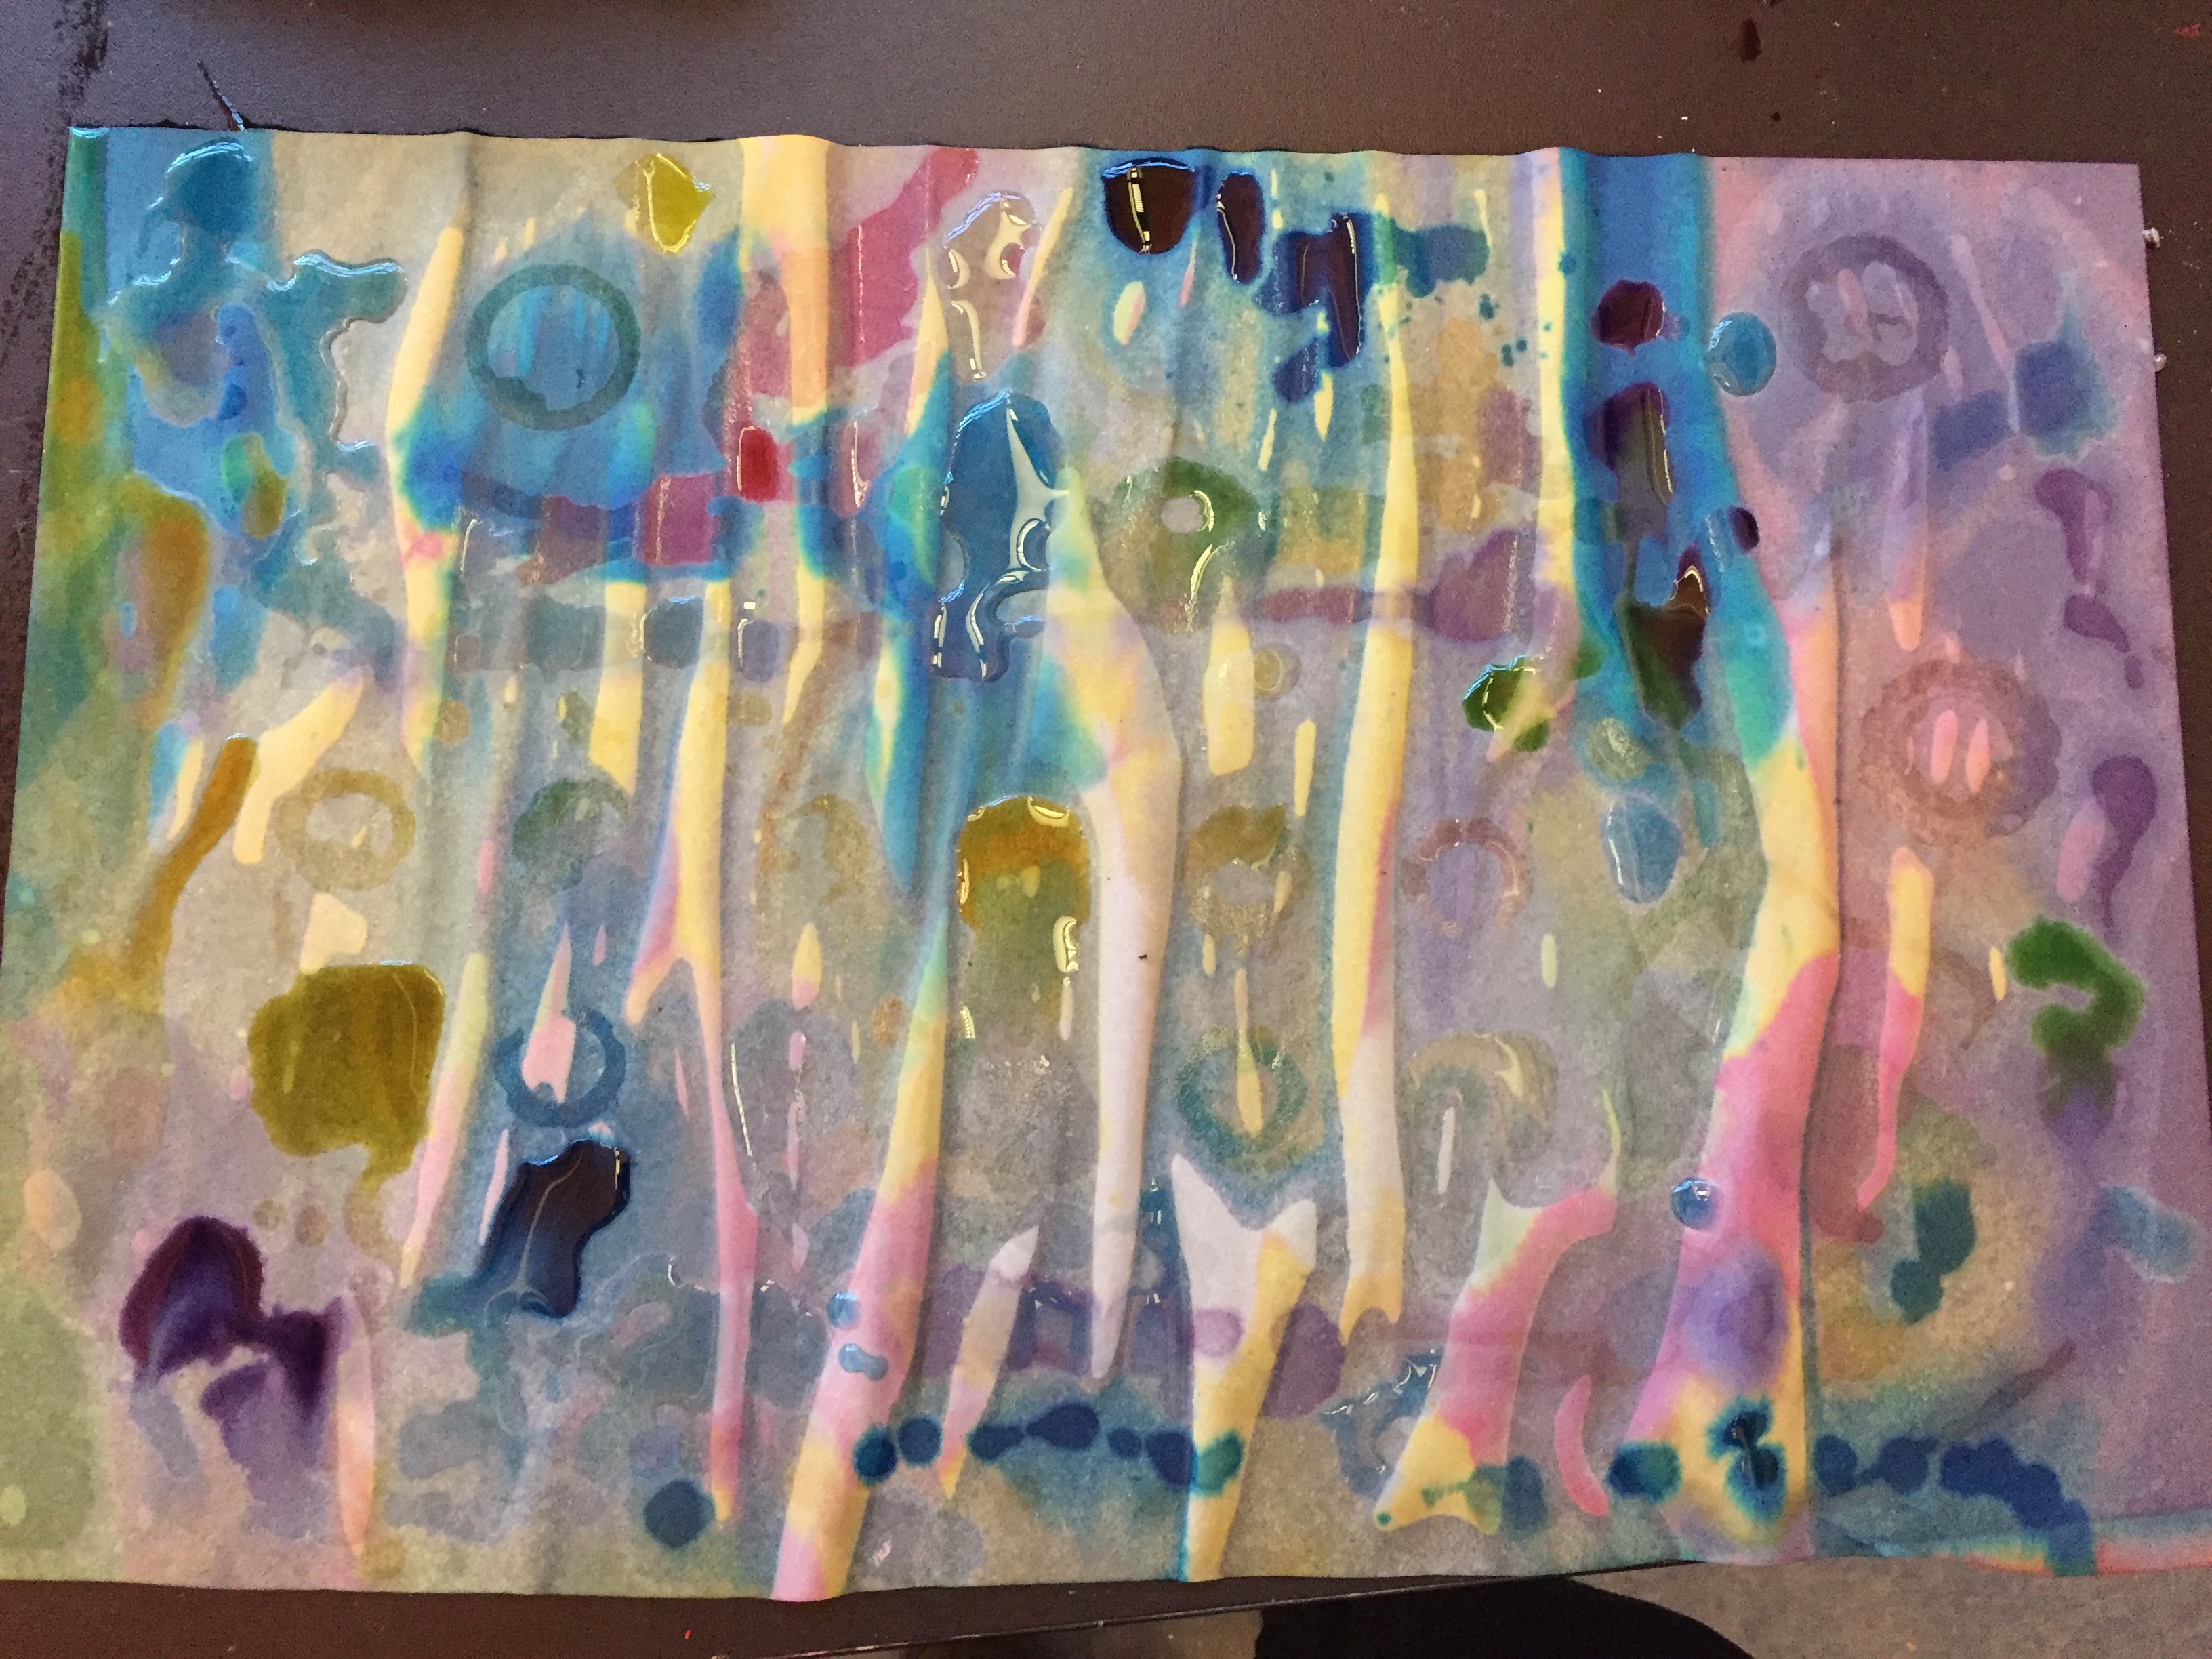
Mixing new colors
Last day of camp projects can also be ones without a product to take home. Using up some already-diluted liquid water color paint we gave each child a set of red, yellow, and blue colors and a pipette to mix colors drop by drop in a plastic egg carton with a sheet of newsprint underneath. The conversation slowed as children meditatively moved the colored water, and then exploded as they began to share about the new colors they made. Dropping paint onto the paper documented the colors and a photograph of the filled page allowed children to take the results home without packing up a wet page. It was a perfect activity to end our week of exploration of interactions between art media.
Next time I will begin by eliciting children’s ideas about the kinds of art materials they are familiar with, and ideas for how we can combine or change those materials. This will set the stage for thinking more about what causes, or happens in, the interactions.
I needed a few more days or weeks to move the class from explore to explain. If we had more time to reflect with the children on how they liked using the various media, and what choices of media they would make in creating more art, they would have elaborated on their understanding by making their own choices of media. I would ask questions such as, “Let’s make a picture of today’s weather—how will you show what it feels like?” and “If you were going to make a great big statue of your favorite Pokemon, what media would you choose?”
Disclaimer: The views expressed in this blog post are those of the author(s) and do not necessarily reflect the official position of the National Science Teaching Association (NSTA).