
Elementary Informal Education | Daily Do
Why Do Some Objects Stick to the Refrigerator?

Crosscutting Concepts Disciplinary Core Ideas Is Lesson Plan NGSS Physical Science Science and Engineering Practices Elementary Informal Education Grade 3
Sensemaking Checklist


Grab the magnets from your refrigerator and get ready to explore! In today’s task, Why Do Some Objects Stick to the Refrigerator?, NSTA Press author Patrick Brown uses the strategy of explore-before-explain to engage students and their families in science and engineering practices and the use of patterns as a thinking tool to make sense of science ideas about magnets.
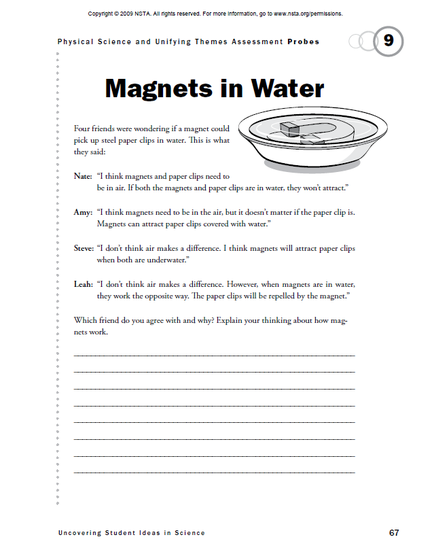
Students can kick off the lesson by considering an assessment probe that asks them to decide which of four different student explanations accurately describes the magnetic forces between magnets and paper clips in the air and in water (Keeley and Tugel 2009, p. 67). Give students independent thinking time to select the best student explanation and to share their thinking using text, pictures and/or symbols.
Next, take advantage of the opportunity to have students engage in “partner talk” and share their ideas. Encourage students to explain why they think one student explanation is the best and why they think the others are not.
The exciting part of the prediction phase (step 2) is that students will have a chance to explore these ideas firsthand. Sometimes the best learning comes from explorations that provide answers different from our initial thinking (i.e., provides a discrepant event). The magnets in water question can easily be tested using the materials in the probe (magnets, paper clips, and water).
Follow-Up Questions for Step 1
As you discuss the probe, ask the following questions (make sure to follow up each question with Why do you say so?
- Can magnets work in water?
- Can magnets work in air?
- Do magnets need to touch the material to work?
Extend the probe by asking students the following questions.
- Can magnets work through paper?
- Can magnets work through a notebook?
- Can magnets work through a tabletop?
Students can make connections between different household investigations and how magnets work. For example, they may mention that a magnet works without touching the object. The goal in the first exploration is to begin to develop the idea that magnetism is a non-contact force.
The second exploration also starts with an assessment probe activity. Have students generate a list of objects in their surroundings that they think are magnetic or not magnetic. As students write their lists, engage them in “partner talk,” which can spark productive discussions. For instance, have them discuss whether there are similarities and differences between items on their list. Challenge students to state the rule that they used to make their decision. (As a note to parents and teachers, many students believe that all metal materials are magnetic. They use this idea as their rule for making predictions about whether household items are magnetic.)
With these forecasts in mind, have students investigate whether the materials they listed are magnetic. You might ask students to share with a partner how they would conduct the investigation. Then, ask students to share ideas with the class and collaboratively design the investigation. Students will likely agree they should test whether a magnet is attracted to each item on their list and record their findings. Depending on the students’ initial lists, you can ask many partner-talk questions that can guide thinking and help develop understanding.
Follow-up questions for Step 2
- What pattern(s) do you notice in your data (observations)?
- Are all the metal materials magnetic?
- Were any nonmetal materials attracted to the magnet?
After all students have collected data, return to the follow-up questions for Step 1 so students can begin to articulate how magnets work.
When I did this lesson with my students (kids), I also asked whether magnetism can travel through different objects. Students noticed that magnetism (both attraction and repulsion) went through paper (a notebook) and water but not through a wooden tabletop. They said, “We need a more powerful magnet for it to travel through the thick tabletop.” In making such a statement, students showed that they were learning that the size of the magnetic force is influenced by different materials.
As you work through step 3, encourage students to make a claim about magnetism that is based on evidence from their data (observations). Ask students, “What pattern(s) do you notice?” to support them in selecting relevant evidence to support their claim.
When I completed this activity at home, my students and I found that (1) most metal objects, except a metal spoon and door handle, were attracted to the magnet, and (2) none of the nonmetals were attracted to the magnet. My students observed from the data they collected that not all metals are magnetic, or as one child put it, “The metal in the spoon must be a type of metal that is not magnetic.” I was pleased with this statement because it was a scientific claim based on the evidence from data collected.
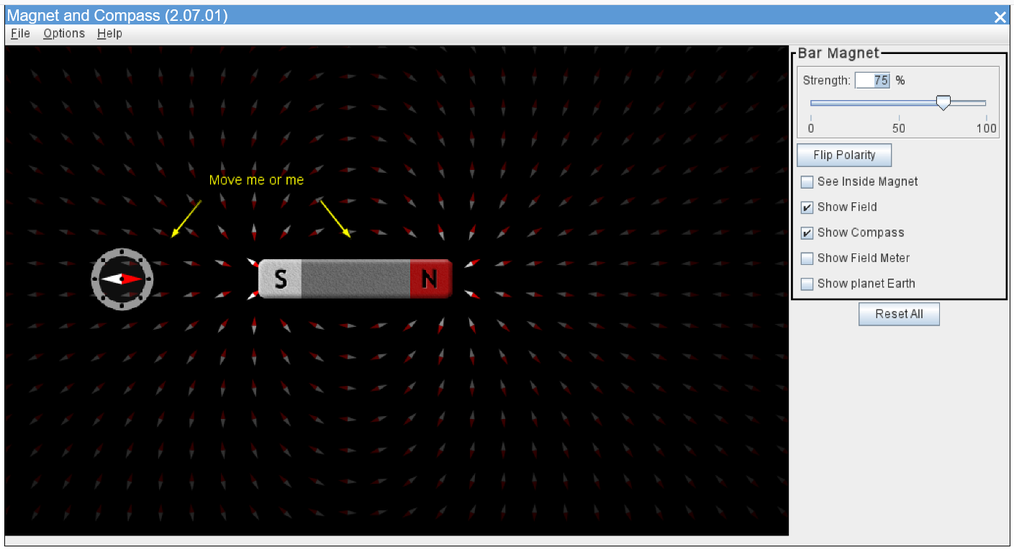
The next set of investigations allows students to develop a deeper conceptual understanding of magnetism. Using the online simulation “Magnet and Compass”, students can explore how magnetic poles interact and how a compass works. During the activity, have students slowly move a compass around one bar magnet. To their surprise, they will see that the compass needle moves in a full circle as they slowly move the compass all the way around the bar magnet. This demonstration helps students learn how magnetic forces are related to the orientations of the magnetic materials.
Follow-up Questions for Step 4
-
What happens to the compass needle as you slowly move it all the way around the bar magnet? Why do you think this is happening? (You might ask students to look back to their data (observations) to support their ideas with evidence.)
Step 5: Paper Clips and Magnets
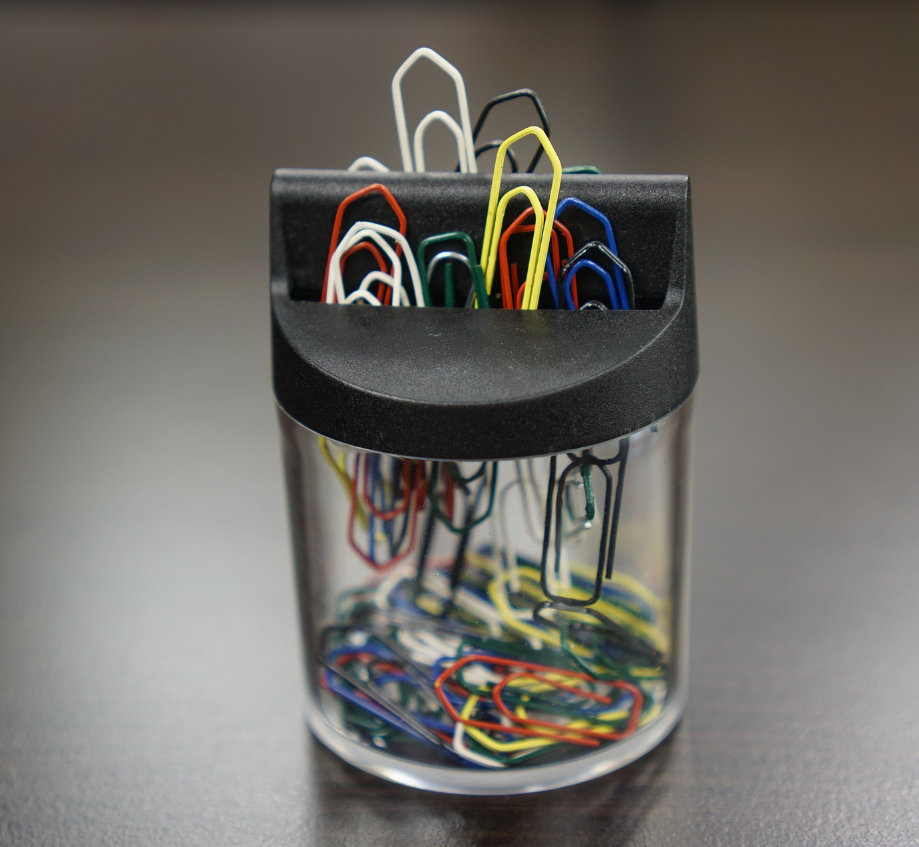
The last set of investigations uses paper clips and magnets of different sizes to answer the following question: Which of three different sizes of magnets (large, medium, and small) will hold the largest number of paper clips?
To investigate this question, ask students make predictions about which magnet will hold the most paper clips and ask them why they think so. Students can connect the paper clips in a chain-link fashion to collect quantitative data about the strength of a magnetic. This challenge works well if one of the magnets is a small neodymium magnetic [dime size]. Students will be in awe of how much a neodymium magnet can hold compared with other household magnets.
Depending on the magnets available to you, students may be able to conclude that when the magnets are made out of the same material, magnetic strength increases as the size of the magnet increases. They may further conclude some materials (neodymium) make stronger magnets than other materials.
Follow-up Questions for Step 5
- What pattern(s) do you see in your data (observations)?
- Which magnet holds the most paper clips? The least?
One way to see if students are developing ideas about magnetism is to ask them to explain this Floating Ring Magnets demonstration. Students will be amazed to see that when the magnetic rings are let go, they float with a small amount of air between each ring. Based on their experiences, students can explain that the ring magnets are arranged so that their like poles face each other; hence, the magnets repel each other.