
Middle School | Daily Do
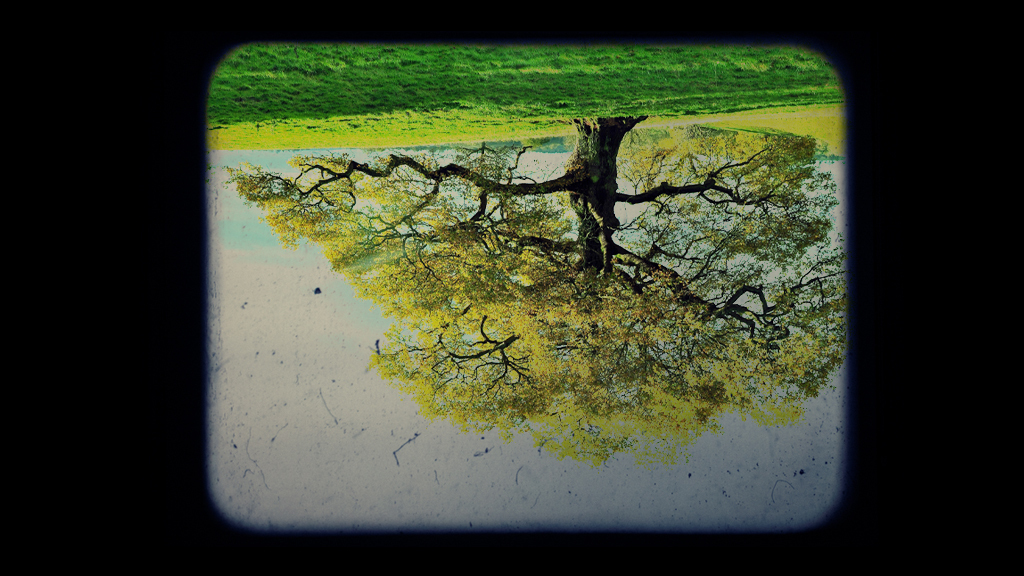
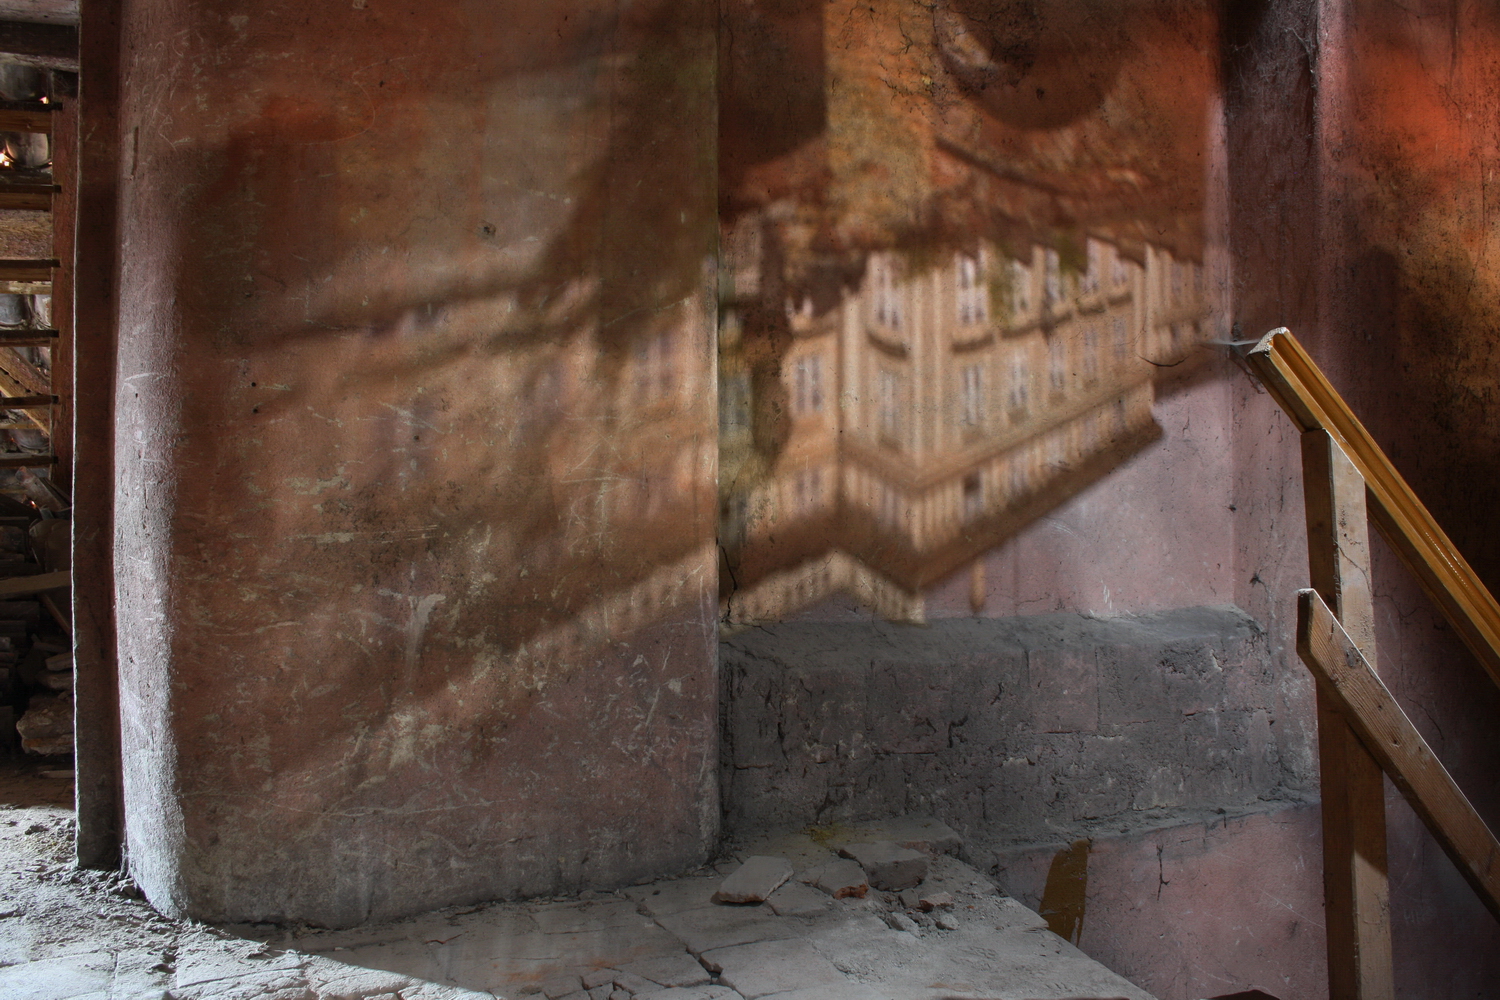
Why Is The Image Upside Down?
General Science Is Lesson Plan NGSS Phenomena Physical Science Science and Engineering Practices Middle School Grades 6-8
Sensemaking Checklist


Introduction
In today's Daily Do, Why is the image upside down?, students engage in science and engineering practices to try to explain how a simple pinhole camera produces an upside image of the object being viewed. This task supports students' sensemaking in the Can water change the path of light? Daily Do lesson. Consider completing this task between Investigation 1 and 2.
Preparation
Pinhole Viewer Materials (per student or pair of students)
- opaque paper or plastic cup (6 - 8 oz)
- wax paper square (slightly larger than the opening of paper cup)
- rubber band or tape
- pushpin
Path of Light Investigation Materials (per student group)
- poster putty or modeling clay (walnut-sized piece)
- 4 index cards (3 in x 5 in or 4 in x 6 in)
- hole puncher (or sharpened pencil)
- ruler
- flashlight
Prior to constructing the pinhole viewer with students, you may want to view the Inverted Images in a Pinhole-Viewer video. The Make a Pinhole Projector! activity also provides directions for constructing a pinhole viewer and a brief explanation of how it works. (Neither resource should be shared with students.)
Consider reflecting on classroom norms with your students at the start of this lesson. In the "four corners" strategies described below, students provide feedback on their group members' models. Emphasize the feedback provided addresses students ideas and not the students communicating the ideas through their models. These Classroom Norms from OpenSciEd can provide a starting point for conversations about norms with your students.
Experiencing the Phenomenon
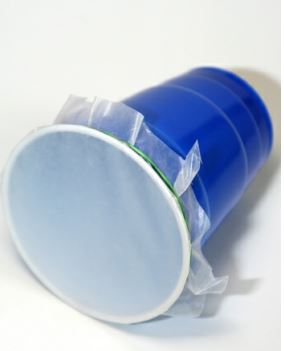
Say to students, "I have a puzzling phenomenon to share!" Tell them to observe the phenomenon, they will need to construct a pinhole viewer (also known as a pinhole camera and pinhole projector). Provide students with the following directions:
- Use the pushpin to punch a hole in the center of the cup's bottom.
- Stretch the wax paper across the mouth of the cup.
- Use a rubber band or tape to secure the wax paper to the cup. Make sure the wax paper is stretched tightly across the mouth of the cup.
Provide a bright object for students to view such as window, projected image on a screen, candle flame, or bare light bulb. Tell students to point the bottom of the cup toward the object and look for the image of the object on the wax paper. For best results, the room should be dark. Students should see an inverted image of the object on the wax paper. If students don't usee the image, suggest they slowly rotate the cup in their hands. If that doesn't work, tell them to very slowly tilt the cup up and/or down while still aiming the pinhole at the object. The image should appear.
Turn the lights on and ask students to record their observations of the phenomenon using words and pictures. Ask students to turn and talk with a partner to share their observations.
Next, create groups of three or four students. Provide each group with a large whiteboard or piece of poster paper and ask them to divide the whiteboard/poster paper into four equal spaces. Give students about five minutes in the Alone Zone (independent thinking time) to create a model to explain why the image appears upside on the wax paper "screen". Encourage students to use words, pictures and symbols to communicate their thinking.
Hand out sticky notes to each student, and then ask students to rotate their group whiteboard/poster paper so they have a group member's model in front of them. Instruct students to provide two pieces of feedback on the group member's model. You might offer students guidance on the type of feedback to provide including:
- Ask a clarifying or probing question about a specific part of the model that is different from your own model such as "What are you trying to show using _____ symbol/picture?", "How are (component A) and (component B) interacting?", or "Which observation supports (idea)?"
- Identify something the model communicates well, for example "I like how you represented/included this (component/interaction/idea) because ...."
- Identify two similarities and one difference between your own model and your group member's model.
Continue rotating the whiteboard/poster paper until the students' own models are in front of them again. Give students time to reflect on the feedback and revise/add to their models before bringing the class back together.
Using the "four corner" strategy in synchronous and asynchronous distance learning environments: You can adapt this strategy for distance learning environments Google Jamboard (assign four students per frame) or Google Docs (create tables with four cells and assign each group to a table and ask them to upload or import their model into their assigned cell). Jamboard has a sticky note feature; students could use the comment feature in Google Docs to provide feedback. There are many digital tools similar to Jamboard and Google Docs that could be utilized in this way.
Bring the class back together. On a whiteboard or poster paper (or shared digital space), create a class consensus beginning with components common to most student models. Common components will likely include the pinhole viewer, the image on the wax paper "screen" and the object observed through the pinhole viewer. Students may or may not include the observer (eye). Next ask students to share differences between the models in their group. Students will most likely say they had different ideas about the light - both how light is represented in the model (wavy lines, straight lines, shaded areas representing the "glow" from the object, or other ideas) and the path the light follows between the object, screen, and the observer (eye). While most students will agree the pinhole in the bottom of the cup somehow causes the image to flip, they likely won't agree on the how. Suggest using question marks or dashed lines to represent areas of disagreement on the class model.
Say to students, "We seem to disagree about the path light follows between the object and the wax paper screen (or eye if students have included the observer in the model). What questions do we need to answer to help us explain this phenomenon?"
Students might ask
- How does the pinhole make the image flip?
- Where does the image flip?
- How does the whole image get through the pinhole?
You might say, "Our questions are about the light traveling through the pinhole. Should we investigate?"
Investigating the Path of Light
Hand out materials for the investigation and provide students with the following directions:
- Draw diagonal lines on each index card, connecting the opposite corners.
- Draw a bull's eye on one of the cards in the exact center (at the point where the two diagonal lines meet).
- Poke a hole in the exact center of the remaining three index cards. (If using a pencil, make sure the hole remains open when the pencil is removed.)
- Place four lumps of poster putty or clay in a line leaving 15 cm between each lump.
- Insert the index cards in the lumps of putty to stand them perpendicular to the table.
With the lights out, challenge students to shine the flashlight at the first card and try to hit the bull's eye drawn on the card at the end of the line. As you move around the room, ask students what they are trying to accomplish by shifting the position of the cards. They will likely tell you they are trying to "line up the holes".
Ask students to draw a model to explain how they were able to hit the bull's eye on the fourth card with light from the flashlight. You might ask students to work together to create a group model. As you move from group to group, you might ask students one or more of the following questions:
- Why do the cards need to be "lined up" to hit the bull's eye with light from the flashlight? How could you represent the path of light when the holes are "lined up" on your model?
- Why doesn't the light hit the bull's eye when the holes are not "lined up"? (What happens to the light leaving the flashlight?)
- I hear you say the card bounced (reflected) some of the light. How could you represent that on your model?
- When you say "reflected", what do you mean?
- I hear you say the card stopped (absorbed) some of the light. How could you represent that on your model?
- When you say "stopped" (absorbed), what do you mean?
Bring the class back together and engage them in a building understanding discussion. You might ask the following questions to move the class' thinking to the idea that light (generally) travels in straight lines until it strikes an object:
- What are some of your claims (about why the holes need to be "lined up")?
- What's your evidence?
- Does any group have evidence to support group A's claim?
- What seems to be true of all of our claims about why the holes need to be "lined up" to hit the bull's eye?
- What can we conclude about the path that light travels?
Ask students, "How does our understanding of light traveling in straight lines help us explain the phenomenon of the pinhole viewer projecting an upside down image of the object we observed?" Or you might be more specific and ask, "How does light traveling in a straight path explain why the bottom of the object we viewed appears at the top of the image projected on the 'screen'?" Ask students to turn and talk with a partner or small group before sharing ideas with the class.
Return to the class consensus model and ask students if there is anything they want to add to or change. Students might choose to note light may come from the object (emitted from the object) or reflect from the object.
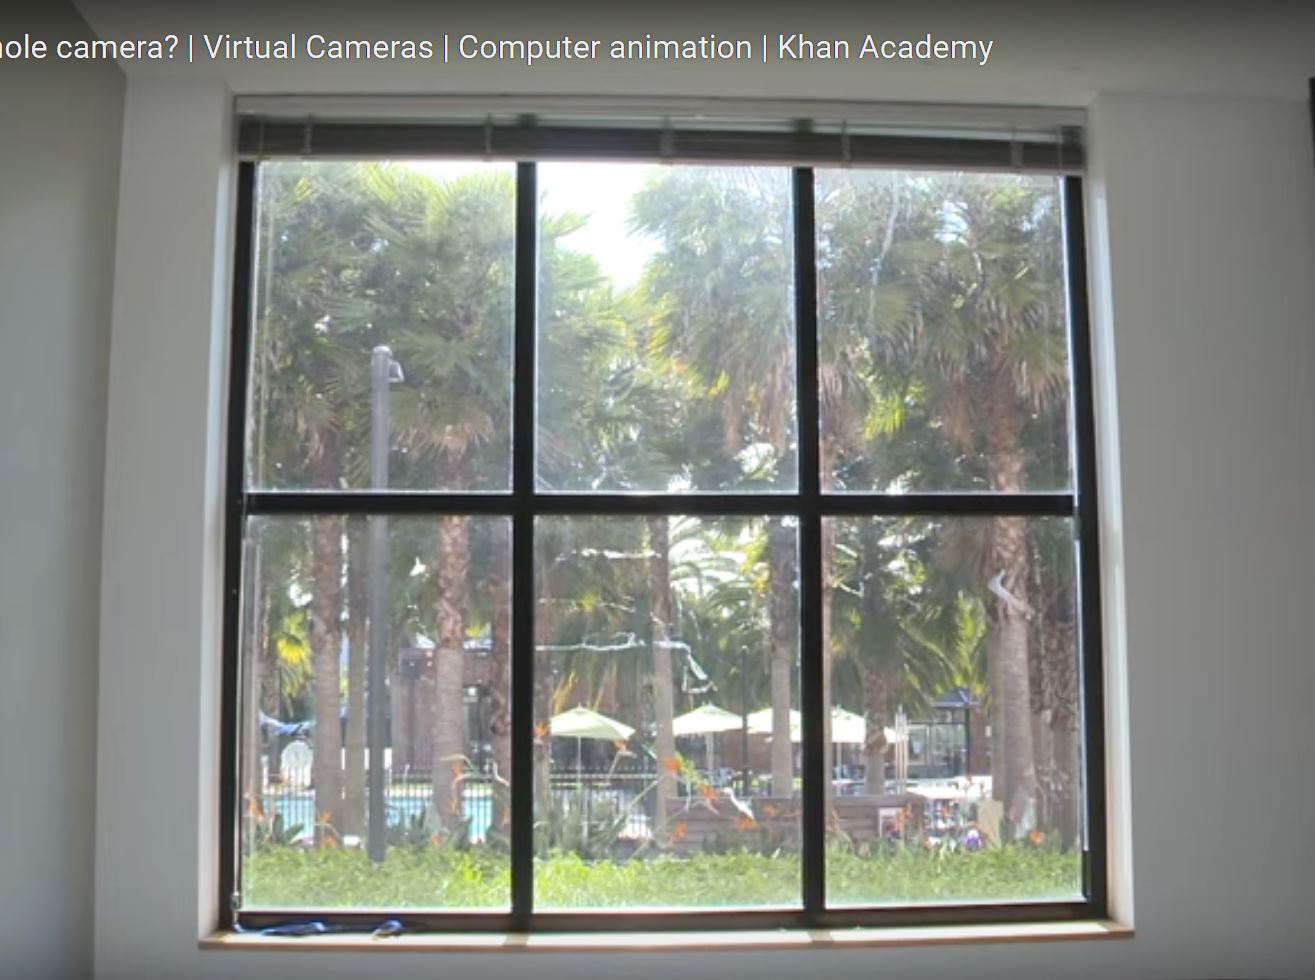
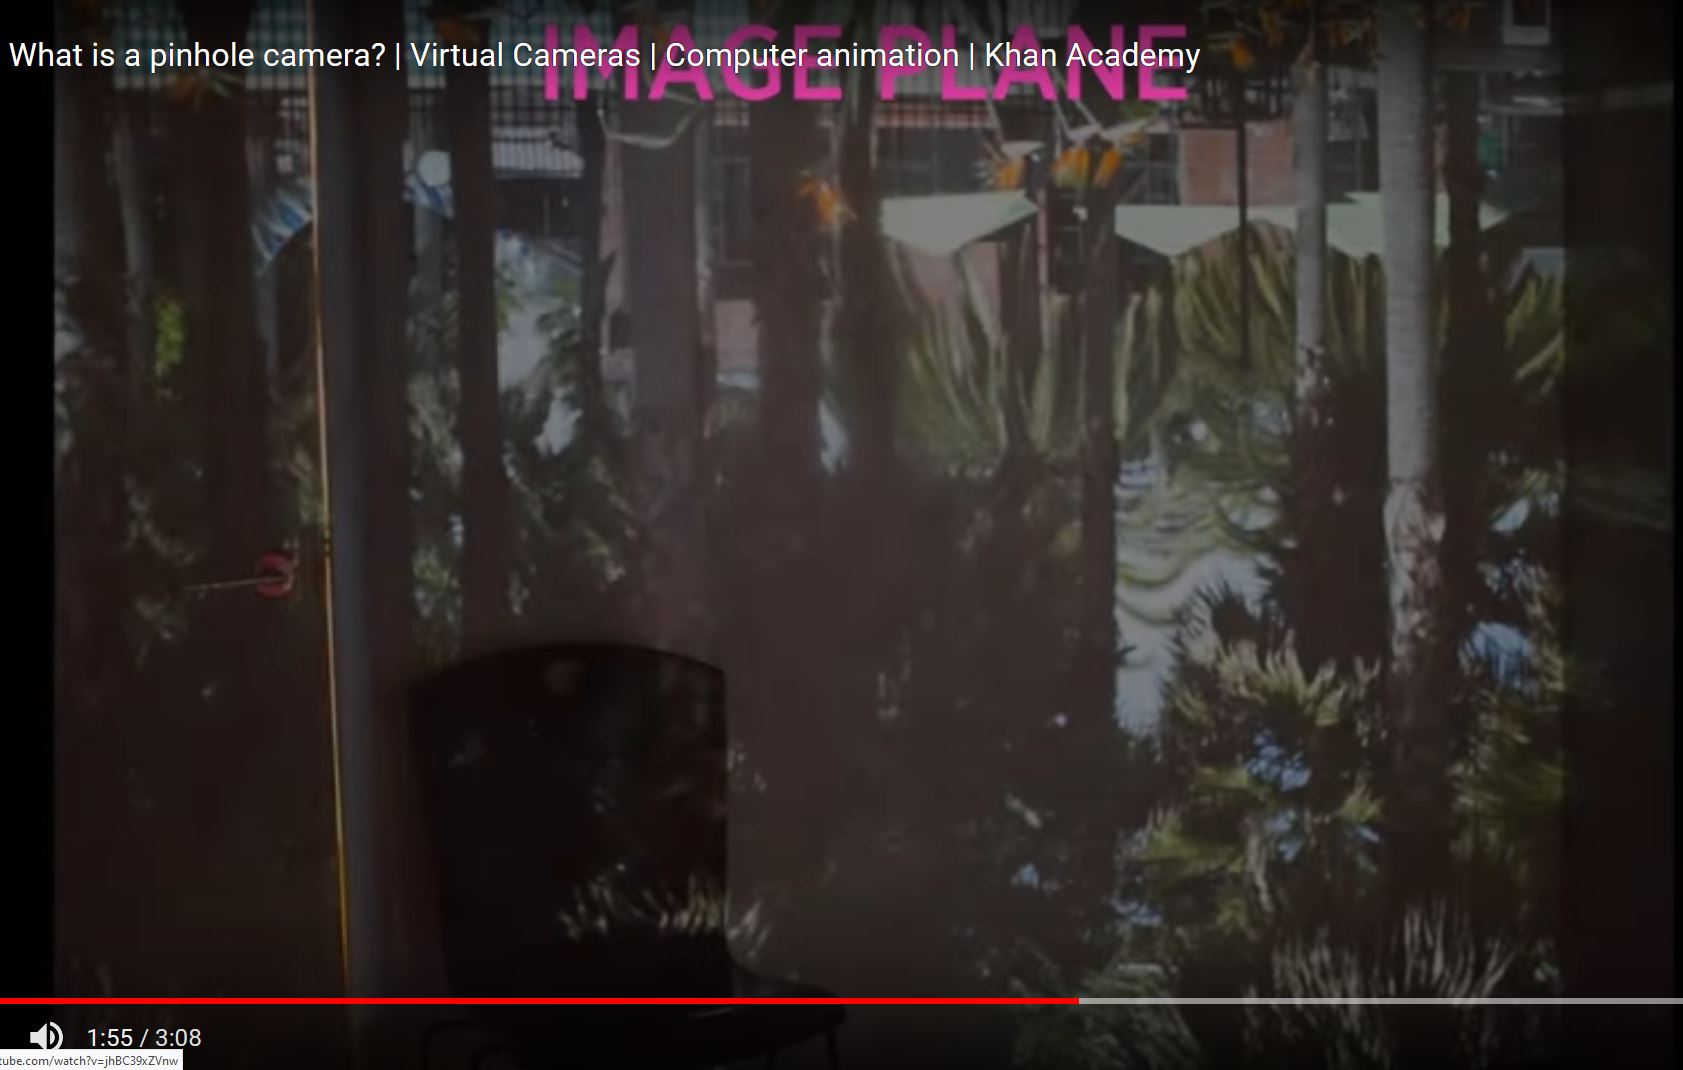
Show students the What is a pinhole camera? video. Begin the video at 0:58 and play until 1:27. Ask students to carefully observe the scene outside the window. You might ask students to turn to a partner and share their observations of the scene with each other. Resume the video and play until 1:55. Give students time to observe the image. What do they see? Resume the video and play to the end.
Ask students, "How is the pinhole camera in the video like our pinhole viewer? How are they different?" Ask students to turn and talk with a partner and then invite them to share ideas with the class. Students will likely share that the image is viewed from inside the camera in the video and from the outside of their pinhole viewer. If students don't share that the "object" being viewed in the video (outdoor scene) is reflecting light and not giving off light like the object they viewed, ask, "What is the source of light entering the pinhole camera in the video." Students will likely say sunlight. Keep questioning them until they agree sunlight reflecting off of the objects in the outdoor scene (trees, tents, etc.) is entering the camera.
Extension
Ask students to use their models (or class consensus model) to predict how changing the following variables would effect the image produced by the pinhole viewer:
- increasing/decreasing the amount of light coming from the object (either light emitted by the object or light reflected from the object) and
- increasing/decreasing the size of the "pinhole"
Why do they say so?
Then, investigate the effect of changing the amount of light and size of the "pinhole" (aperture) on the image produced by the pinhole viewer using the Simple pinhole camera simulation.
You might use the questions on Simple pinhole camera webpage to formatively assess your students understanding of how the phenomenon occurs.