
science 101
Q: How Can My Students Demonstrate Information Transfer Using Waves?
A: The most common waves used for sending information are sound waves and light waves. Light waves could include any type of electromagnetic radiation, such as radio waves. It might be easiest to start with sound waves (which should not be confused with radio waves), and students should first understand that sound can make matter vibrate, and vibrating matter can make sound. (Recall my April/May 2019 article about sound, see Online Resources.)
Sound
We are used to hearing sounds that have traveled to our ears from a person speaking or from a musical instrument. That sound travels through the air due to the air molecules vibrating back and forth and pushing on other air molecules. Have your students heard about people, perhaps long ago, sending messages using drums? Some animals use sounds to communicate that we cannot hear (see Online Resources). If you have a push-button buzzer, students can create a code and use the buzzer to send messages. Perhaps they can learn morse code (see Online Resources).
Another way to use waves for communication is by making a cup-and-string “telephone”—a classic project, but here enhanced by the additional discussion of waves carrying the sound (or “information”). To make our cup-and-string phone, you’ll need two cups, two paper clips, and about 25 feet of string. Since paper or Styrofoam cups tear easily, you might want to use plastic (e.g., Solo) cups. You can also use empty soup cans instead of plastic cups, and if you use soup cans, you can use metal washers instead of paper clips for attaching the string. You’ll also need something to poke a hole in the center of the bottom of each cup. If you’re using soup cans, you can make a hole in the bottom by hammering a nail through it. The arrangement should look something like what you see in Figure 1.
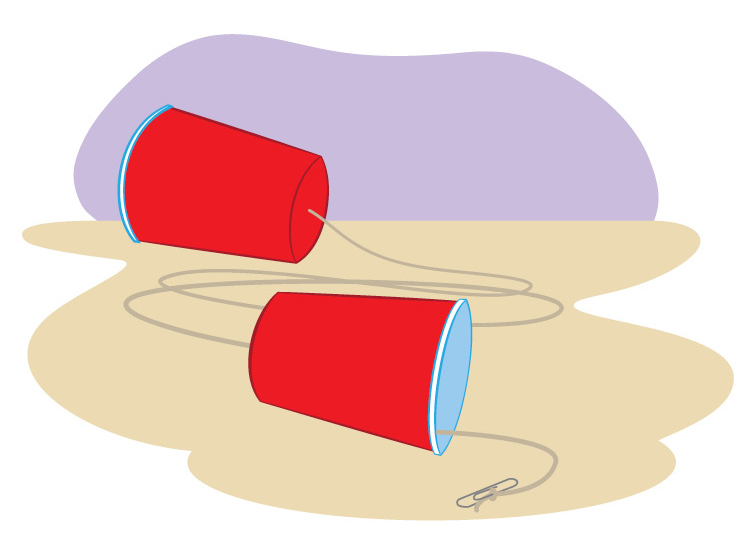
Each end of the string goes through a hole in the bottom of a cup and is tied to a paper clip.
Caution: Many photos of people using cup or tin can phones are misleading. They show people with the string dangling loosely between the two ends. This will not work. The string must be pulled tight (while holding the sides, not the bottom, of the cups or cans). See Figure 2.
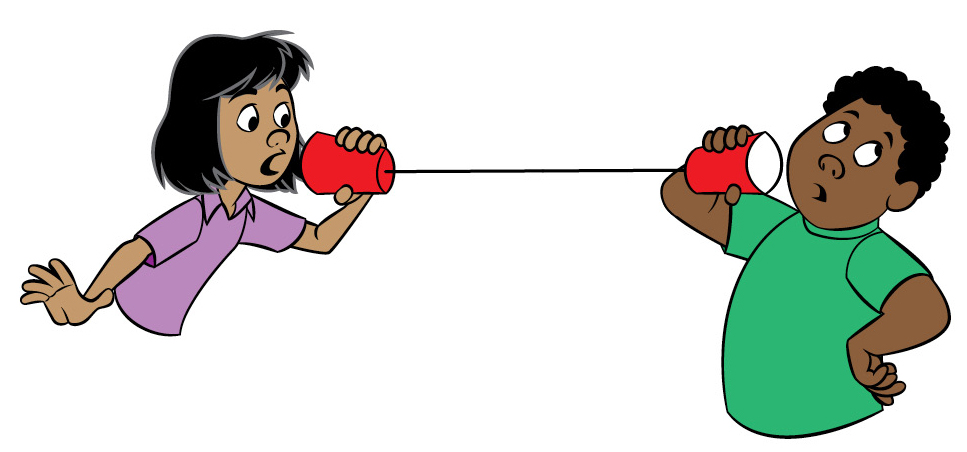
For a cup-and-string telephone to work, the string must be stretched tight.
Light
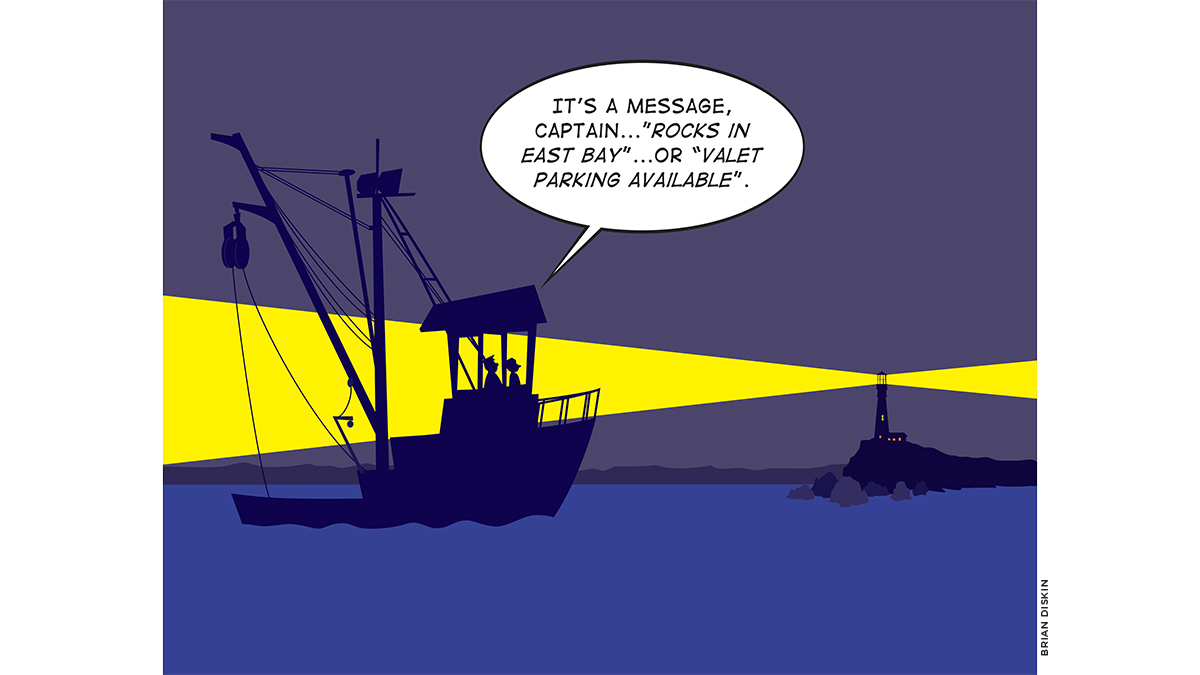
Ask your students if they can think of an animal that communicates using light. One example is fireflies (or lightning bugs), which have different flash patterns. In the Online Resources, there’s a link to a video about firefly communication. Ask students if they can think of a way that people communicate using light. One example is lighthouses, which have unique flashing patterns so mariners can identify them.
Students can also devise a way of communicating with light—with a code using colored lights, such as green light means “hi,” yellow means “goodbye,” red means “help,” et cetera). To add some art and make it more of a STEAM activity, challenge students to design a creature and have it use a code to make a message to talk with another group’s creature.
In the same way that students can send Morse code (or some other code) with sound, they can also send Morse code using a flashlight. Suggestion: Use a series of mirrors to shine a flashlight around obstacles. Have Morse code cheat sheets available for students to flash the light and spell out their name. Point out that, for many years, Morse code with light was used to communicate between ships (see Online Resources).
But suppose you wanted to send not just words but pictures, too? Students can do this, too, but they should first learn that transmitted pictures are made up of individual dots of color (or just black) called pixels—a contraction of “picture elements”—like what you would see in a pegboard picture, such as that shown in Figure 3. Perhaps have students first practice making different kinds of pegboard pictures. Their attempts can be very simplified, such as using only a single color (e.g., using a black pencil or marker; see Figure 4).
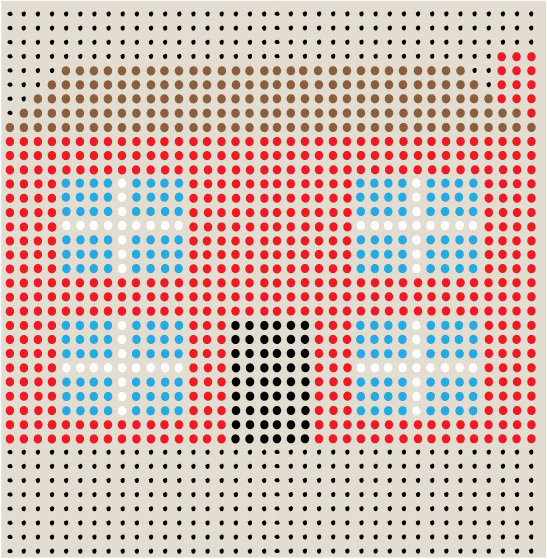
Transmitted pictures are always made of individual pixels, such as the ones on this pegboard.
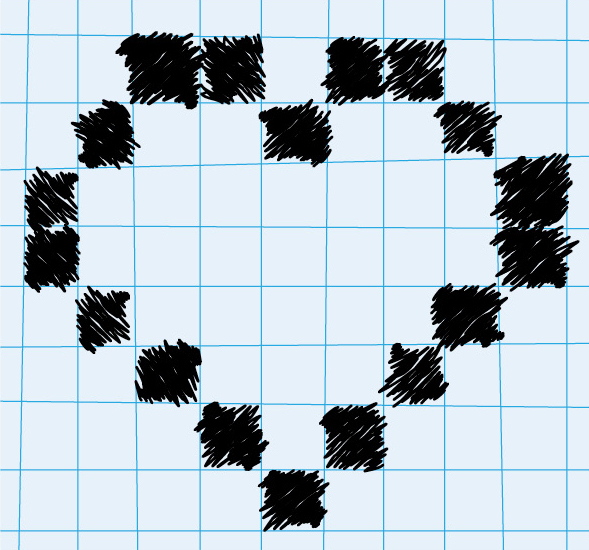
A simple picture can be created on a pegboard or on graph paper.
To send the picture in Figure 4 using flashes of light, the person receiving it (the “receiver”) will need to know the size of the picture. A student can transmit the size in a separate message, or, simpler, agree that the size of the picture will be, say, 9 pixels wide by 8 pixels high. Next, students will need to decide on a way to send, or transmit, information, one pixel at a time, going from left to right and top to bottom. Challenge students to come up with a code—a way of telling the receiver whether a particular pixel should be blank (white) or black. For example, the person transmitting (the “transmitter”) could flash the light once for a blank pixel and twice for a black pixel.
Younger students who are not yet up to coloring in squares can make a pixel image using sticky-note squares, as in Figure 5. Make the picture all one color for easy transmission, or let students use multiple colors for greater creativity and artistic appeal.
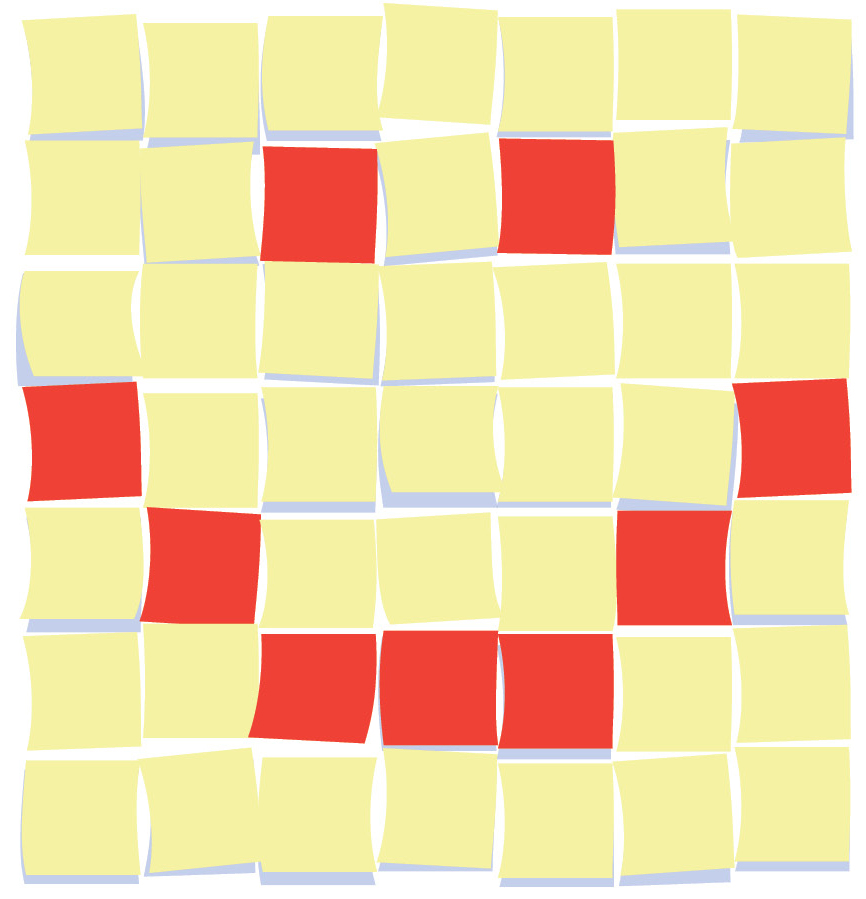
Sticky notes can be used as pixels to make a picture.
In summary, there are many ways to communicate using sound waves or light waves. We haven’t discussed many of them, such as how radio and TV transmissions encode the information using radio waves. We also haven’t covered how information is stored in, and transferred between, computers using binary numbers. Let me know if you’d like to see something about that. In the meantime, I hope this will get you started on this real-world topic that combines science and engineering, and sometimes art as well. Full STEAM ahead!
Never stop learning.
I thank Marsha Buck, Lorian Norris, and Audra Shontz for suggestions that significantly improved this article.
Online Resources
Animals communicate using sounds that we cannot hear: www.helsinki.fi/en/news/life-sciences/animals-communicate-frequencies-we-cannot-hear
Morse code for each letter of the alphabet: https://kids.kiddle.co/Image:International_Morse_Code.svg
National Geographic Kids: Firefly: https://kids.nationalgeographic.com/animals/invertebrates/facts/firefly
Photo of Morse code light on a ship: https://commons.wikimedia.org/wiki/File:Seaman_send_Morse_code_signals.jpg
Science 101 on sound: www.nsta.org/sites/default/files/journal-articles/p72-75Science101.pdf
Video of each letter of the alphabet sent by Morse code from a ship: www.youtube.com/watch?v=aniLPEyp9SA
Matt Bobrowsky is the lead author of the NSTA Press book series, Phenomenon-Based Learning: Using Physical Science Gadgets & Gizmos. Contact him at: DrMatt@msb-science.com
Phenomena Physical Science Elementary