
Elementary | Sponsored By: Corteva Agriscience
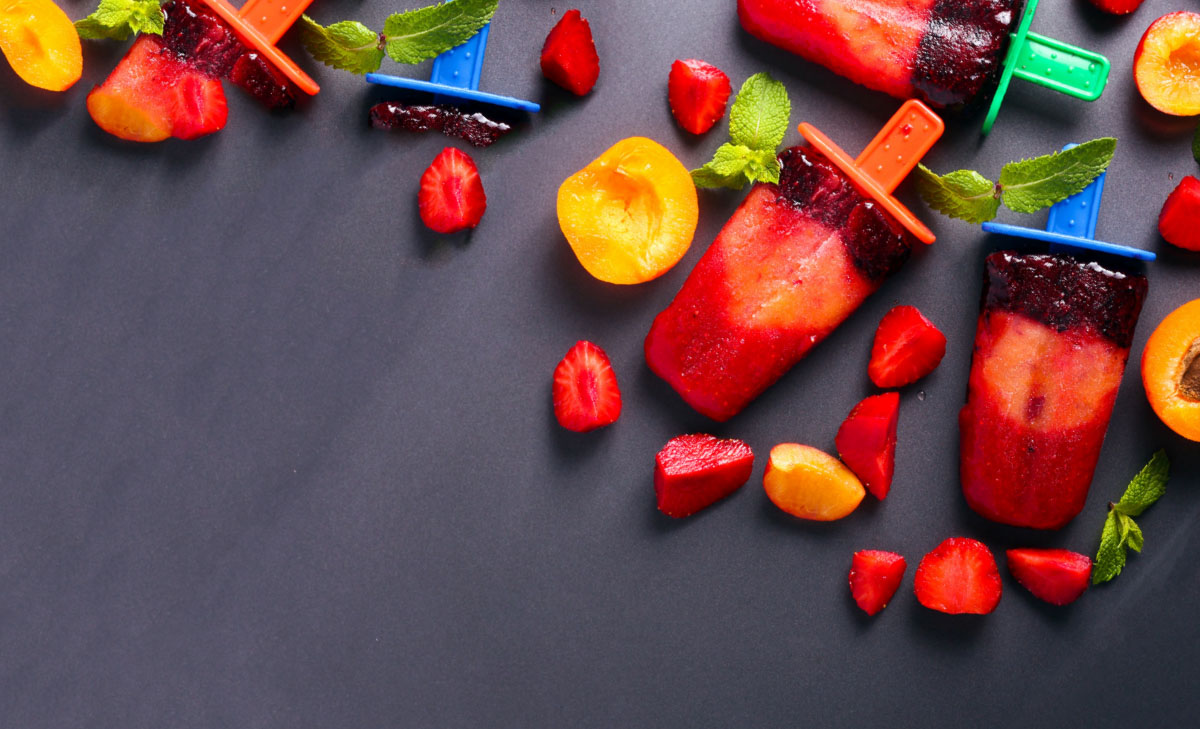
Designing Healthy Ice Pops
Is Lesson Plan Lesson Plans STEM Elementary
Adapted from Designing Healthy Ice Pops by Laura Bubnick, Katie Enneking, and Julie Egbers
Science & Children | September 2016 | Vol 54, Issue 1
Students will participate in an integrated STEM activity to experience the processes of research, design, evaluation, modification, and presentation.
What are the essential ingredients needed to make a healthy ice pop to sell in the school cafeteria? How could we market and sell the ice pops?
Activity Outline
- Week 1: At the project kickoff, students are given the following scenario:
You are ice pop experts who have worked for several years in the frozen snacks business. Your task is to create a new flavor that will be a tasty and healthy treat. Your goal is to sell it to school districts to offer to students at lunch. Your challenge is to present to the principal your new flavor. Include the steps that you have taken in the production of the ice pop to ensure that it is a healthy alternative to the other snacks offered by the school.
After students are introduced to the project, they should begin planning. In groups, have students determine the steps necessary to achieve their goal. Sample steps include:
• Collect things: real fruit, water, blender
• Consider packaging materials: craft sticks, small paper cups
• Experiment with and taste sample recipes
• Research what goes into a ‘healthy’ ice pop
• Create the recipes
• Talk to a nutritionist or dietitian about what makes a ‘healthy’ ice pop
The next step in the design process is for students to invite a nutritionist to class, so that students can ask which foods would make a healthy ice pop and which foods would be important to avoid because of allergy concerns. Once the nutritionist is invited, students should begin their own research on what has been included in their healthy recipes. Using their notes, pairs of students should now create a list of the five main ingredients they feel are essential.
- Week 2: Students should now come up with their own questions and interview the guest nutritionist. Following the interview, have students revise their recipes based on the nutritionist’s answers. Organize students into groups, and have each group member take the role of either a researcher or materials manager. Groups will first have to compromise on one version of the recipe, writing specific quantities of ingredients on poster paper. Once all groups have their recipes prepared, we discuss with the class what it means to give constructive feedback to other groups. Have each group critique the other groups’ recipes for five minutes, and use different colored markers for feedback about ingredients, quantities, and overall impressions. At the end of the rotations, students return to their own recipes and make modifications based on peer feedback. Once the recipes are finalized, assign an adult to each group to use the knives and operate the blenders. Students will be in charge of collecting, measuring, and adding ingredients. Ensure all students wear non-latex, food safety grade gloves and hairnets. Each group should now taste test its own recipe and make modifications based on their analysis. Ensure they track all changes to the recipe. Have the student recorder for each group write detailed descriptions of what was added/subtracted and the color of the juice. Next, parent volunteers will need to help make enough copies of the final recipes so all students can taste each other’s recipes. Provide each student with a sample of the other groups’ recipes and have them vote on their favorites. Ask them to record data about what they did or did not like about a specific recipe. Coach students to think about scientific aspects when rating their choices—taste, thickness, aroma, etc. Students should now rate their favorites, and a class tally of results should be prepared to determine the winning recipe.
- Week 3: Once the winning recipe is chosen, students will now focus on marketing their product to the other second-grade classes. Have them brainstorm ways in which to let their classmates know about their product. Examples include: Producing posters to place around the school, fliers for the other classes, and/or a video for the morning announcements. Students will work in groups based on their invididual product interest (flier versus video) to create their marketing strategy and materials. Once finished, distribute the various materials as needed.
- Week 4: Groups will now create multimedia presentations and present their product to administrators. Presentations should focus on the process of the project, not how fun it was to make ice pops. Each of the groups should focus on a different aspect of the project:
• Making recipes
• Researching what goes into a “healthy” ice pop
• Interviewing the nutritionist
• Tasting and voting
• Marketing
Instruct administrators to ask probing questions about the project.
The nutritionist should speak about foods that would be both tasty and healthy in the ice pops and, based on the allergies on record in the school, what foods to avoid.
To facilitate safety when making the ice pops, assign parent volunteers to use the knives and operate the blenders. Students should never have access to sharps. All participants should wear non-latex, food-safety grade gloves and hairnets.