
Elementary | Sponsored By: Corteva Agriscience
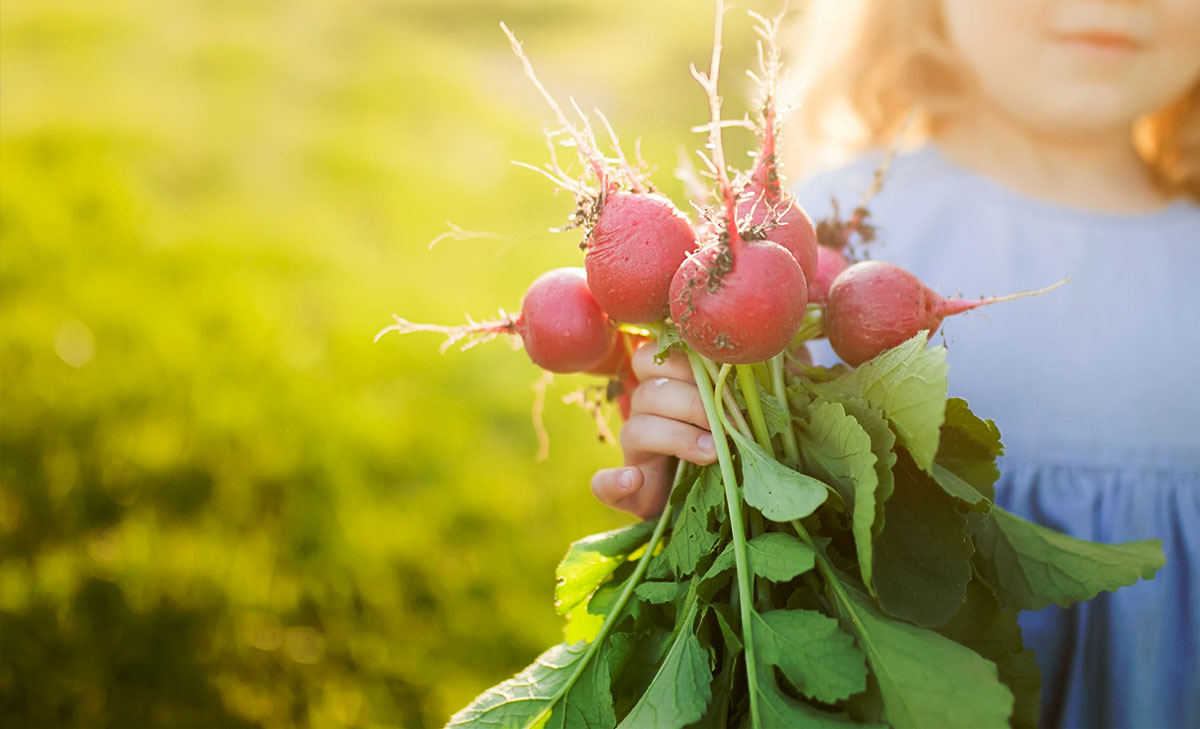
The Radish Party
Life Science Is Lesson Plan Lesson Plans Elementary
Adapted from The Radish Party by Jeff Piotrowski, Tammy Mildenstein, Kathy Dungan, and Carol Brewer
Science & Children | October 2007 | Vol 45, Issue 2
Objective
Students learn that stem strength and color, in addition to growth, are indicative of a healthy plant and healthy soil
- 3-4 packs of radish seeds
- 1 medium bag of potting soil
- 1 medium bag of sand
- 1 small bag of granular fertilizer
- 6 popsicle sticks per group
- 1 six-pack of seedling pots per group
- 2-3 seedling trays
- Fluorescent grow lights (optional)
- 2-3 measuring cups (mL)
- Rulers (one per group)
Activity Outline
- Prepare the three types of soil (sand, sand plus nutrients, and potting soil) for the investigations. Put half the sand in a bucket labeled ‘sand.’ Next, place the potting soil in a bucket labeled ‘soil.’ Finally, thoroughly mix a dry granular fertilizer with the remaining half bag of sand in a bucket labeled ‘sand + nutrients.’
- To get students excited about the investigation, discuss what students know about soil as each type is passed around. Explain to students that they are about to become both farmers and scientists, and that they are going to test which of these three soil types is best for growing radishes.
- Once students have seen the soils and some radishes and understand the investigation, ask them to predict which soil will grow the biggest radish by drawing a picture of the radishes growing in each soil type. Have students draw a big radish in the soil they think will grow the best and a small radish in the soil in which they think it will grow the least. If they think soil type will not make a difference, they should draw all radishes the same size. Have students carefully label their drawings with the type of soil each radish is growing in and include in the drawings the basic parts of the radish: stem, leaves, roots, radish tuber.
- Next, gather the students in a circle and have students describe their pictures, predictions, and rationales for predictions. Students should write the reasons for their predictions on their pictures. After students have made their predictions, pass out the supplies so students can plant their own radishes.
- Start with a supply box containing one six-chambered seed-starting pot, six Popsicle sticks, a spoon, and 20 radish seeds. Fill two chambers of the seedling tray with each of the three soil types, for a total of six filled chambers. Label Popsicle sticks with the soil types and the date of planting. Each chamber should have one clearly labeled stick. Plant three radish seeds in each chamber, leaving a little space between the seeds to avoid crowding. Plant the seeds at least 1.25 cm deep, and make sure they are covered. Place all the pots in a large garden tray that does not leak, and put the tray under grow lights or in a sunny window. Water each pot carefully with an agreed-upon volume of water between 50mL and 100 mL. Allow the plants to grow for several weeks to a month, watering every two or three days with the same amount of water. Have students make observations every week: When do seedlings first emerge? Which ones are growing faster, taller, slower?
Differentiation
Depending on the grade level, assessing plant growth and health can be done in several ways. For the youngest of students, simply looking at how tall the seedlings are and gently counting the number of leaves can be a good measure. Older students should be encouraged to measure plant height, stem thickness, and number of leaves. Advanced students may be able to graph plant height, stem thickness, and leaf number through time to determine quantitatively which plants are growing fastest.
Formative Assessment
When the set investigation time is up, bring students together to compare their earlier predictions to the actual plants grown. Ask the students to make observations and look for differences (advanced students may even make a few measurements). Sample questions include: What differences do you see? Which soil yielded the largest plants? The most healthy looking plants? Is the tallest plant always the healthiest? Were your predictions met? Why or why not?
Post Assessment
The students’ drawings should reveal whether or not they learned basic plant form, understand why plants may differ in growth, and what the reasons for differences in growth are. Follow-up class discussions help clear up any misconceptions that were evident in their predictions.
“When conducting soil investigations with students, follow appropriate soil safety guidelines.”
“Remind students never to taste any of the soils and to wash their hands and desk areas with soap and water after working with soil.”
- Send a letter home to parents/guardians of students informing them about soil activities in the classroom to obtain permission before having students working in soil. Include information about possible allergens (mold/spores) etc., which might affect students with compromised immune systems, allergies, or asthma.
- Remind students to never eat soil, sand, etc. Some soil samples could be contaminated.
- Always know the source of your soil samples.
- Have students wear plastic gloves when working with soil. Make sure all open cuts or scratches are covered minimally with a protective barrier to prevent infection.
- Always wash hands with soap and water after working with soil. Use antiseptics on cuts or scrapes.
- Don’t store wet soil more than a day or two. Mold and bacteria spores will grow in it.
- Be sure to use good housekeeping standards— wash desktops with mild soap and water where soil activities took place. Do not allow snacks or other food products during soil activities.
- Do not flush sand, silt, clay, rocks, and other earth materials down the drain. These materials are not soluble in water and may clog the drain. Dispose of them in a trash can or other suitable receptacle.