
feature
Seeing is Believing
Engineering a Way to See the World Through Biomimicry
The study of biology celebrates and recognizes the diversity of traits among individuals and between species. This variation is the culmination of millions of years of evolutionary change and results in an organism’s ability to thrive in each environment. Through this biological model, variety is valued over uniformity. Biomimicry is human innovation inspired by nature and is posited at the intersection of biology and engineering, thus providing students with the opportunity to draw from living organisms to design a product (Lurie-Luke 2014). This unit utilizes the Engineering Design Process, allowing students to explore their creativity through the process of engineering. The convergence of creative engineering experiences and a high-interest science discipline like life science exposes fourth-grade students to areas of STEM they may otherwise disregard.
Unit Overview
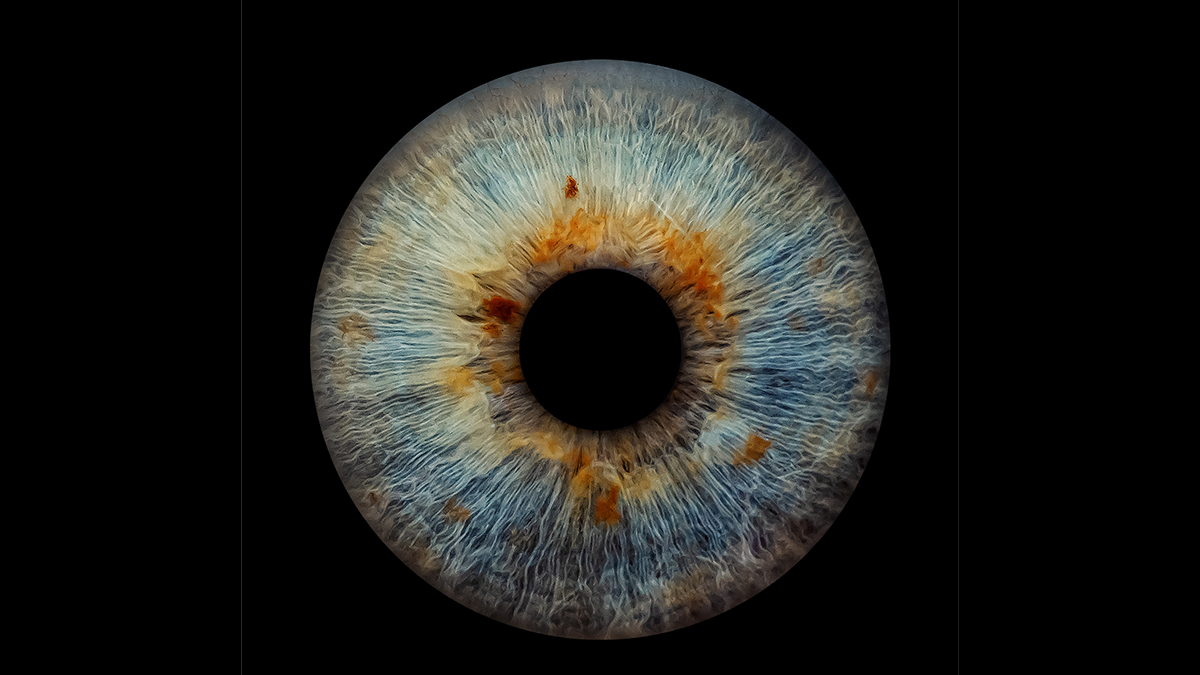
This 10-day unit is centered around the structure and function of the visual sensory receptors of various organisms. The eye was selected because it is easily observed and familiar to most students. Using the human eye as a reference throughout the unit, students could describe how structures within the eye affect its function. After an overview of the human eye, small groups of students selected a specific animal eye to investigate. During their collaborative research, students began to recognize similarities and differences between their human eyes and the eyes of their selected animal. Employing what they discovered about human and animal eyes, students were tasked to design a vison-enhancing product that mimics some aspect of their animal eye. For example, the eyes of diurnal snakes can filter out ultraviolet light, an adaptation like humans wearing sunglasses in bright light.
Ensuring Inclusivity
Some students may mention that 20/20 is considered “perfect” human vision. However, it is essential to share that only about 35% of adults have 20/20 vision without corrective lenses or surgery; therefore, 20/20 vision is not typical. When discussing visual differences with children, it is vital to avoid ableist language and ensure that students with various visual acuities feel comfortable and supported throughout the unit. A sample caregiver letter has been provided to communicate how vision will be addressed during the unit. A pre-unit letter is also a great way to promote content-centered discussions at home. It provides opportunities for families to engage in science with their children by sharing their expertise, experiences, or material resources.
Schema Maps: What Can Eyes Do?
Students may not be consciously aware of the entire scope of human vision, instead associating it only with acuity. Schema maps are an exceptional tool for identifying previous knowledge, misconceptions, and new understanding. A schema map for eyes was developed for each class period and updated throughout the unit to monitor student learning and ensure misconceptions were adequately addressed.
Students were placed in heterogeneous groups of four and given five pink sticky notes. Ms. Roof posed the question, “What do your eyes do?” After several minutes of small-group discussion, themes began to emerge. Students shared that eyes help your brain see objects, sense light and color, and help you know if something is far or near. Several students noted that 20/20 vision was “perfect vision.” Each of their responses was positioned on the map under schema. Then, through class discussion, Ms. Roof attached yellow sticky notes with technical terms to some of the student’s descriptions, including visual acuity, visual accommodation, color vision, and peripheral vision. Yellow sticky notes signified “newly learned information.” She shared with the students that now they had a collection of “big science words” for the things they already knew.
Community Engagement: Eye Structure
Now that students can describe what eyes can do, they are ready to be introduced to the structures that make up the human eye. An ophthalmologist was invited to share her experiences and better connect with the local community. Providing students with access to community members who are representative of the student population has been shown to influence a student’s ability to see themselves in that occupation (Weber 2011). The doctor presented models and diagrams to describe parts of the eye. She explained how light bounces off objects and enters the eye through the lens, thus allowing it to be seen (Next Generation Science Standard [NGSS] 4-PS4-2). She described how differences in visual acuity are usually due to a change in the eyeball shape or the cornea’s curve, which changes how light enters the eye. She also shared that the ability to sense light was due to special cells in the back of the eye called rods. Rods, she revealed, also aid in peripheral vision and the perception of shapes and sizes of objects. She told students that the second type of special cell, called cones, is responsible for the eye’s ability to see color. She described a series of processes in which ligaments in the eye stretch and the lens flattens, thus allowing the eye to shift focus from near to far, a process called visual accommodation. Students were invited to ask questions during her presentation. They had an opportunity to add their “new knowledge” to the schema map. After the presentation, students were provided with a reference sheet complete with visual diagrams and terminology.
Reflection
To encourage students to reflect on the structural impact on the function of an eye, Ms. Roof shared the story of Veronica Seider. The Guinness Book of World Records recognized Ms. Seider for having 20/2 vision. Ms. Roof challenged students to think of a time 20/2 vision would be helpful and times it might be harmful. One student likened 20/2 vision to “walking around with binoculars.” Other students began to wonder if a vision could be “too good” or if there was such a thing as “perfect vision.”
Knowing that a particular structure in an eye may affect an organism’s vision and, therefore its chance of survival provides an excellent transition to studying animal eyes (NGSS 4-LS1-1). For example, nocturnal animals may have fewer cones and diminished color vision than pollinators, who obtain their nourishment from brightly colored flowers. After the discussion, Ms. Roof directed students to the schema map, allowing them to record their new knowledge and recategorize any previously held misconceptions.
Engineering Design Process
The final project utilized steps in the engineering design framework (Ask, Research, Imagine, Plan, and Create), where portions of the process were supported through explicit scaffolding (NGSS ETS1.B). In contrast, others offer students almost unlimited flexibility. The balance between structure and creative latitude gave students an organized, systematic approach to innovative thinking. Students were again organized into small heterogeneous groups and tasked with selecting an animal whose eyes they would like to study. Students were encouraged to choose from a specific list of animals provided by Ms. Roof. However, some exceptions were made for students with a strong desire to study a particular animal, thus allowing them epistemic agency. Ms. Roof cautioned students when choosing an animal to remember that an animal’s perceived intelligence was not an indicator of the complexity of its eyes.
Ask
Ms. Roof posed the question: How can animal eyes inspire products to enhance human vision? To further clarify, how can a structure in an animal’s eye inspire a product to provide similar functions for a human eye? Additional questions should also be considered, such as how this product could be engineered. How could it be tested? After introducing and clarifying the questions, students reacted excitedly, offering a deluge of ideas. First, however, Ms. Roof reminded students that they must create a product derived from a specific structure or function present in their animal’s eye.
Research
To guide students’ research, they were provided with digital and print sources in conjunction with a research guide to scaffold their search. An editable digital version of the research guide was provided as an accommodation for students. The digital version provided students with the ability to use a screen reader and the opportunity to provide multimodal responses to the research guide. Videos links, audio recordings, and diagrams found online were accepted along with traditional written responses. Students were first asked to compare structures in the human to those of their chosen animal, allowing students to identify any differences in the structure and function of the eyes. Next, students were asked to compare the features of human and animal eyes and consider how each variable may affect the organism’s vision. Finally, students were asked to describe at least three eye adaptations that helped meet the needs of humans and their selected animals.
As a formative assessment, students used information obtained from their research to create 3D models to visualize the similarities and differences between humans and their chosen animal eye (Figure 1). The models were expected to depict the external and internal parts of the eye in a scientifically accurate way (NGSS 4-LS-2). Students were encouraged to create their eyes from recycled and repurposed items (as requested in the caregiver letter) that would have otherwise been discarded. However, an assortment of materials, including clay, Styrofoam balls, pipe cleaners, popsicle sticks, paint, markers, glue, and plastic mirrors, were made available to all students. Mirrors proved to be very popular items. Packages of 50 one-inch square plastic mirrors with adhesive backs can be purchased from online retailers for less than $8. To ensure students had access to the requirements of the assignment, they were provided with a detailed rubric (see Supplemental Resources).
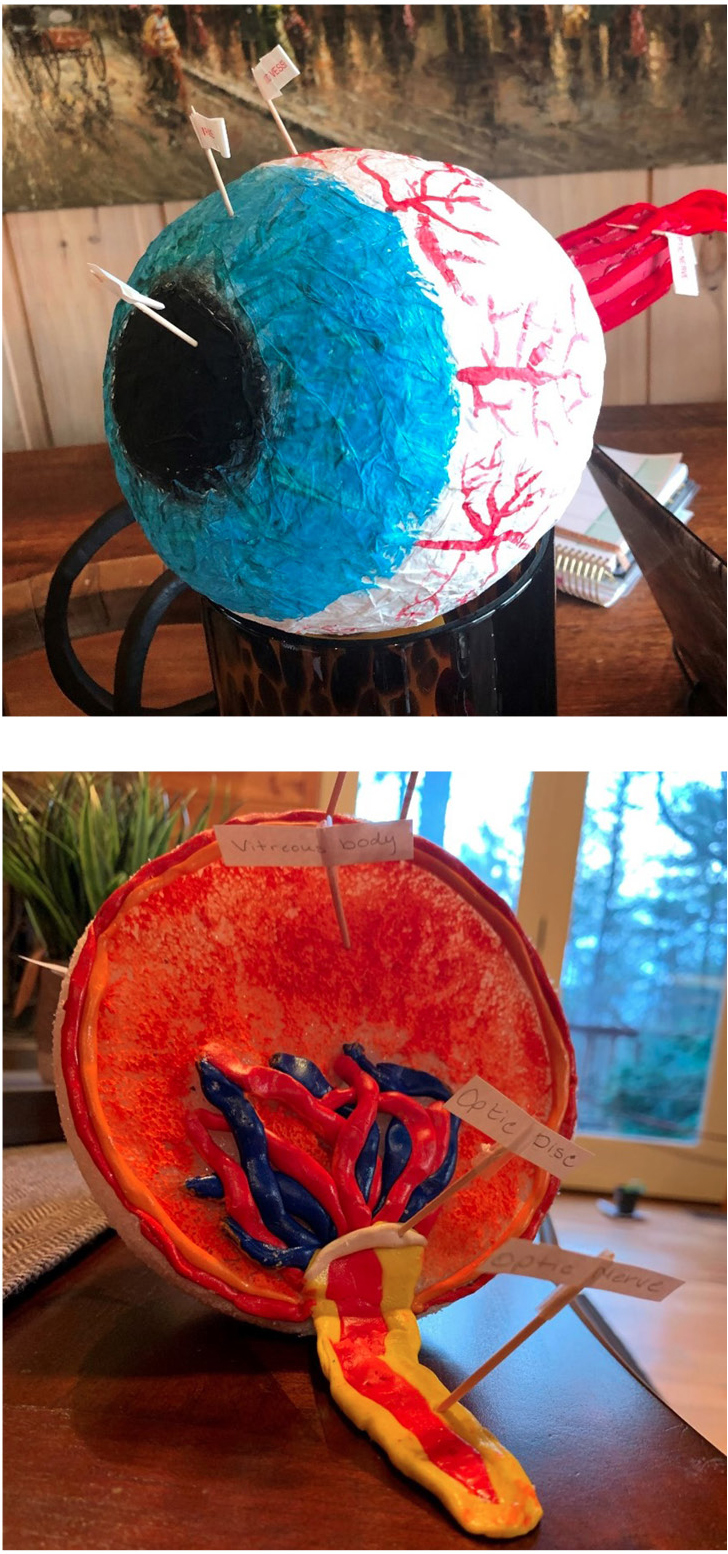
Student eye models.
Imagine
The third stage of the engineering design process allows the students to apply what they have learned to imagine possible solutions. Again, groups were encouraged to brainstorm and consider multiple ideas. Ms. Roof circulated the room, ensuring that all students were participating, sometimes asking probing questions and creating an opportunity for less assertive students to participate with their groups. She reminded students that everyone should share at least one idea for this phase. After 15 minutes of discussion, Ms. Roof asked each group to write their top four ideas on paper. She reminded the class that they must select an idea that can feasibly be prototyped and tested with readily available materials. Once the ideas were in writing, each group had 10 minutes to select their favorite idea.
Plan
Once groups settled on an idea for their product, they had to develop a detailed plan for its construction (Figure 2). A planning guide was provided to each group to scaffold essential components of the planning process. First, students had to provide a thumbnail sketch of their product. Next, the group had to provide a list of materials needed to construct the prototype. If students required materials that were unavailable in the classroom, they had to provide a rationale and a description of how they planned to obtain the materials. Students were highly encouraged to use recycled, reused, or discarded materials. Students were not allowed to purchase materials for the project. Then students were required to submit instructions in steps to describe how they would construct the prototype. Last, groups had to provide at least one test they would perform to ensure the prototype functioned as intended. Finally, to access classroom materials and move to the next step of the process, each group had to submit their plan to Ms. Roof for final approval.

Sample engineering plan.
Create
After gaining teacher approval of their plan, groups were ready to create a prototype of their vision-enhancing product inspired by the animal they selected (Figure 3). Students were reminded to follow their plan when creating a prototype; however, if they encountered problems, they were allowed to go back and modify the plan. They could not change the prototype without first changing the plan. Students were expected to make changes, but those changes must be documented. Finally, after the prototype was constructed, each group tested it based on their plan. If the prototype failed, they were encouraged to revisit the plan and continue to work through the process until they had developed an acceptable product.
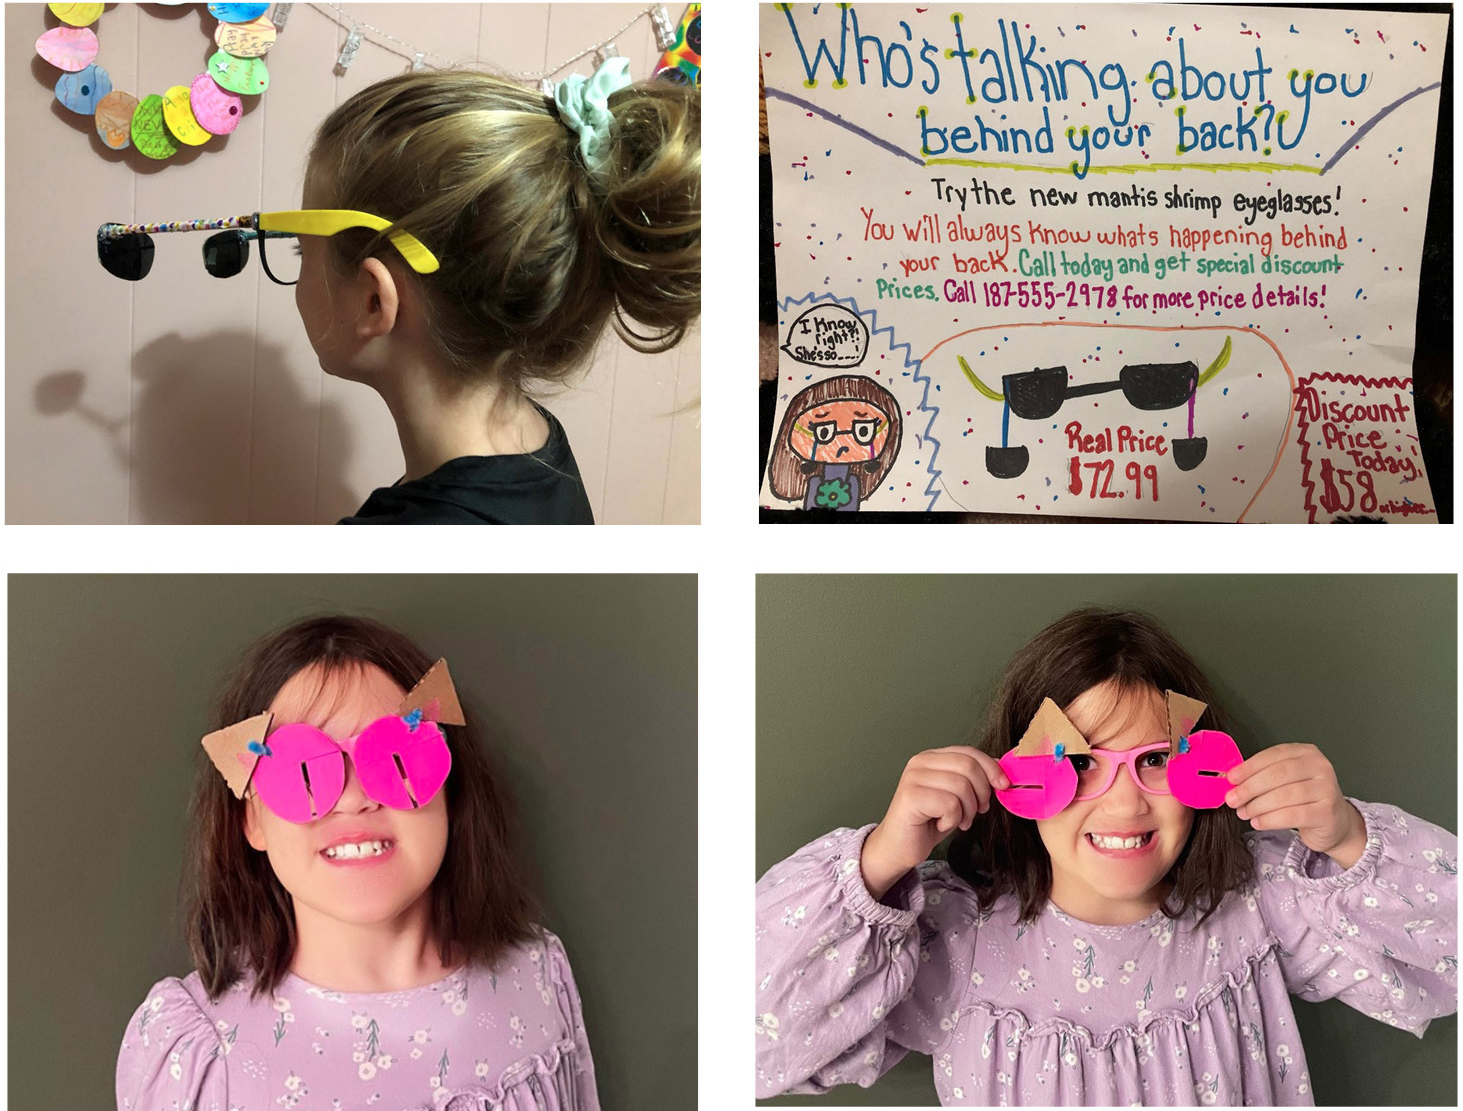
Students demonstrate their prototypes: shrimp mantis eyes and leopard eyes.
Each student group was able to successfully produce an animal-inspired prototype to enhance human vision. Several groups noted that animals had a greater range of peripheral vision than humans, either due to the position of the eye or the ability of the eye to rotate inside the socket. For example, one group created mantid shrimp eyes allowing them to see behind their back. To accomplish this, they used an old pair of sunglasses with pencils attached to protruding mirrored lenses, therefore displaying a reflection of objects behind them. Another group created mudskipper eyes by placing mirrors inside of tubes at angles to allow them to see above the water while staying submerged. They attached plastic tubes with a set of mirrors to a pair of old swim goggles. Students in this group had to consider if their prototype was waterproof, which required a student to test their product at home. Other groups focused on the visual adaptations present in diurnal and nocturnal animals. One group noted the adaptability of leopard eyes, allowing them to live in areas with bright light and little shade while also possessing the ability to hunt at night. They focused on the pupil shape, creating a product that would create a narrow slit for light to enter during the day and a large opening for light to enter at night. Another group considered the adaptations present for anglerfish and created a product that produced its own light to illuminate the environment to aid vision. This group tested several light colors before selecting green light as the best choice, as it did not appear to restrict the visual acuity as much as white light during their tests.
Communicate
After students completed their final prototype, they were tasked with communicating their findings to an audience (Figure 4). To accommodate students with various needs, video presentations provide a great alternative to “live” classroom presentations. Videos allow students to control the environment (no distractions or interruptions) while also giving students the ability to re-record if technical mishaps occur. Students also gain experience using technological tools and are largely receptive to the fun of creating a video. Videos were recorded using school-issued Chromebooks. However, some students who presented their project from home used a smartphone or tablet.
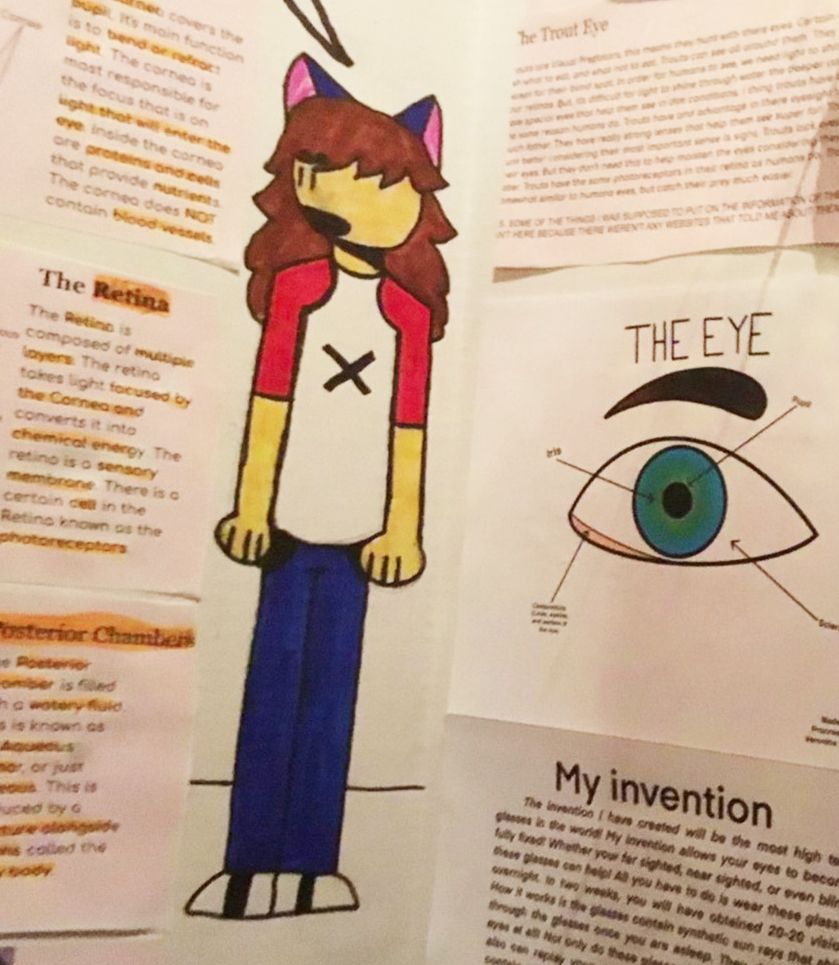
Final presentation poster.
A video of about one minute served as the summative assessment for this project. The video was expected to demonstrate students’ understanding of the eye’s structure and function and showcase their sight-enhancing prototype. In the video, students had to include the previously constructed eye models. Students were provided with a rubric and assessed accordingly. Students celebrated the unit’s final day by sharing their videos, eye models, and sight-enhancing prototypes. Ms. Roof asked students to reflect upon the concept of “perfect vision.” Most students agreed that perfection does not exist in nature and collectively adopted the phrase “best fit.” Ms. Roof applauded her students for their creativity and ingenuity.
Conclusion
Biomimicry is a high-interest approach to engineering. Using biomimicry in the elementary classroom allows students to understand and appreciate the structures and functions occurring naturally in living organisms while introducing the processes that drive evolution. In addition, engineering allows students to apply their knowledge of nature through problem-solving, critical thinking, and engineering design. This unit aims to provide a low-cost, high impact accessible to students of all backgrounds and ability levels, inspiring a love for nature and an innovative spirit.
Supplemental Resources
Download the parent letter, list of animals and resources, research guide and eye reference sheet, and rubrics at https://tinyurl.com/2cck8u4n.
Jocelyn Miller (jocelynamiller@gmail.com) is a PhD candidate at Texas Tech University in Lubbock, Texas. Miranda Roof is a teacher at Fannin County School District in Blue Ridge, Georgia.
Biology Evolution Life Science Literacy Elementary