
Methods & Strategies
Improving the Quality of Engineering Design Challenges
Improving the Quality of Engineering Design Challenges
By Matthew Perkins Coppola and Alice Merz
When implementing engineering design challenges, teachers often face obstacles in terms of quality. A quality design challenge has clear criteria for success, can be solved more than one way, and is not easily solved on the first attempt. This article describes the following five optimizations to improve the quality of the design experience:
(1)quality in choosing the right design challenge,
(2)quality in choosing testable criteria for failure and success,
(3)quality in representing a design through a drawing or maquette,
(4)quality in labeling and describing design plans, and
(5)quality in exploring while designing.
Optimization 1: Choosing the Right Design Challenge
Three-dimensional teaching in the engineering domain of the Next Generation Science Standards is organized around the engineering design process. We find that when teachers are first learning to plan for engineering instruction, they tend to concentrate more on the subject of the design and less on the integrity of the design process. When part of an integrated STEM unit, teachers often focus on how the engineering project helps demonstrate specific science concepts. Once satisfied that the project aligns well to the intended science standards, our next question for teachers is always, “Is this really a design challenge?” This question is essential to developing an original design challenge (Dankenbring, Capobianco, and Eichinger 2014) and is especially important if you are searching for ideas for engineering challenges on the web. To answer this question, be sure that you can clearly identify or adapt the challenge to carry out the general steps of the engineering design process.
We also take time to consider the level of design. The level of design you choose for your classroom depends on the age, abilities, and previous experience your students have with engineering design. Nadelson, Pfiester, and Callahan (2015) rate the level of design on a scale from 0 to 5 (see Table 1, p. 74). A level 5 challenge would be more appropriate for fifth graders, whereas a level 0 challenge would be appropriate for kindergartners. Level 0 involves no design, with students following a step-by-step procedure to assemble a device from prepared materials. A level 5 design project would be the most open design possible, in which students are given autonomy for choosing the problem to solve and the means by which they solve it. This aligns with the NGSS recommendations (ETS1.A) that a simple design in K–2 should emphasize identifying and defining the problem, designing sketches, diagrams, and model solutions, and testing and comparing designs (NGSS Lead States 2013). By grades 3–5, students can be expected to handle multiple criteria and constraints. For example, a K–2 project might involve building the tallest tower, while a 3–5 project might involve building the tallest tower with the least number of pieces.
| Table 1 | ||||||||||||||||||||||||||
|---|---|---|---|---|---|---|---|---|---|---|---|---|---|---|---|---|---|---|---|---|---|---|---|---|---|---|
|
||||||||||||||||||||||||||
Optimization 2: Choosing Quality Testable Criteria
We always ask our teachers: “Does the project involve meeting specific criteria for failure and success?” Establishing criteria for success allows students to perform tests and compare data, satisfying the performance expectation K-2-ETS1-3: Analyze data from tests of two objects designed to solve the same problem to compare the strengths and weaknesses of how each performs. In our work with preservice K–2 teachers, we see a lot of design challenges tied into the story of The Three Little Pigs where students build shelters out of long beams (uncooked pasta or toothpicks) and a connecting material (gumdrops or marshmallows). The limited choice in construction materials is inconsistent with the story in which the pigs had three primary material choices: straw, sticks, and bricks. The fixed length of the toothpicks results in every child assembling a similar structure. Although pasta allows students to easily change the length of beams, it is more brittle and presents potential safety hazards because pasta can fly when broken and students may have food allergies. The challenge is further compromised when the criteria for success are poorly articulated (i.e., the structure must stand) or the criteria are absent all together.
While we understand that teachers wish for everyone to succeed, the challenge aspect must not be ignored. The value in telling the story of The Three Little Pigs is that two of the pigs failed. Without a sincere challenge, there is no engineering story. This means the project must be testable based on one or more criteria. Good criteria are easily observed and measured and are aligned to the intended function of the prototype. We redirect our teachers to take inspiration from the story and adjust the criteria. For example, teachers could require structures to have walls that remain standing following a “wolf test”—a gust of wind provided by a small fan or hair dryer.
Always make sure students follow appropriate safety procedures when building, such as wearing goggles when using dry pasta, toothpicks, and rubber bands.
Optimization 3: Quality Design Representations
When preparing their design, students are often so excited that they overlook the sketching and planning stage. To facilitate this, teach students how to represent their thinking through planning. For students who may be hesitant to draw or want an alternative method for representing their ideas, we recommend having them do a maquette to communicate their plans.
In art, a maquette is a rough model of the design using alternative materials, which do not need to be to scale. Students may use something like dough, modeling clay, building blocks, pasta noodles, or sticks and tape to demonstrate a nonworking model of a potential final design (Crismond and Adams 2012). Unlike a two-dimensional drawing, a maquette allows students to represent a design idea in three dimensions. Another advantage is that a maquette can be quickly adjusted to incorporate new design ideas. Each adjustment can be documented with a digital camera to help students track the changes over time.
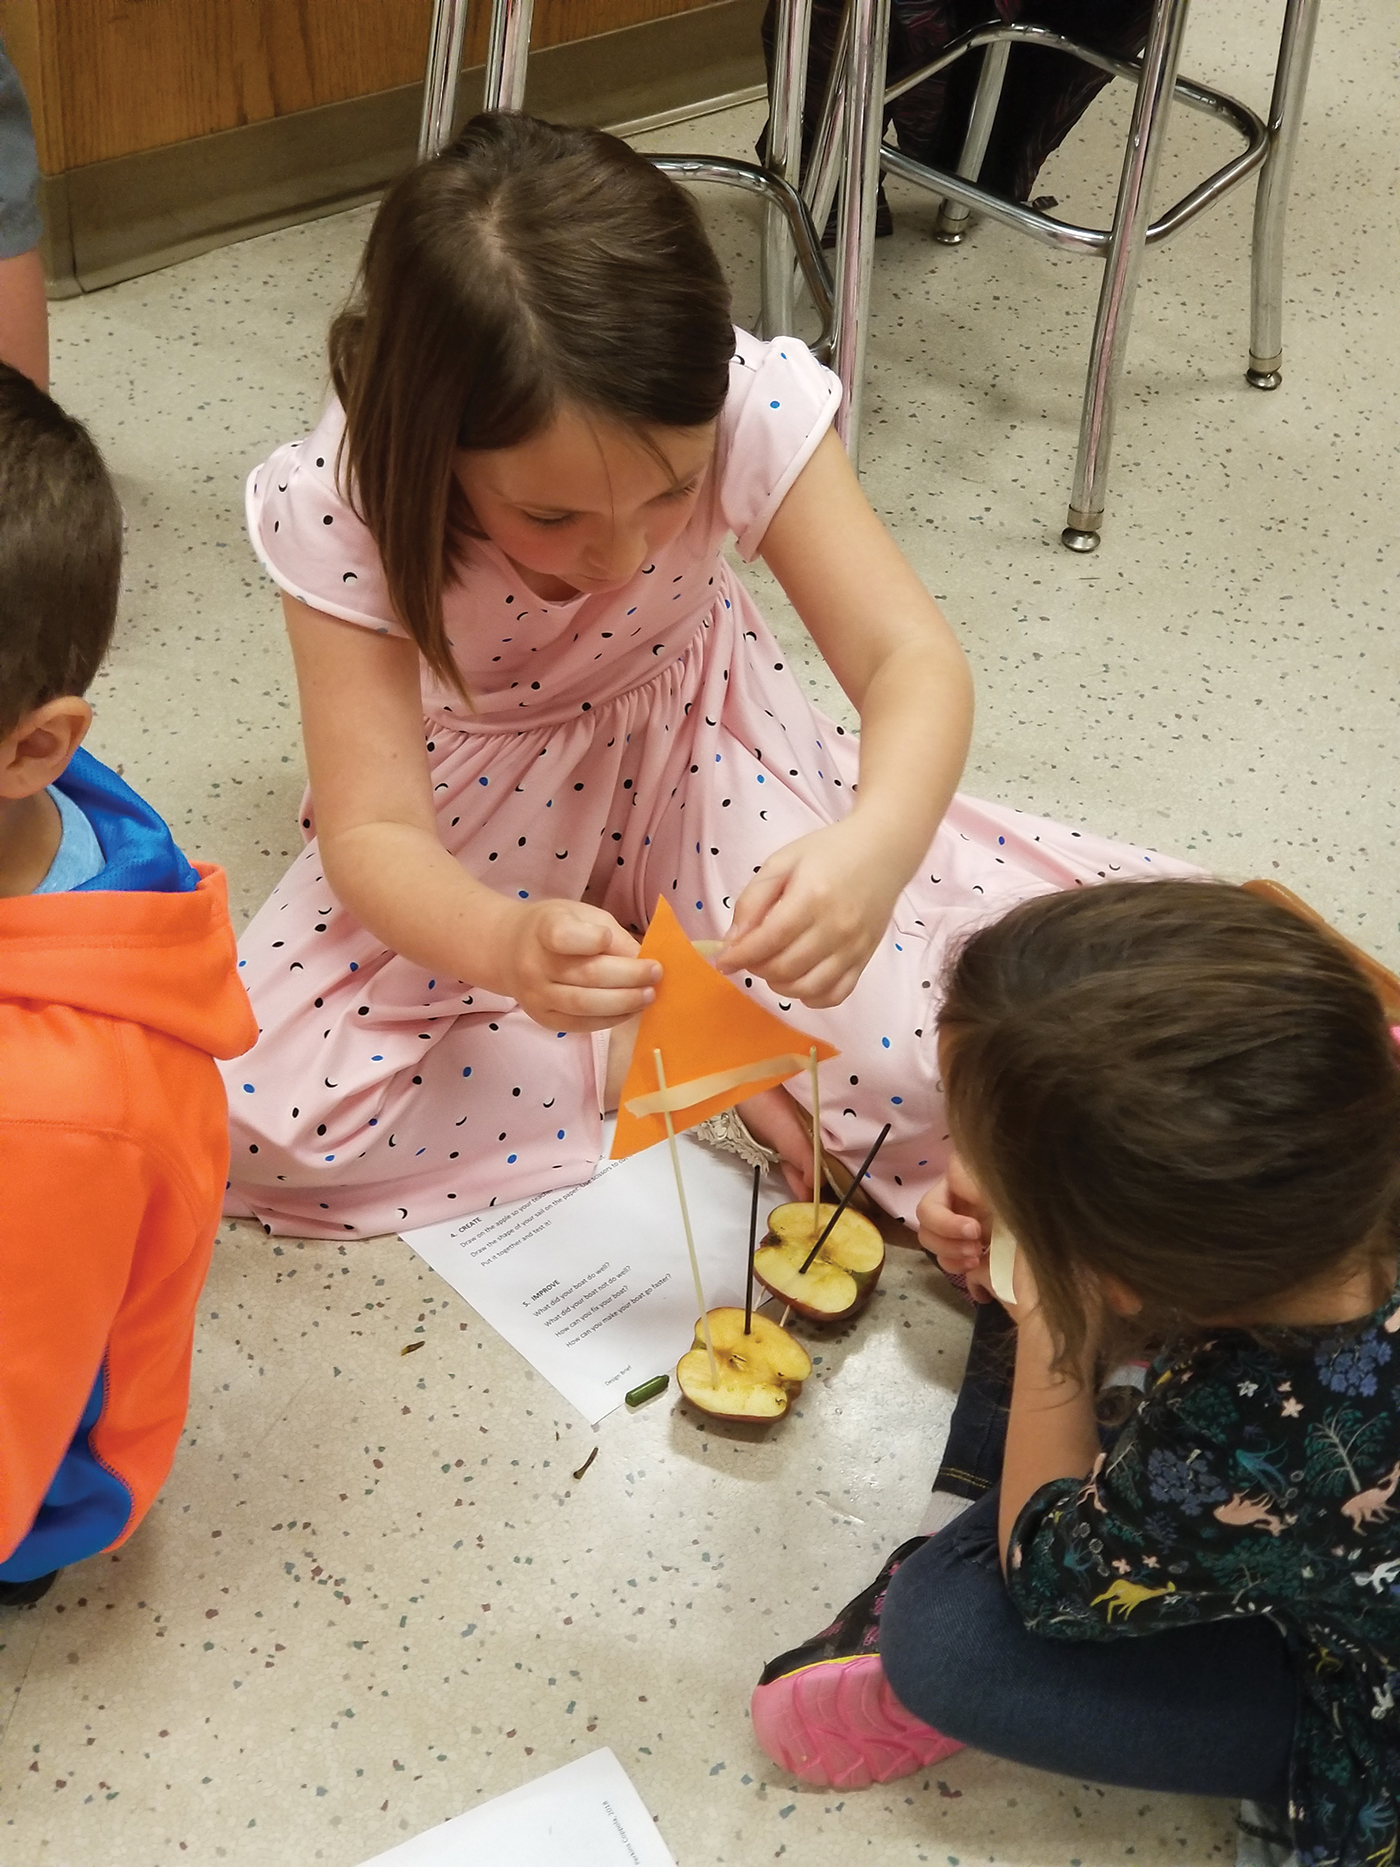
To give an example, we used maquettes to help kindergarten students build and design apple boats to support the weight of a toy figure. Students were asked to make a maquette using dry pasta and modeling dough. They presented the maquette to the teacher, who then cut pieces of apple to match the size and shape of the modeling dough. The students then assembled boats from the apple slices, using toothpicks in place of the pasta to connect pieces. The maquette allowed students to represent the pieces they needed before the teacher actually cut into the fruit, reducing waste and allowing for quick adjustments following the first test.
Optimization 4: Quality in Labeling and Describing Design Plans
Students who are new to engineering may focus on the superficial aspects and ignore constraints and criteria due to their budding engineering knowledge and drawing skills (Crismond and Adams 2012). One way to help students consider the criteria is to have them label their design plans. For the students drawing the plans, labeling helps remind them of their intentions of the design so they do not have to start over each class period. It also serves as an illustration for students to use when communicating their thinking to team members and their teacher. To label a maquette, students first take a picture using a tablet device and then type in names and draw arrows. Alternatively, they can affix labels that they or the teacher make to the different parts of the maquette. Teachers can then review the labeled design plans prior to building to identify common problems and provide additional support.
There are several labeling strategies for elementary students who find writing difficult. One strategy for prereaders is to have them write only the first letter of the material’s name beside the piece of material. A numbered list of words or pictures also works here, with students writing the number of the part on the diagram instead of the letter. You could also use a classroom word wall to provide the spelling of the materials for students to neatly copy on the design plan. Another option is an engineering word wall poster with the words and a sample of the item alongside the word so that the students can refer back to that for their own drawings.
In addition to labeling, students could also describe how their designs work. Written descriptions are a great way to integrate writing into the engineering design project. Have students write a detailed procedure for assembling the device, numbering each step. For more complex design projects, such as a Rube Goldberg device or marble roller coaster, have students explain how each stage of the device will operate. For those still developing their writing skills, have students dictate their thoughts to another person such as a peer, volunteer, or aide. Or have the students record a video description as they point to the different parts in their drawing or maquette and explain how the device will function. For older students working in groups with differentiated roles, assign one the task of recorder. This student will then be responsible for writing up the description or using technology to create an oral or video record.
Optimization 5: Quality in Exploring While Designing
It is challenging to keep students from grabbing the materials and starting to build. Deciding on a plan before building is essential to the engineering design, but of course, students have less of a knowledge base and set of experiences than actual engineers. Consequently, students need to explore through building as a way to understand and gain experience with the materials and design. They need to learn by playing with materials’ properties and different design options. This allows students to learn through “making” (Worsley and Blikstein 2017).
We decided to tap into students’ natural curiosity and let the design phase include partial prototyping in advance of the final design plan. As a result, students were more creative and improved upon the quality of the initial prototype. You may choose to provide a limited sample of the available materials or everything at once. Students do not need all of the materials to begin, or even the same materials they will use in their final product. Some projects allow students to begin with just enough pieces to test an idea or part of a design (Crismond and Adams 2012).
For example, in a fourth-grade design challenge, students built a grabber as a physical assistance device, using rubber bands, paper clips, and sticks. One group was interested in attaching the rubber band to the end of two sticks and then pulling the rubber band back so that it would either open or close the two sticks together, like a pair of tongs. Even though the students have used rubber bands and sticks before, they did not understand how they worked together in this particular design sense. By using some of these preliminary materials and testing out the pulling mechanism, students were able to see that it would not work before they spent additional time and resources actually building it.
When students start with all the materials, they typically play around with combinations of the materials until they make a decision about how and what to omit. This allows them to demonstrate their ideas to their partners as they work through problems. Since students will not get replacement materials if they make a mistake, they will need occasional reminders that the materials are limited.
Conclusion
Whether you choose to provide samples or everything at once, students will naturally explore multiple design ideas before settling on their final plan. Even so, there will still be a few students or groups who need reminding that they need to try out several ideas. One of the things that you will want to watch for is to see if the exploration is dominated by a single member of the group because that has the potential to lead to “design fixation,” in which students cease the search for multiple solutions because they are concentrating so hard on making one idea work (Crismond and Adams 2012).
In conclusion, we would like to encourage all teachers to find the time for their students to engage in quality engineering design challenges and experience the excitement of applying what they have been learning. We hope that these optimizations will assist in that endeavor.