

Including Students With Disabilities in Advanced Science Classes
Are you an experienced science teacher who needs a foundation in special education basics when students with disabilities are placed in your advanced classes? Then this book is the resource for you. Both practical and readable, this book will help you
• think of new ways to design your instruction with individual needs in mind,
• find new and creative ways to manage lab experiments so all your students will benefit,
• overcome fears of behavioral flare-ups in the classroom, and
• think of new ways to design your instruction with individual needs in mind,
• find new and creative ways to manage lab experiments so all your students will benefit,
• overcome fears of behavioral flare-ups in the classroom, and
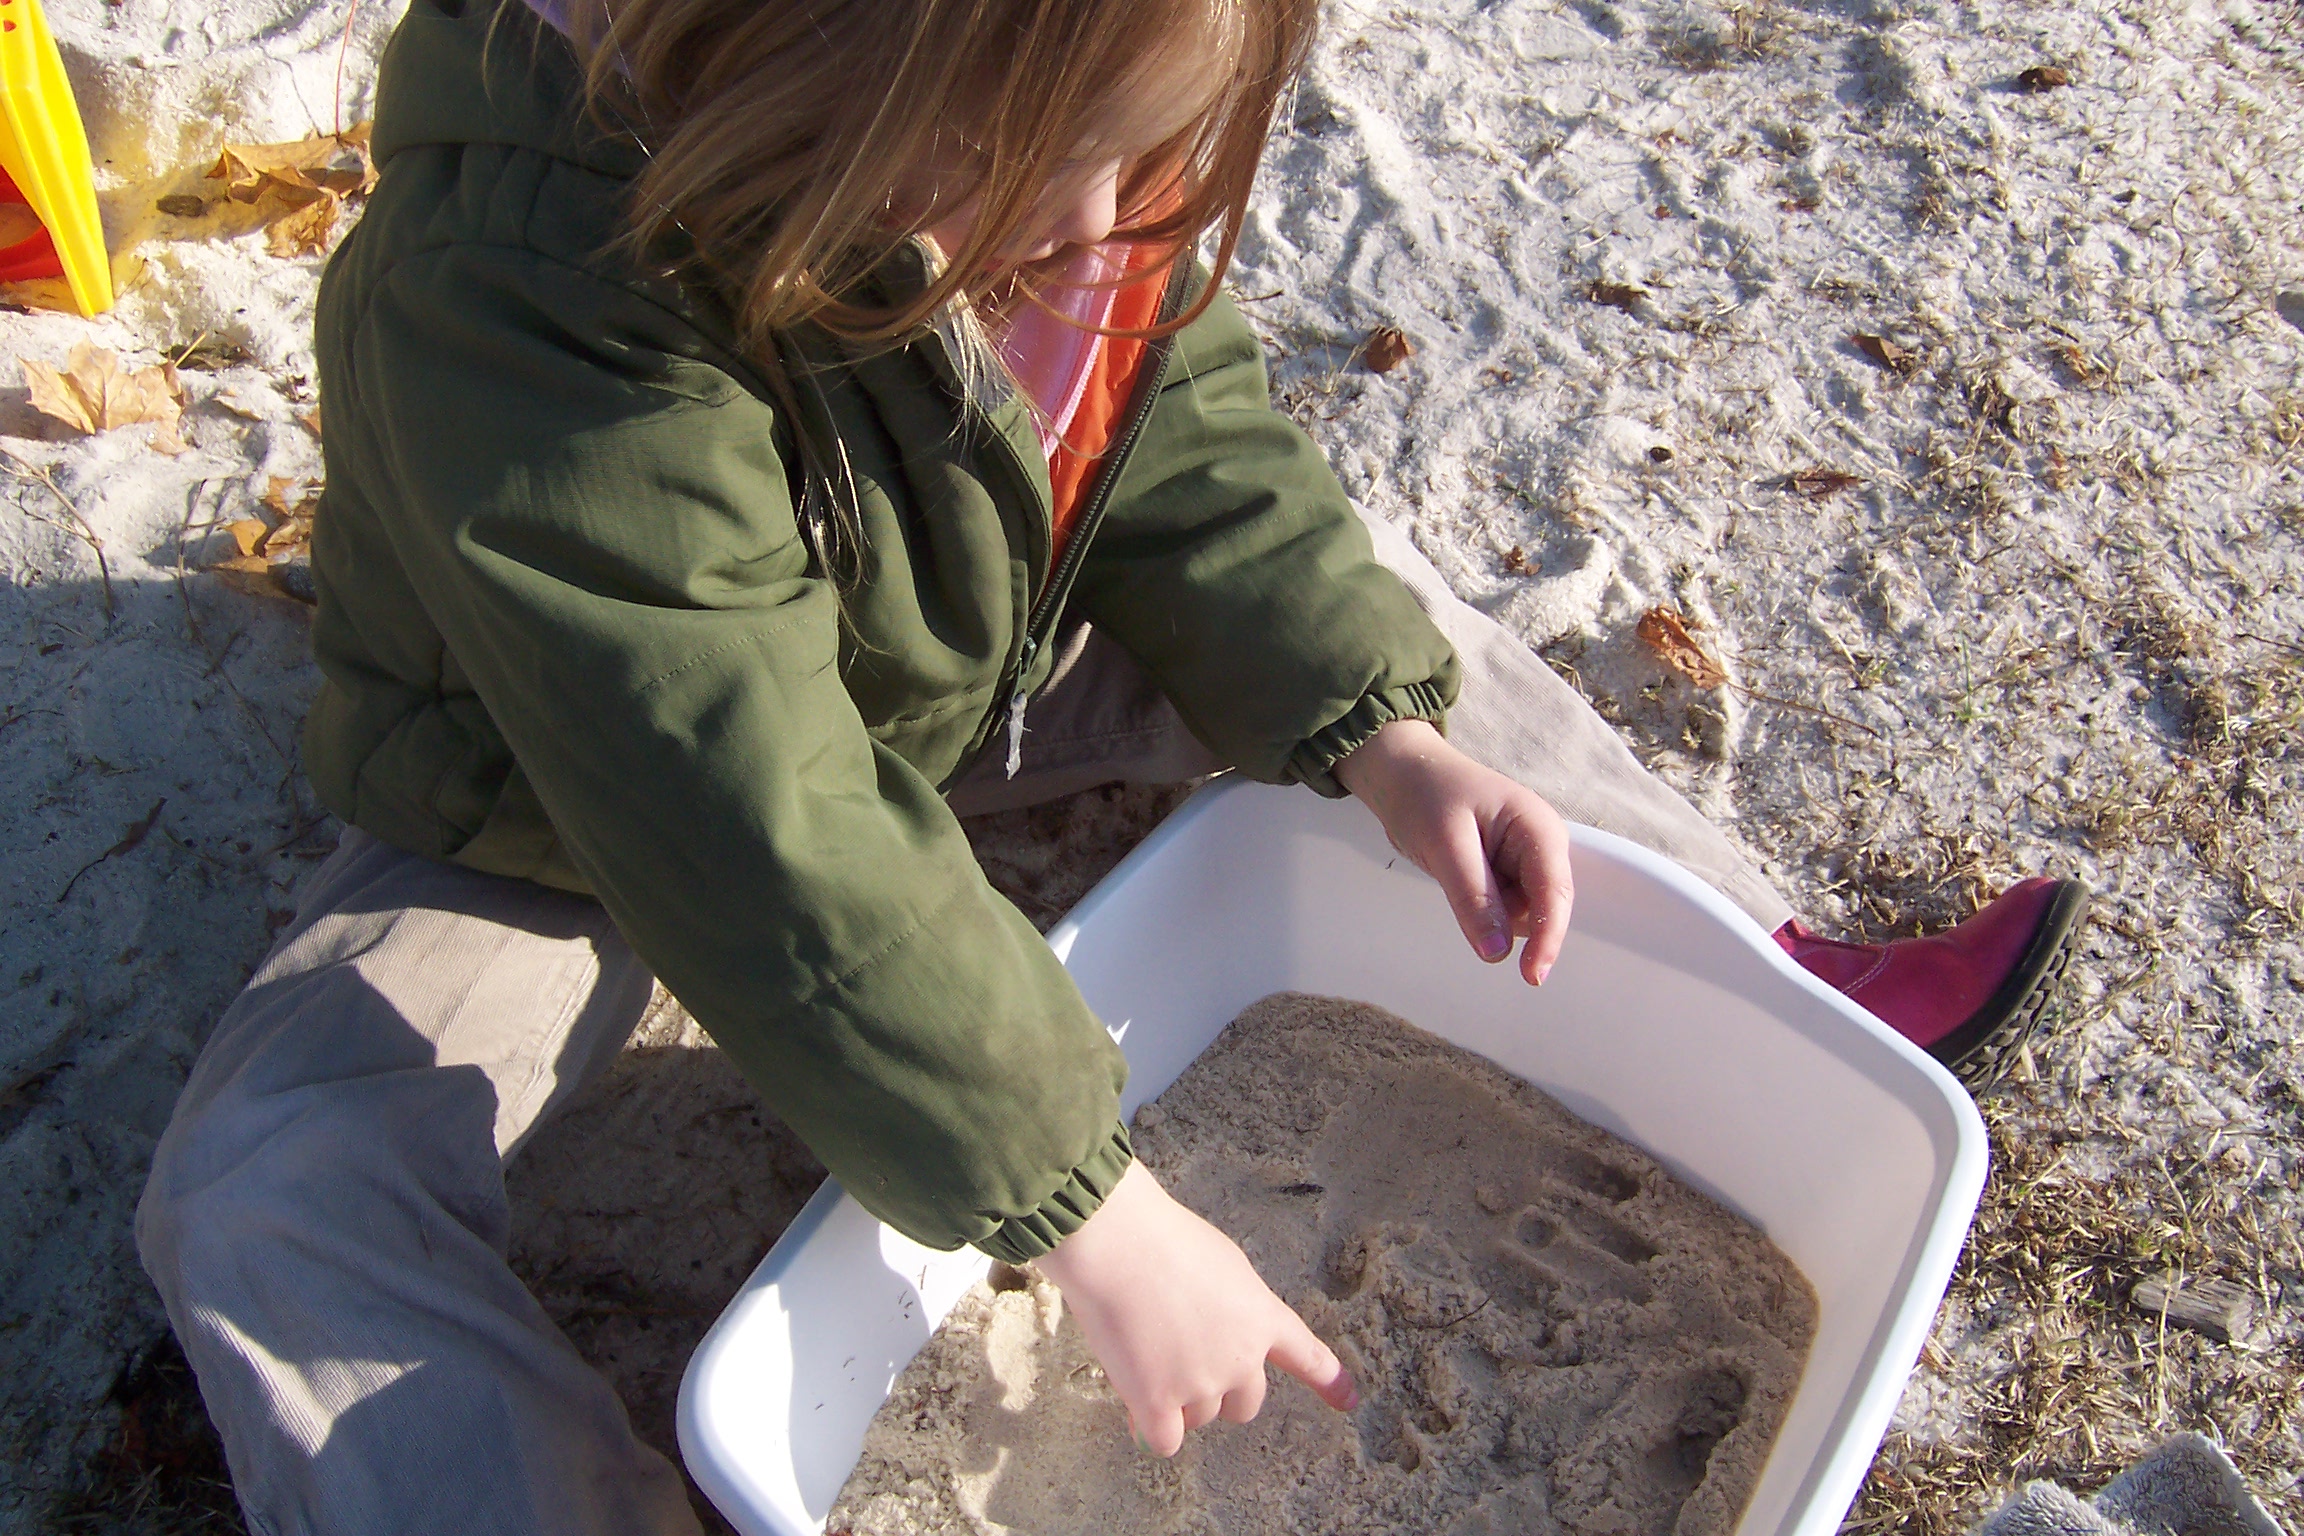

 I’m incorporating several strategies this year to help my life science students understand written information. I provide study guides with questions to answer, graphic organizers, and quizzes on the information, but they still don’t seem to comprehend what they read. Do you have any other suggestions?
  Modeling with a “think aloud” makes the thinking process visible (and audible) to students. I observed a chemistry teacher do this. He displayed a page on an interactive white board. He read a paragraph aloud and then stopped. He described out loud how to attend to key words or phrases such as “there are three reasons…” He then put a note in the margin describing the main idea of the paragraph “What are three reasons for…” The students put the question in their margins and then used a highlighter to underline a few key phrases. The teacher showed and explained how he would highlight the text (e-readers or tablet applications have a built-in capability to add notes or underline). In his exit assessment, the students seemed to comprehend the material.
 Innovation rarely occurs in a vacuum, and this installment of the “Science of Innovation” video series emphasizes that. Neither scientist involved in the research highlighted would have succeeded as quickly without the knowledge and input of the other. Use the video to point out to students how seeking out help when a stumbling block presented itself turned out to be beneficial to both people involved.
 How many of us in the K-12 science environment use word puzzles to help students review concepts and learn vocabulary? I haven’t been convinced of the value of find-a-words or jumble puzzles are effective learning tools, but crossword puzzles and others that ask students to think of words to fit the clues could be useful. Teachers spend many hours creating puzzles, finding ones online, duplicating them, and using class time to for students to complete them. How do we know if puzzles are effective learning strategies.