
teaching through trade books
Seeing The Light
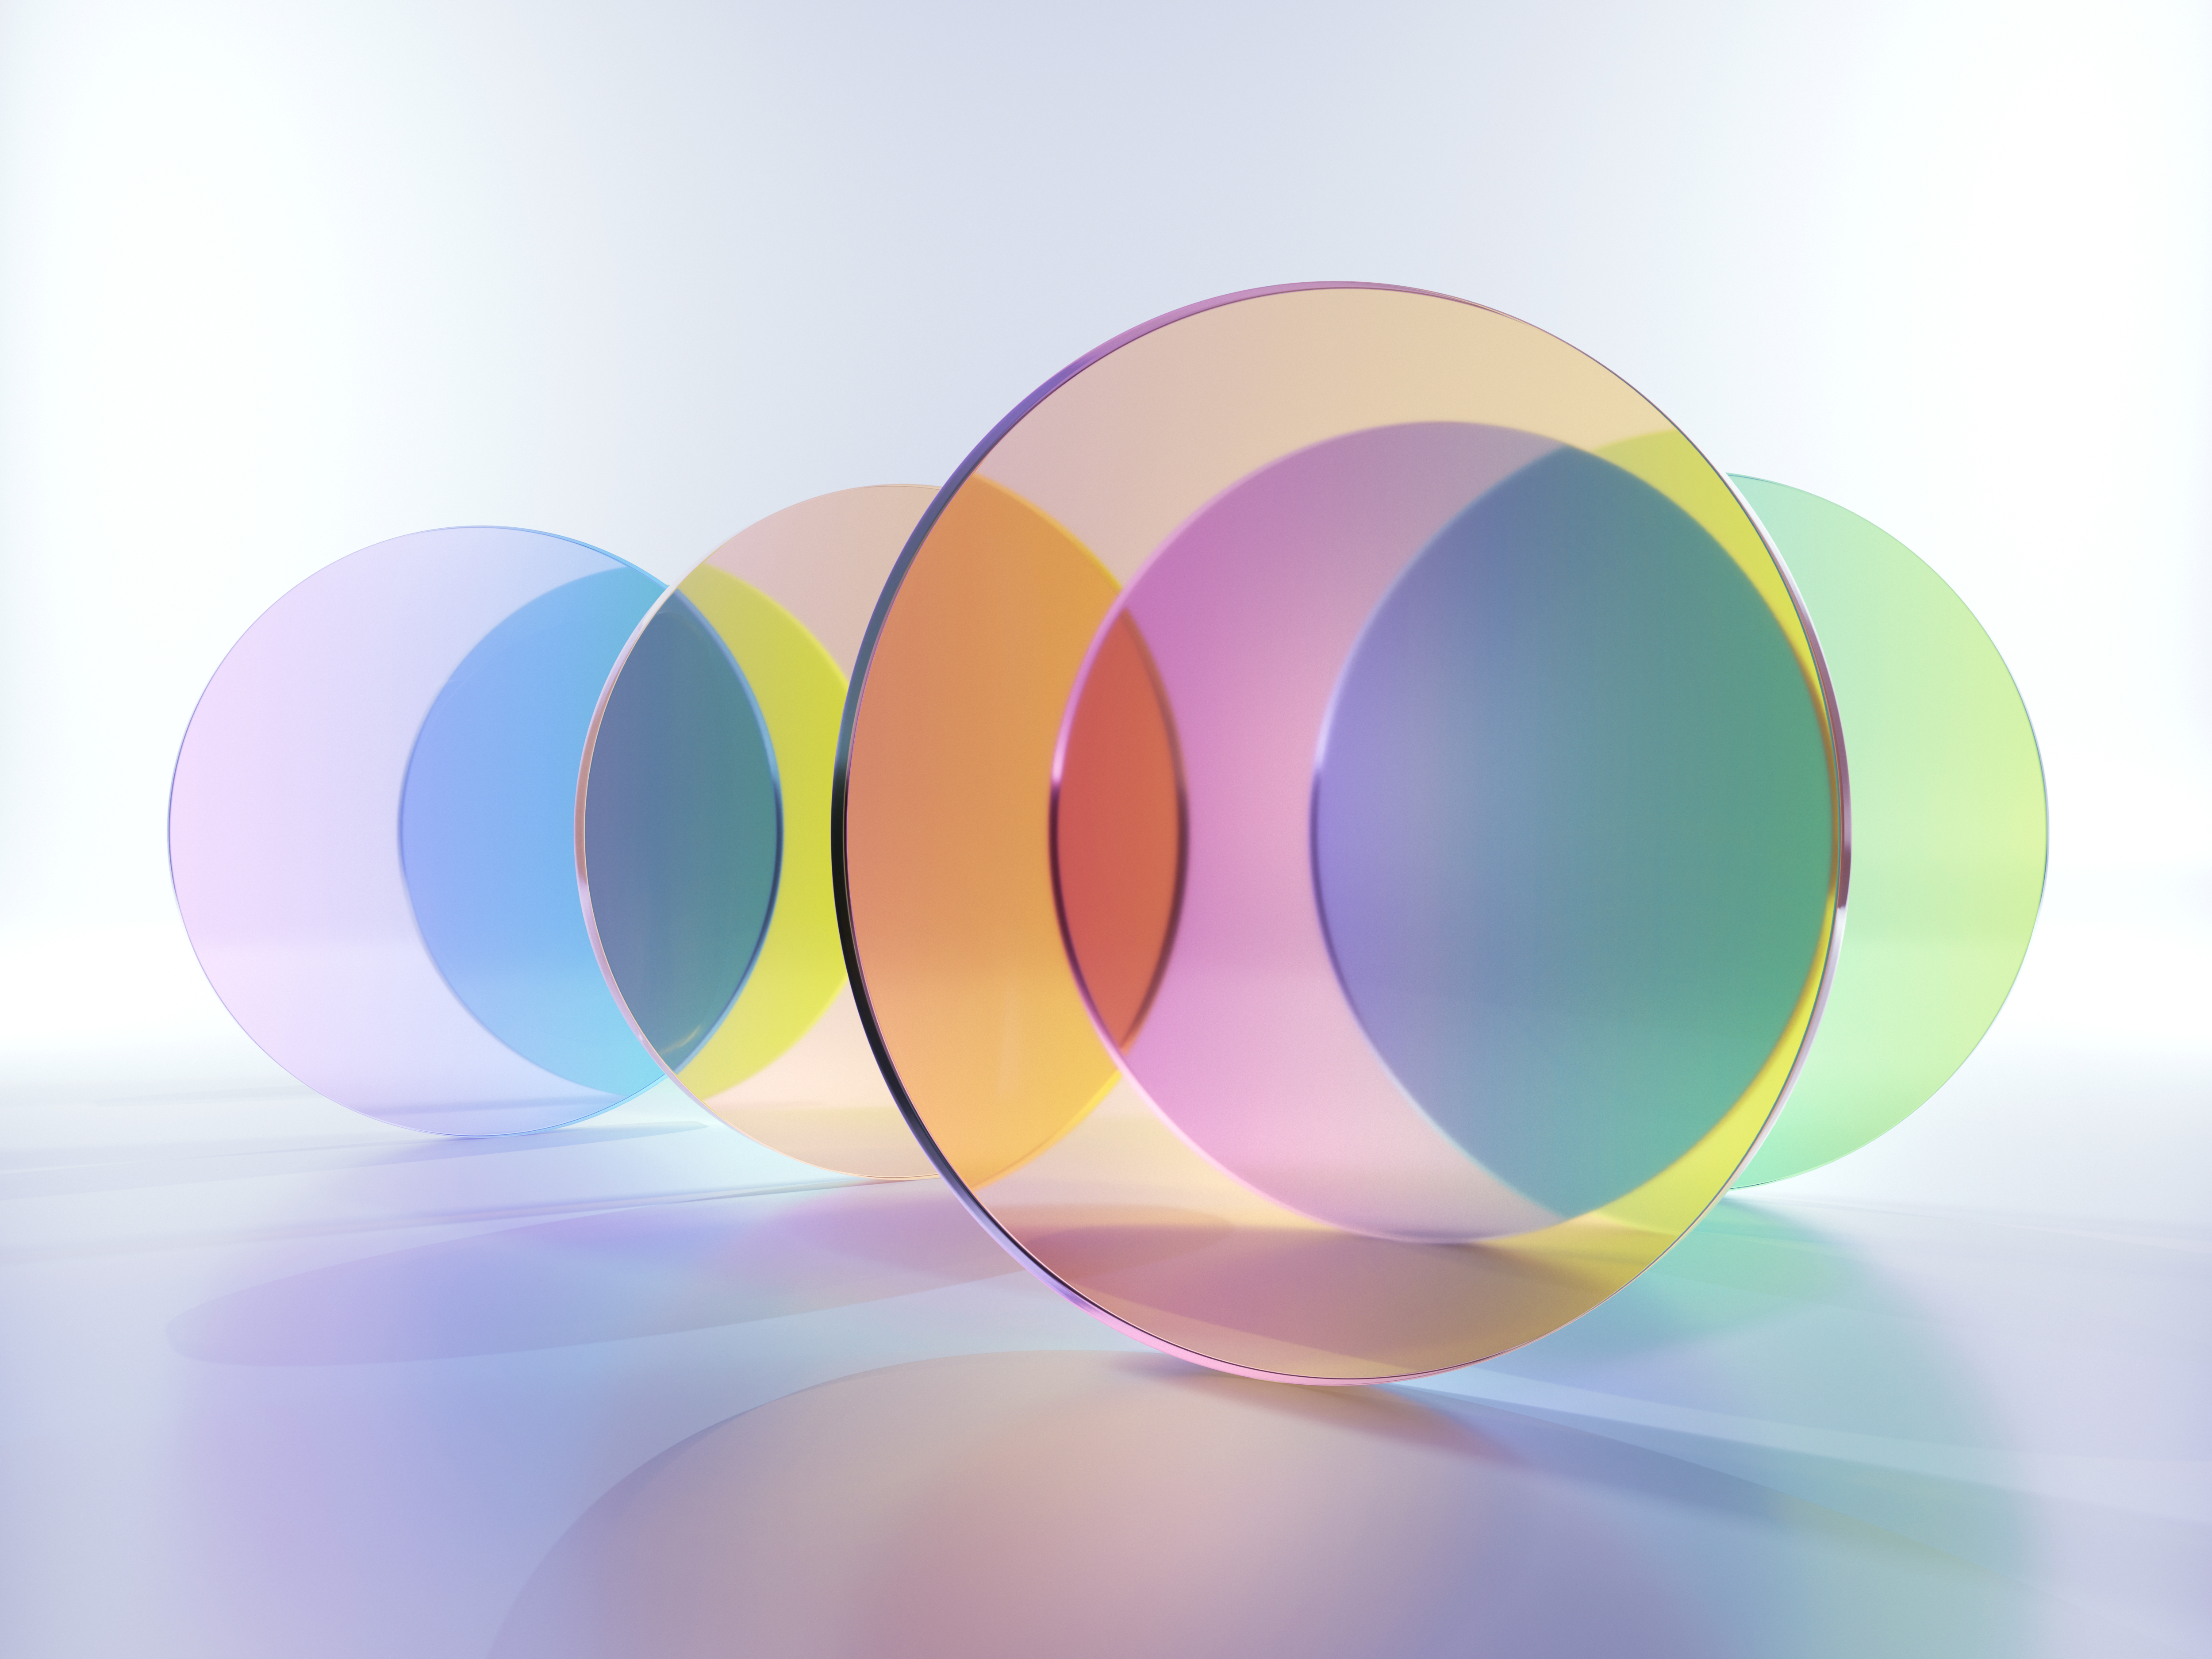
Students might think they know all they need to know about light (“flip a switch”) but they need hands-on, minds-on opportunities to investigate how light behaves when it encounters different types of materials. In our K–2 activity, young students do just this as they shine a light beam on translucent, transparent, opaque, and reflective materials. Older students begin to explore how different wavelengths of light are absorbed or reflected from objects and how that helps us to see objects. Your student might be surprised by what they didn’t know about light!

Light We Can See
By Rebecca Woodbury
Illustrated by Janet Moneymaker
ISBN: 978-1-950415028-1
Real Science Kids
26 pages
Grades K–2
Light We Can See describes light as a form of energy and examines how plants use light. Concepts such as transparent, translucent, and opaque are explored.
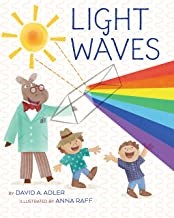
Light Waves
By David A. Adler
Illustrated by Anna Raff
ISBN: 978-0-8234-4541-7
Holiday House
32 pages
Grades 2–4
Text and illustrations help explain concepts related to light, including the electromagnetic spectrum, reflection, and refraction. Includes easy investigations to help students understand the concepts presented.
Grades K–2: What Happens to the Light Beam?
Students will investigate what happens to a beam of light when different types of materials (transparent, translucent, and opaque) are placed in the path. Students will determine what happens to a beam of light when a mirror is placed in the path.
Materials
- Light We Can See
- chart paper
- markers, cardboard or sheet for a backdrop
- several strong flashlights, transparent objects (reading glasses, clear plastic wrap, plastic transparency film)
- translucent objects (sunglasses, notebook paper, wax paper, colored plastic, colored transparency sheets); and opaque objects (book, aluminum foil, heavy fabric, wood),
- several small hand mirrors
- Lighthouse Beam Video Clip (see Online Resources)
- Supplemental Resources: https://bit.ly/3hoazi3 (You Light Up My Life Student Data Sheet, Stained Glass Template Sheet)
Engage
Show students the lighthouse beam video clip (see Online Resources). Ask them to watch what happens to the light beam (replay it several times) and describe what they are seeing occur in the video clip. Then ask the students why they think the lighthouse light is as high as it is. Why couldn’t they put it closer to the ground? What material do they think the windows are made from where the light is? Engage the students in a discussion about why lighthouses need to be high; what happens to the light when it is not obstructed; and how glass windows or no windows help this process.
Explore
Set up two different stations for the students to explore or conduct each investigation in a separate class period. The two stations will focus on the key disciplinary core ideas in this standard, which include what happens to light when different materials are placed in the path of a light beam and what happens when a mirror is placed in the path of a light beam.
Investigation/Station #1: What happens to the path of light?
Set up a location in the classroom where a backdrop of either a piece of cardboard or a sheet can be placed and it is possible to dim the lights overhead. Explain to the students that this will be the place where they observe what happens to the light that comes from a flashlight. Model for the students how to shine the flashlight against the backdrop and make observations (which will be qualitative). Remind students that they should not shine flashlights into anyone’s eyes. After students have had a chance to observe the light from the flashlight, ask them to describe the direction of the light. This may require some prompting with questions such as “Does the light shine in all directions or in the direction the flashlight is aimed at?” Do we see a beam of light extending from both sides of the flashlight?” Ask students to sketch or record their ideas on their You Light Up My Life student data sheet (see Supplemental Resources). Once students have described the idea that the light travels in a path or beam from the flashlight to the backdrop, pose the question “What do you think will happen if we place different objects in that path of light?” and allow students to make predictions as you record these on chart paper. Provide students with different types of materials that are transparent, translucent, and opaque (see list of materials for specific suggestions). Before students test their ideas with the flashlights, ask them to make observations about the different types of materials using only their eyes. Once students have described the different materials, model what you would like them to do in the investigation by holding one of the materials in front of the flashlight beam and showing what happens to the light by pointing to the backdrop. Share with the students the idea that they should decide if the material allows the light to pass through (transparent), allows only some of the light to pass through (translucent), or blocks or stops the light from traveling through the material (opaque).
Investigation/Station #2: Can I change the direction of a path of light?
Using a different section of the room that has no obstacles, provide the students with several different mirrors and a strong flashlight. Remind students about what happened to the light beam with different types of materials from the first investigation and ask them to think about what might happen if they place a mirror in front of the light beam. Remind students that they should also not use a mirror to shine light into someone’s eyes. First, ask the students to test their prediction of what will happen to a light beam that hits a mirror. Students can record their observations on their student information sheets. Then, ask the students if they can redirect the beam of light to hit a particular target.
Explain
After students have participated in the investigations, bring them back together and discuss their findings and observations. Ask them to think about what they observed or discovered as they listen to Light We Can See again. Show the students the cover and ask them to share their examples from the explore section by prompting them with, “When could we see light? Was there any point that we couldn’t see light?” What happened to the light at points when different objects were placed between the light and the wall?” After students share their initial observations, read the story to the students and ask them to describe where in their investigations the ideas in the book occur.
p. 2: Do we always see the light that is from the Sun? When do we see it? When do we not see the Sun’s light?
p. 4: What do you think the term visible light means?
p. 10: The story says that light energy gives us the ability to see the world around us. When it is dark or there is no light, describe what happens to a person’s ability to see.
p. 12: What were some of the other items that produced light?
p. 14: What were some objects that were opaque or did not allow light to go through it?
p. 16: Which objects were transparent? Which objects were translucent? What did you notice about the stained glass?
Elaborate
Revisit pages 18–19, which discuss stained glass windows. Discuss with the students that some types of glass are translucent and prevent some light from passing through whereas clear glass would allow all (or most as seem with the eye) of the light to pass through. Using the template provided, ask the students to design a stained-glass window and indicate which parts they think will allow all light to pass through, which parts will only allow some light to pass through, and which parts will not allow light to pass through (the borders between the glass panels). Ask students to explain their thinking after creating their design and connect it back to what they discovered in the explore investigations.
Evaluate
Initial understanding is determined as students discuss their understanding of a light beam coming from a lighthouse and the need for it to be unobstructed. Throughout the investigations, students are constructing their own understanding of what transparent, translucent, and opaque mean and how different materials affect a light beam. Finally, students are asked to apply their understanding through the creation of a stained-glass design.
Grades 3–5: The Light I See
Students determine that white light can be broken into the visible spectrum and that different wavelengths can be reflected or absorbed by objects.
Materials
- Light Waves
- strong flashlights
- cardboard paper towel tubes
- tape
- mirror, convex mirror, prisms
- For station 2: colored filters—red, blue, green (e.g., theater lighting gels, which can be obtained from many high school theater departments; colored, plastic camera filters; very heavy cellophane that has been triple-layered)
- blocks or balls—red, blue, green; other objects that are the same colors as the filters
- White paper, black paper, multicolored objects
- Supplemental Resources: https://bit.ly/3ho7D5b (images of objects in different colors, Light Waves student sheet)
Engage
Share a variety of pictures (see Supplemental Resources) with the students that show objects in different colors. Ask students to discuss their understanding of why objects appear in different colors. Allow students to explain their reasoning as this will help to uncover some of the misconceptions that exist.
Explore
How do light waves travel? This first station (described in the book) allows students to refresh their understanding that light waves travel in straight lines. Using a strong flashlight, cardboard tubes from paper towels, and tape, ask the students to shine the flashlight against a target taped to the wall and make observations on their Light Waves student sheet (see Supplemental Resources). Have them note in a qualitative way how bright the light is on the target, how much space it covers, etc. After they have made that observation, have them tape the two cardboard tubes together and then repeat shining the flashlight against the target but through the tube this time. Repeat their observations. Finally, bend one tube 45–90 degrees while keeping both tubes attached. Ask students to note what happens when they shine the flashlight through the tubes now.
What happens when light hits objects? Students investigate that light can be scattered based on the object that it hits. Begin by asking students to observe their reflection in a mirror. Then ask them to use a blind spot mirror (convex mirror) that allows people to better see traffic (these can be purchased through science supply stores or automotive parts stores) and make observations of what happens to their reflection.
Can white light be broken into different colors? Provide the students with prisms and a strong flashlight or access to a sunny window ledge. Demonstrate how to hold a prism to produce a “rainbow” or visible spectrum, which separates white light into the different visible wavelengths of the electromagnetic spectrum. Allow students to make observations about the order of the colors and record them on their data sheet focusing on the order of the colors and the number of colors.
What happens when I use colored filters? Provide the students with the materials needed for this station and darken the room as much as possible. Place one colored filter on each of the flashlights. Ask them to place the three blocks or balls or another similar type of object on the table. Ask students to shine the green light on each of the three blocks or balls and record what they see. What color is the blue ball, the red ball, and the green ball when the green filter is used? Have them repeat this process with the other two flashlights using different-colored filters, complete the table on their data sheet, and draw conclusions about their findings.
Explain
Bring the students back together after they have had a chance to investigate and share Light Waves with the class. As you read the story, focus on the following points and ask the students to bring their observations from the investigations into the discussion.
pp. 4–5: What is light? If light is energy and sunlight is a type of light that reaches the Earth, what happens to the energy at that point? What does the word transferred mean in this situation?
pp. 8–9: What is a “light wave?” Where in the investigations did you see different light waves?
pp. 10–11: Discuss what students observed and discovered in the investigation that explored how light waves travel. Ask them to answer the question “How do light waves travel through the air?”
pp. 12–15: What word is used to describe objects that prevent light from traveling through them? Can you tell me about a time you created a shadow? What was the source of the light waves? What does translucent mean? Transparent? What happens to a light wave when it encounters this type of material?
pp. 20–21: Light waves hit objects that are not flat at different angles. What did you notice about what happens to your reflection when the shape of the mirror changed in the investigation? Look closely at the diagram on page 20, what do you notice about what happens to a ball when it hits a curved surface? How is throwing a ball in this diagram similar to light waves?
pp. 24–25: The book mentions “white light” and then “spectrum.” Describe what happened when you used a prism in your investigation. Look closely at the order of the colors in the picture and compare it to the order of the colors in your investigation. What is wavelength?
pp. 26–27: Early in the book, the author states, “light waves bounce off surfaces such as apples…” and other objects when light is reflected. At other times, some light waves are absorbed and use the example of the apple again. What color light wave is reflected from a red apple? Why does a page of white paper appear white? Describe what happened when you used different colored filters in observing different colored objects. How is this an example that some wavelengths are absorbed?
Elaborate
Have the students select additional objects that are a solid color (e.g., plastic cups, colored pieces of paper, small toys) and have them make predictions about what they will see or what will happen to the light waves when different color filters are used. Have students explain why their choice of filter color will result in the object appearing black in a darkened room. Then ask the students to use several objects that have multiple colors on them to make predictions about what happens when different filters are used. Finally, ask students to test the different filters when they use white or black paper or objects. Have them ponder the following questions: “What color do white objects absorb? Black objects?” Can they explain the connection between what they observed at their stations and these questions? (White objects absorb no colors and black objects absorb all colors.)
Evaluate
Throughout the different investigations, students are first talking about their initial understanding of light waves. Within the explore investigations, they are constructing additional information about how white light is broken into the visible spectrum and how individual wavelengths can be reflected or absorbed by different objects. Finally, they extend their understanding to explain how different wavelengths act when they interact with white or black objects.
Christine Anne Royce (caroyce@aol.com) is a professor at Shippensburg University in Shippensburg, Pennsylvania, and past president of NSTA.
Literacy NGSS Phenomena Physical Science Elementary