
engineering encounters
Using Force and Motion Concepts to Achieve a Hole in One
Science and Children—July/August 2023 (Volume 60, Issue 6)
By Heidi Masters, Kylee Plants, Elizabeth Sutton, and Rebecca Mitchell
How can we make science learning joyful? Science and Children Editor Elizabeth Barrett-Zahn shared the importance of bringing joy to learning by “capitalizing on student interest, questions, and wonderment” (2022, p. 5). While planning instruction for a fourth-grade class in a large Midwestern town, we spent time thinking of an anchoring phenomenon that would bring many students joy and connect to their interests (Lee and Grapin 2022). To bolster 20 fourth-grade students’ wonderment, we showed a video of ourselves playing miniature golf at the local amusement park and asked the students how many of them had played miniature golf or knew of the game. All students raised their hands. We then presented the engineering design challenge: “Your local amusement park needs some young engineering minds to help them build a new and improved miniature golf course. They have chosen your class to help with this project.”
Students were eager to begin working on their miniature golf course design; however, solving engineering challenges is never a hole-in-one. To solve an engineering challenge, students must develop conceptual understanding of science concepts and apply that knowledge when designing, constructing, testing, and redesigning a solution (NRC 2012). Therefore, prior to engaging in the engineering challenge, students learned about force, collisions, and energy transfer. In this article, we explain the learning experiences that occurred in four lessons. Materials for each lesson, data recording sheets, and informational pages are provided in the Supplemental Resources shared online.
Lesson 1: Pushes and Pulls = Force
For the first lesson on force, we motivated the students to engage in learning and formatively assessed their prior knowledge by having them compare the ways in which a golf ball is moved to how they move a kickball at recess. To elicit the students’ thinking, we asked, “How would you describe to someone how the golf ball and kickball both moved?” After a turn and talk, one idea a student shared was: “Both the golf ball and kickball move by pulling and pushing an object so that it makes contact with the ball.” After engaging in this discussion, we introduced the investigable question, “How do all things move?”
To answer the investigable question, the students explored six objects/stations. We asked the students to record the action they did to make each object move on their data collection table (see Supplemental Resources). However, we found the students often wanted to focus on the outcome of their action (e.g., the top is spinning) rather than the action itself (e.g., I pushed the top to make it spin). Therefore, we prompted students to focus on their action by asking questions such as, “What did you do to the Pringle can to open it?” A student responded, “We pulled the lid off the can.”
Once the students experienced all six stations, we discussed and documented the ways students moved each object. We formatively assessed the students’ abilities to analyze and interpret the documented data and construct a scientific explanation. They instantly noticed two ways that all objects can be moved: push and pull (cause), which in turn achieve different outcomes (i.e., effects—e.g., A yo-yo goes up and down). This analysis and interpretation helped the students construct the following claim, “All things move because of a push or pull.” Their evidence was, “We pushed the globe and it spun. We pulled the car backward.” Last, we read pages 5–6 from the book Forces Make Things Move (Bradley 2005) to review the concept of force and how it is used to make all things move.
To wrap up the lesson, we formatively assessed the students’ knowledge of force by having them share where they have witnessed force in their own lives with a partner and then the whole class. Students surprised us with the extension of their knowledge by explaining how drinking water, riding a bike, and breathing are all examples of using force. We also encouraged students to think about how they would use force in their miniature golf course designs. A student shared, “We will use force when swinging the golf club to hit the golf ball.”
Lesson 2: Collisions and Energy Transfer
At the beginning of lesson two, we connected to the students’ prior knowledge by formatively assessing what they remembered about force. Students were able to share that, “A force is a push or a pull.” We then reviewed the miniature golf course challenge and informed students they would be learning two new science concepts to help them with their work as engineers. To elicit the students’ initial ideas about collisions and energy transfer, we asked them to consider how a baseball bat affects the motion of a baseball (cause and effect). A student responded, “The baseball bat changes the direction of the force.” We followed-up by asking the following higher order thinking question: “How would the material of the baseball bat affect the distance a baseball travels after changing direction?” (NOTE: In this lesson, the concepts of change in direction and change in distance will be used. Change in direction is when an object starts moving in a different direction. Change in distance is how far an object traveled after moving in a different direction.) We administered a whole-class poll to see what material—wood, metal, foam, or plastic—students thought would make a baseball go the farthest distance. Many of the students predicted that metal would cause the baseball to go farther because it is the hardest material and would cause the baseball to bounce off easily. After engaging in this fruitful discussion, students were ready to explore the following investigable question: “Which material causes the golf ball to have the greatest change in distance after changing direction?”
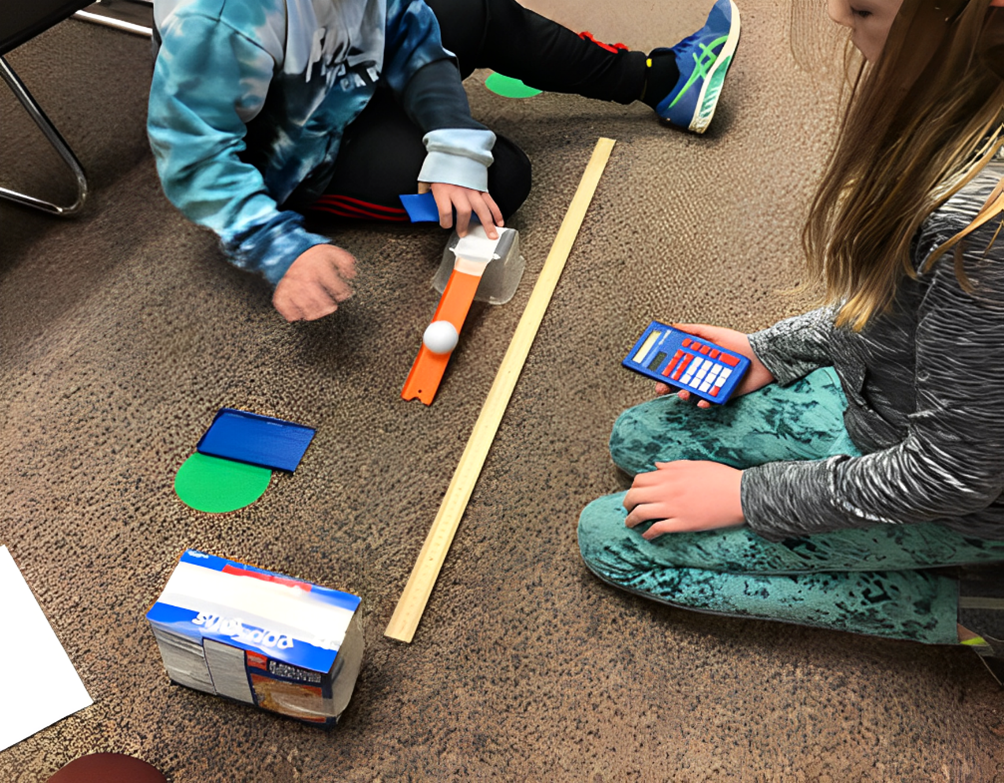
To explore this investigable question, we worked with the students to design a fair test, which included keeping the release of the ball (top of ramp), height of the ramp (8 cm), and distance between the ramp and material (30 cm) consistent each time (planning and carrying out investigation). We also reviewed how to safely use each material. Students then rolled a golf ball down the ramp so it would collide with each material, measured the distance the ball traveled in centimeters after making contact with each material, and recorded their findings on a data table (see Supplemental Resources). They carried out three trials for each material and then calculated the average distance.
While the students were exploring, we rotated around the room and formatively assessed the students’ abilities to analyze and interpret their findings and consider how the results could be used in their miniature golf course design. We asked questions such as, “Which material is causing the greatest change in distance for the golf ball?” “When do you think a material like this would be helpful in a miniature golf course design?” Students shared their surprising discoveries: “We should definitely use a sponge in our miniature golf course design because it caused the golf ball to go so far.” “What? The golf ball didn’t really go anywhere with the wood. This material would only work for short distances.” To encourage higher order thinking, we responded by asking the students what they thought may be the reason the golf ball went a farther distance with the sponge compared to the wood. Students were unsure, as the results did not match their predictions.
After the exploration, a member from each group entered their average distances into an online polling device called Mentimeter. This website then calculated the class average for the distance the golf ball traveled after colliding with each material (Figure 1). We formatively assessed the students’ abilities to analyze and interpret the data and construct the following claim and evidence statement, “The cardboard caused the golf ball to have the greatest change in distance after changing direction. When the golf ball collided with the cardboard, it went the farthest distance (29.6 cm). It went slightly less distance with the sponge (29.4 cm) and Styrofoam (28.2 cm). The golf ball’s distance changed the least with the wooden block (6.4 cm) and plastic (9.8 cm).” To support the students with the reason why the collision with certain materials changed the distance a golf ball traveled more than others, we read and discussed a paragraph about elastic collisions and energy transfer (Kiddle Encyclopedia 2022). We helped the students apply what they read to their investigation by ordering the materials by the distance they traveled to determine which materials were more elastic and allowed for more kinetic energy to transfer. We asked the students to discuss the following question in their groups, “What do you think happened to the energy that was not transferred to the golf ball?” Students were able to think about their investigation and refer to the article to determine that the energy was converted into heat and/or sound. We then helped the students construct the following reasoning statement, “When the collision between two contact forces is partially elastic, more kinetic energy is transferred, and as a result the golf ball has a greater change in distance after changing direction.”

Golf ball average distances after colliding with different materials.
To conclude the lesson and formatively assess the students’ thinking, we had them begin brainstorming some initial ideas for their miniature golf course. We asked, “How could you apply what you learned in this lesson to your miniature golf course?” When listening to the students’ ideas, we documented if they were thinking about the relationships between the material, the amount of energy transferred, and the change in distance they desired. One idea a students shared was, “If we want the golf ball to go a farther distance, we should use flexible materials because more energy will transfer.”
Lesson 3: Research and Design
At the beginning of lesson three, we reviewed what the students learned in lessons one and two to help them apply these ideas to their engineering challenge. We informed the students that they would take on the role of an engineer and asked them what they thought engineers do. A typical response was, “They create things, explore, and try to figure out things.” We then asked, “Do you think engineers’ initial designs always work perfectly?” This question resulted in many students shaking their heads no. Given the students had little exposure to engineering, we thought this discussion was essential to normalize the redesign process.
We then reviewed the engineering design process and challenge (see Supplemental Resources). We explained their solution had to incorporate the following criteria: (1) the golf ball must collide with at least two materials (changing its direction), (2) the course must be sturdy enough to withstand a golf ball colliding into it, and (3) the golf ball must roll into the hole after one contact force from the putter. Students also were informed about the following constraints: (1) two 45-minute class sessions, and (2) materials from lesson two. Students were ecstatic to find a solution and wanted to get to work right away. However, we informed them that engineers begin by conducting research and drawing potential solution ideas.
Students worked in groups of four to research simple miniature golf designs and started to draw possible solutions (see Supplemental Resources). The creativity and imagination that the students put into their design was amazing to see (Figure 2), but they had to be reminded of the criteria and constraints as they wanted to construct elaborate designs. While the students worked on their designs, we rotated around to the different groups and formatively assessed their ability to explain their reasoning for including one or more design features and how it would fulfill the design criteria. During these conversations a student shared, “We are going to use a sponge here so that when the golf ball hits it, more energy will transfer causing it to travel a further distance and then hopefully hit the cardboard wall and then go into the hole.”
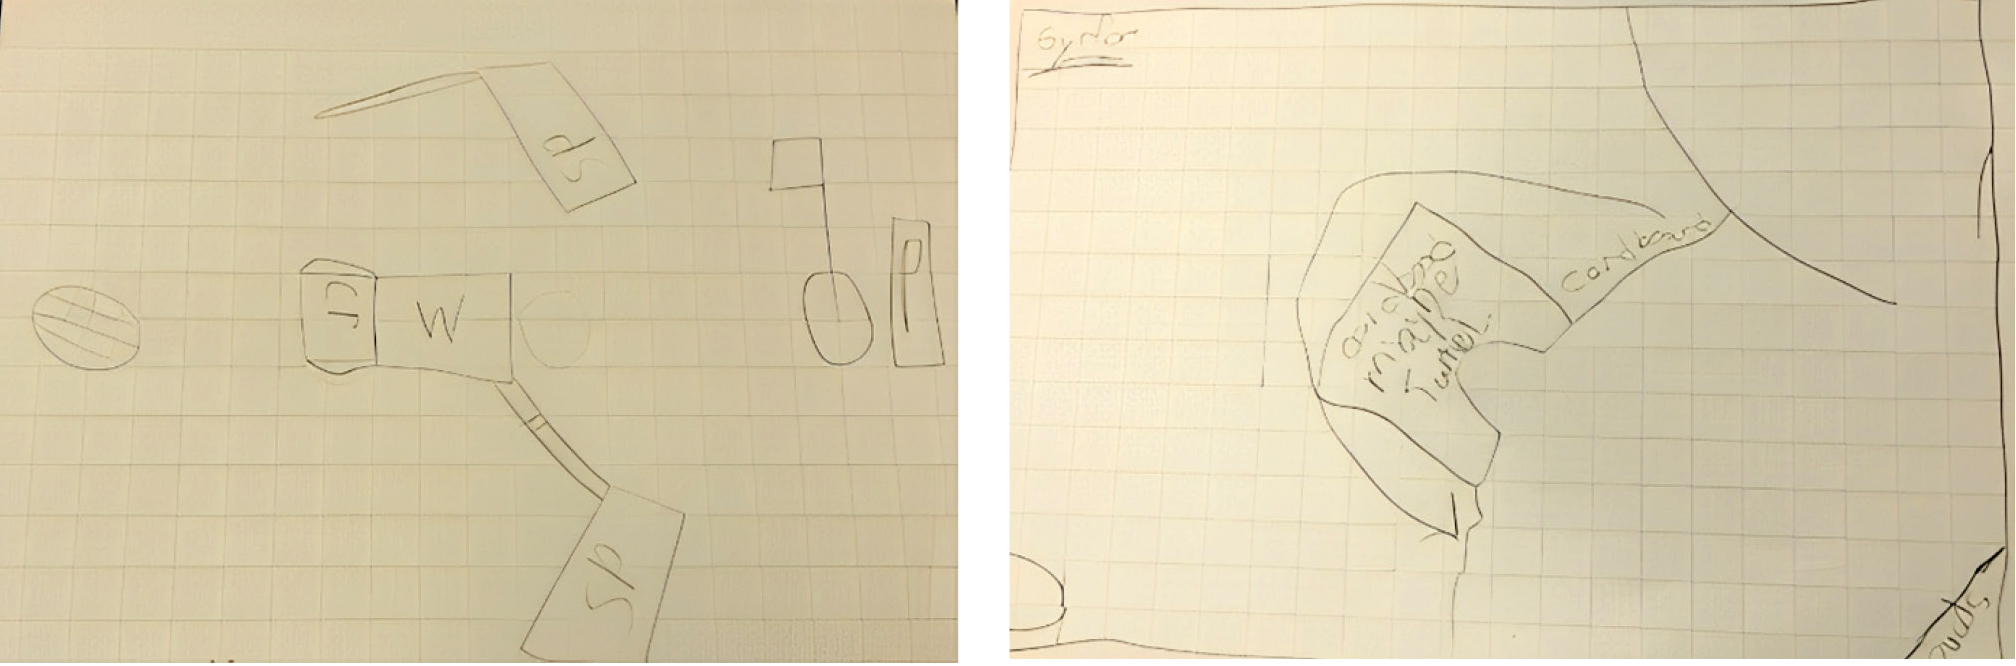
Miniature golf course designs.
Lesson 4: Build and Test
For the final lesson, the same four students worked to build and test their miniature golf course. To provide the groups more space, we set up the miniature golf materials in the hallway. Each group received one cardboard course that was elevated by four Styrofoam cubes, a cup for the hole, a golf tee, and some scissors. We displayed the other materials on a table for groups to pick up.
Before the students began building their miniature golf course design, we reminded students of the engineering challenge, criteria, and constraints. We also discussed how to safely use the scissors and that only teachers could use the box cutters to cut the hole for the golf ball. Each group was given their design sketches from lesson three and began working diligently together and with enthusiasm (Figure 3). Our role as teachers for this day was to mainly observe, offer support if students needed it, and formatively assess the students’ abilities to reason about their design decisions using their knowledge of force, collisions, and energy transfer. We asked them questions such as, “What made you decide to use a lot of sponges in your design?” “How do you think your design will help get the golf ball into the hole?” After students were finishing building their miniature golf course design (Figure 4), we provided each group a data recording sheet to document if: (1) the ball hit two different materials, (2) their course was sturdy, and (3) if anyone was able to hit a hole in one (see Supplemental Resources). Students were also prompted to write how they could improve their course or make it more challenging. For the last five minutes, students received the opportunity to use children’s miniature golf putters and test out each other’s miniature golf courses (NOTE: For safety reasons, remind students to keep putters near the ground). Students were very excited to share what they made with their peers and play miniature golf on the other courses that were created.
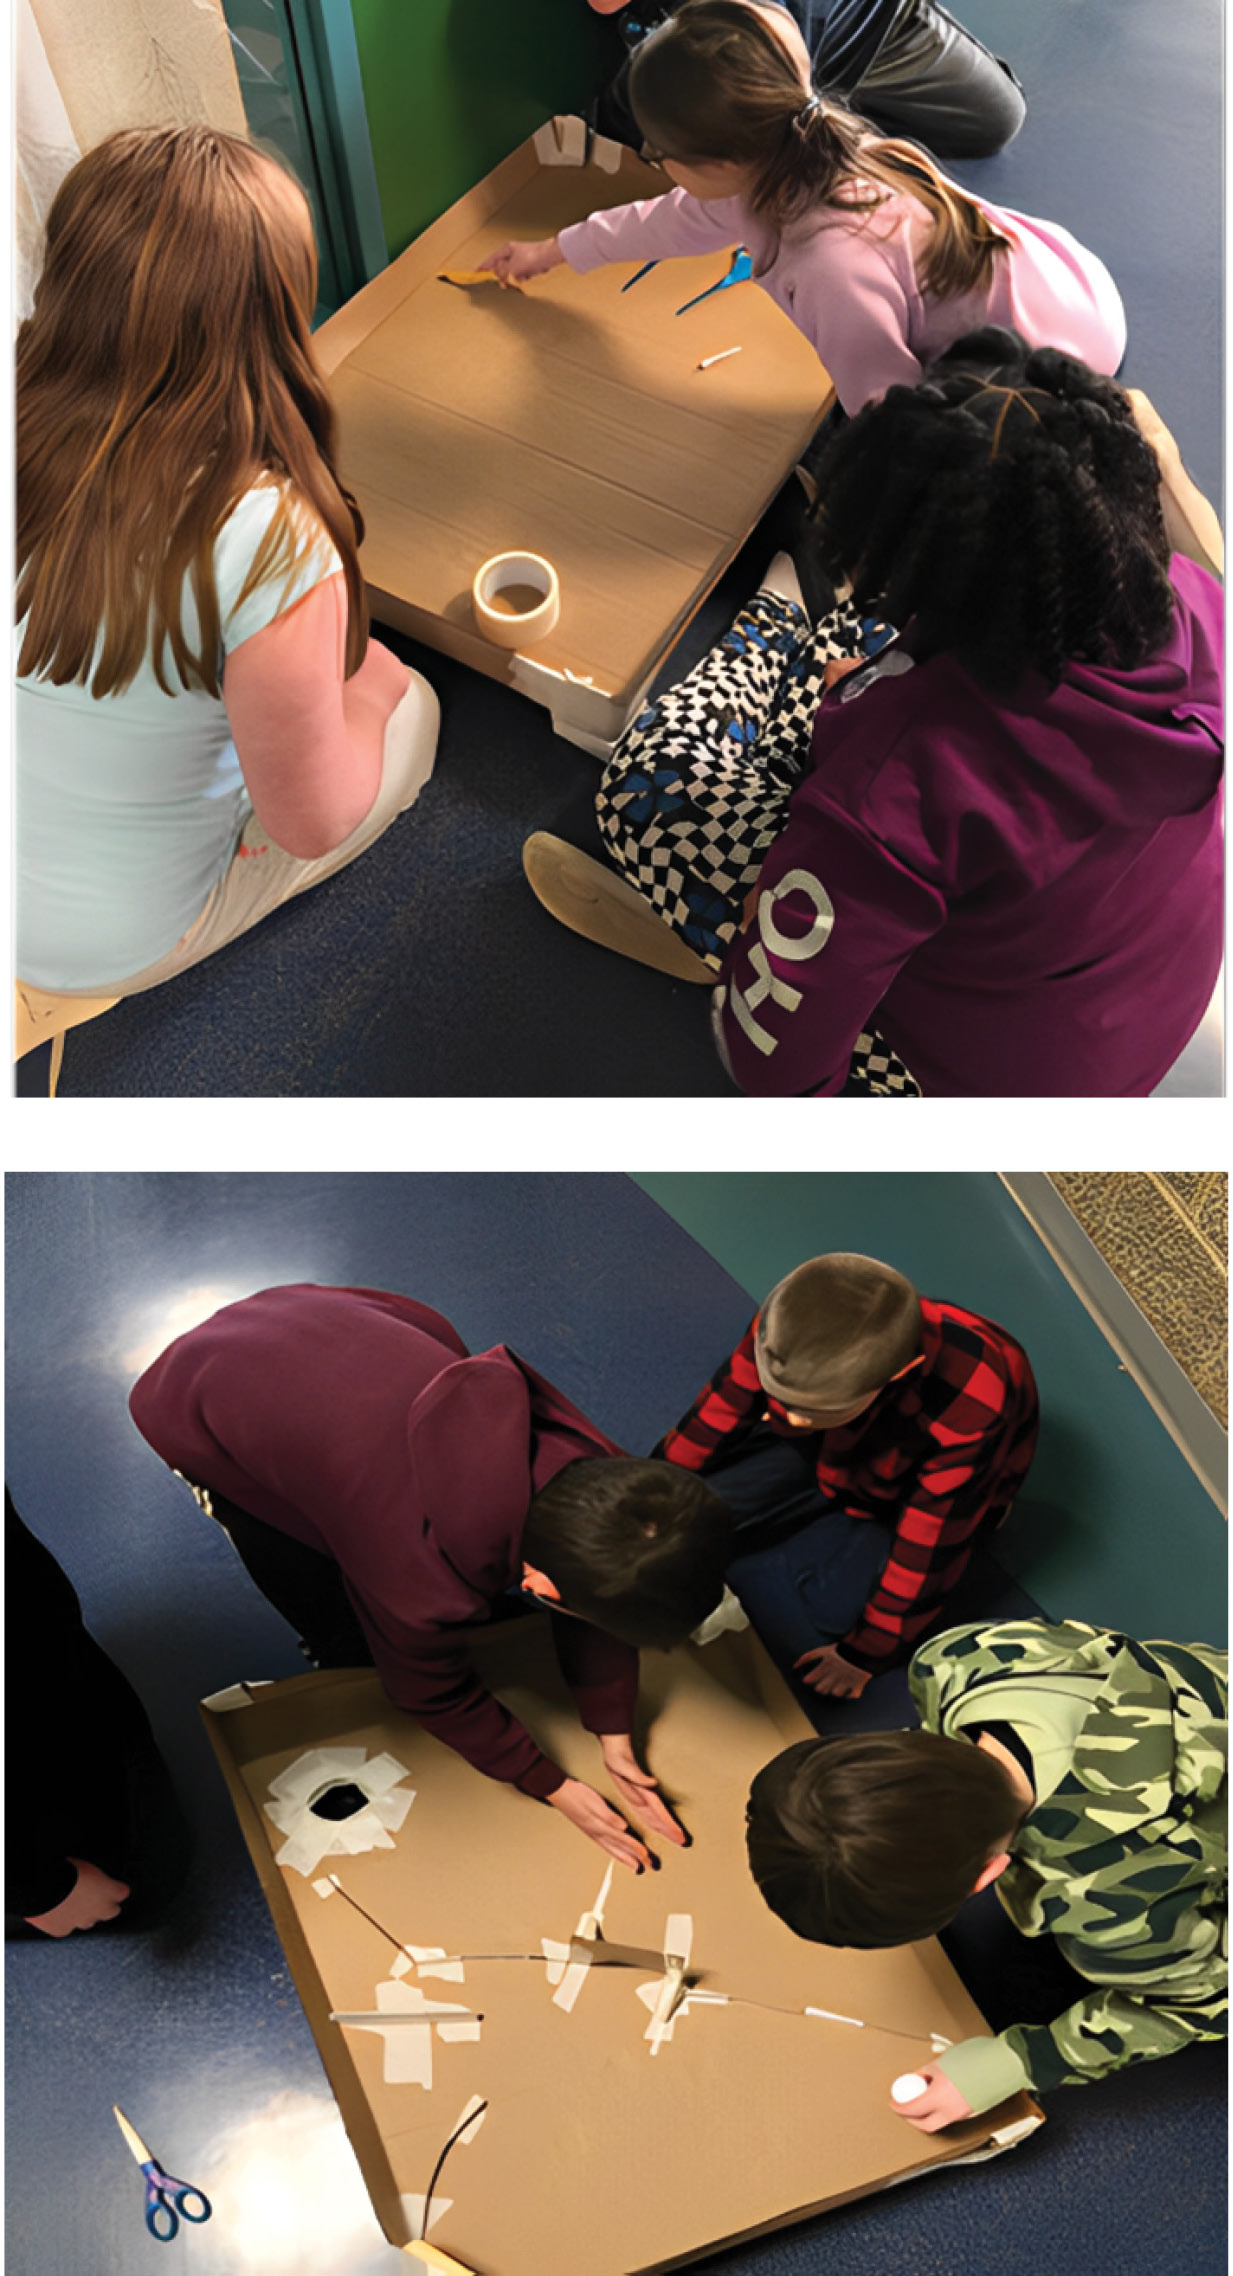
Miniature golf engineers at work.
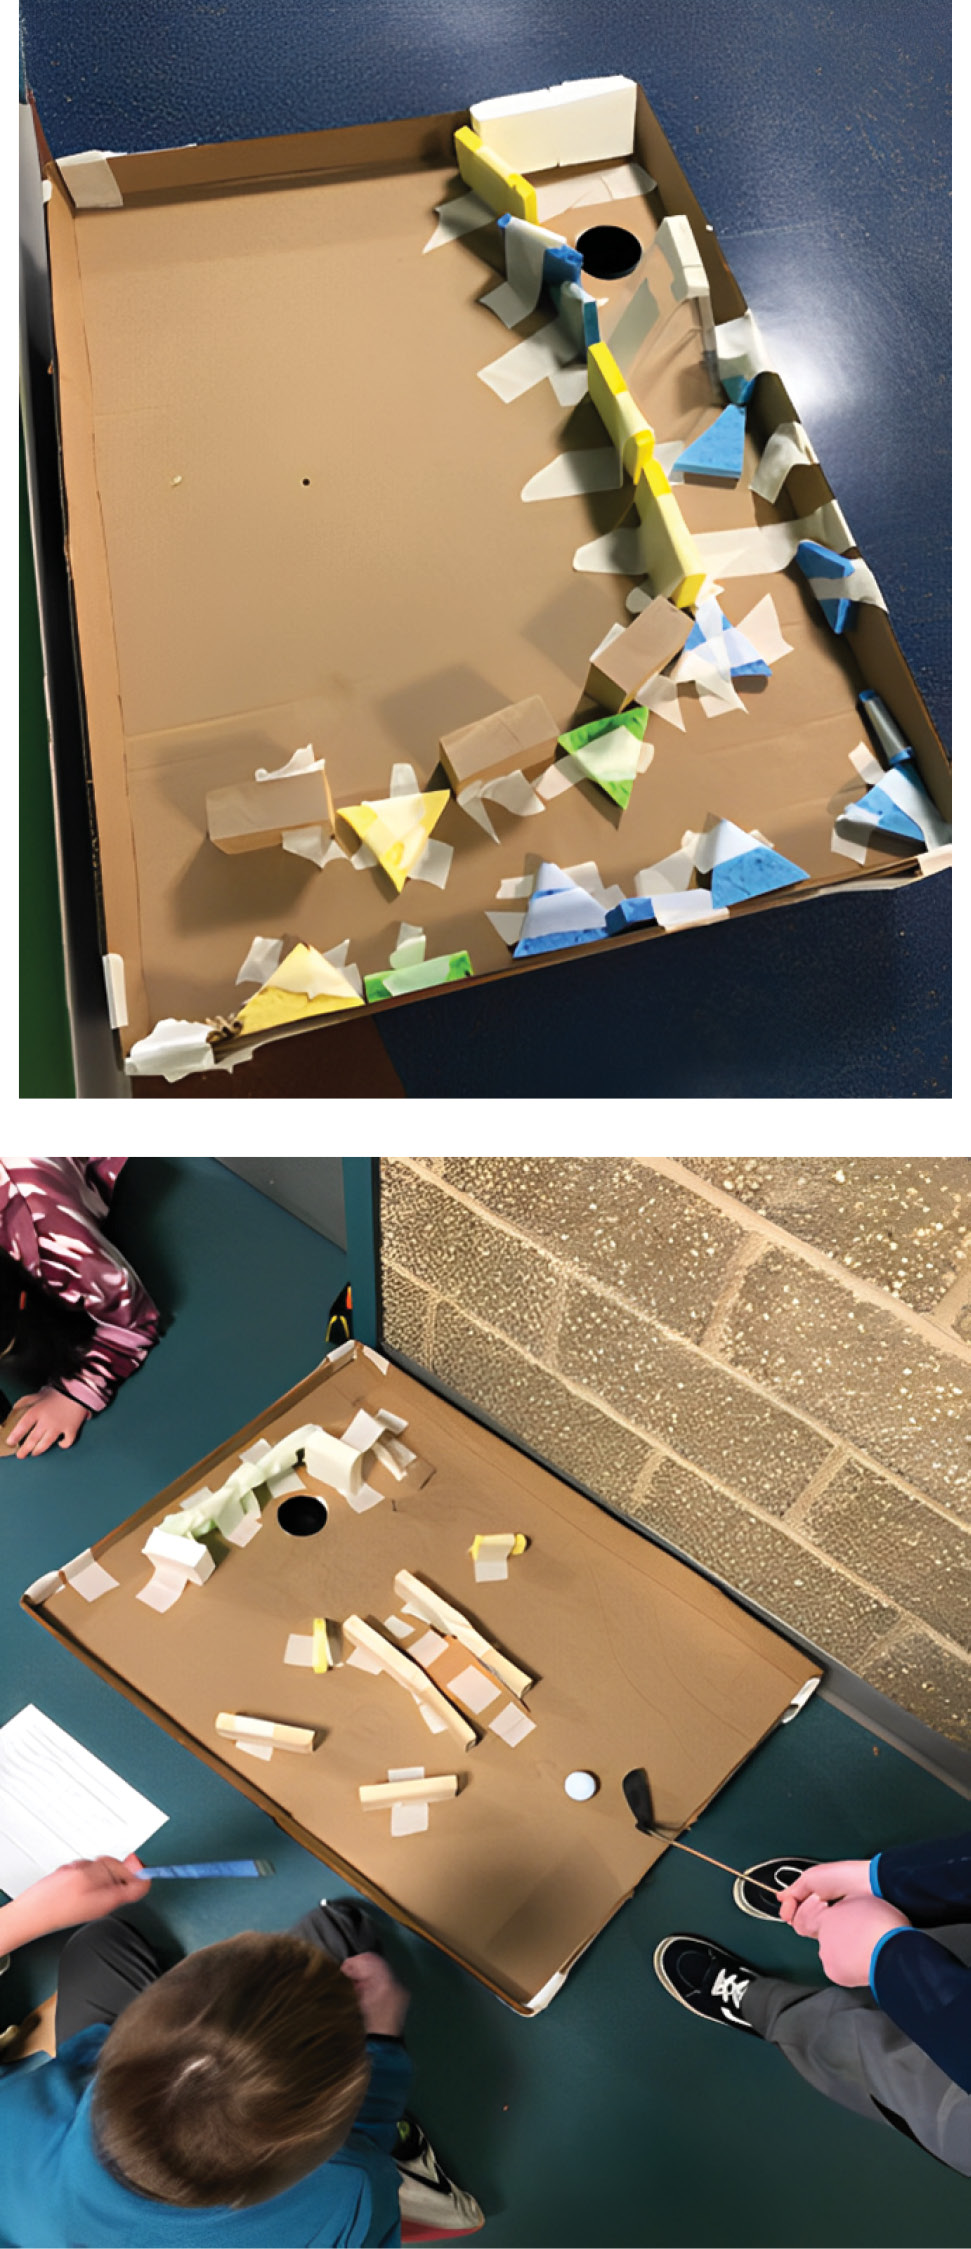
Miniature golf courses.
Conclusion
Throughout the four lessons, the students were able to learn and apply their knowledge of force, collisions, and energy transfer. In the first lesson, students reviewed a force is a push or pull and is used in everyday life, from throwing a ball to taking a breath. During the second lesson, the students expanded upon their knowledge of force and explored how the elasticity of a collision affects the amount of kinetic energy transferred and the distance a golf ball travels after changing direction. (NOTE: Students continued to apply these concepts and learn other force and motion concepts with their classroom teacher). These two lessons equipped the students with the knowledge they needed to solve the engineering design challenge of constructing a miniature golf course for the local amusement park. The last two lessons were focused on engaging students in the engineering design process. The fourth graders were very excited and motivated to collaborate and apply the science concepts they learned to their engineering design challenge. We were thrilled to hear the students strategically selecting materials to use in their miniature golf course design based upon the amount of kinetic energy that would transfer after the collision and the distance they needed the golf ball to travel.
Each group was able to construct a sturdy miniature golf course that included at least two collisions but not all groups were able to achieve a hole in one.
Given we only had four days to work with the fourth-grade students, the classroom teacher continued to work with her students to redesign and retest their miniature golf courses. As a summative assessment, the students presented their miniature golf course to the owner of the local amusement park and explained the reason they selected certain materials and made specific (re)design decisions. A rubric was used to evaluate the student’s presentation (see Supplemental Resources). Many students are now hoping to see updates to a place that brings them joy.
Supplemental Resources
Download the materials list, data recording sheets, rubric, and other supplemental resources at https://tinyurl.com/228dc8mj.
Heidi Masters (hmasters@uwlax.edu) is an associate professor; and Kylee Plants, Elizabeth Sutton, and Rebecca Mitchell are teacher candidates, all at the University of Wisconsin-La Crosse in La Crosse, Wisconsin.
Engineering Physical Science Physics Elementary