
Teaching Through Trade Books
A Magnetic Attraction
Science and Children—November/December 2021 (Volume 59, Issue 2)
By Christine Anne Royce
Magnets are often a source of curiosity for students. Investigating the properties of objects that are magnetic allows younger students to focus on what happens when magnets interact with different materials. Older students explore how a magnetic force affects an object even when there is not a direct contact as they consider how the Maglev train levitates.
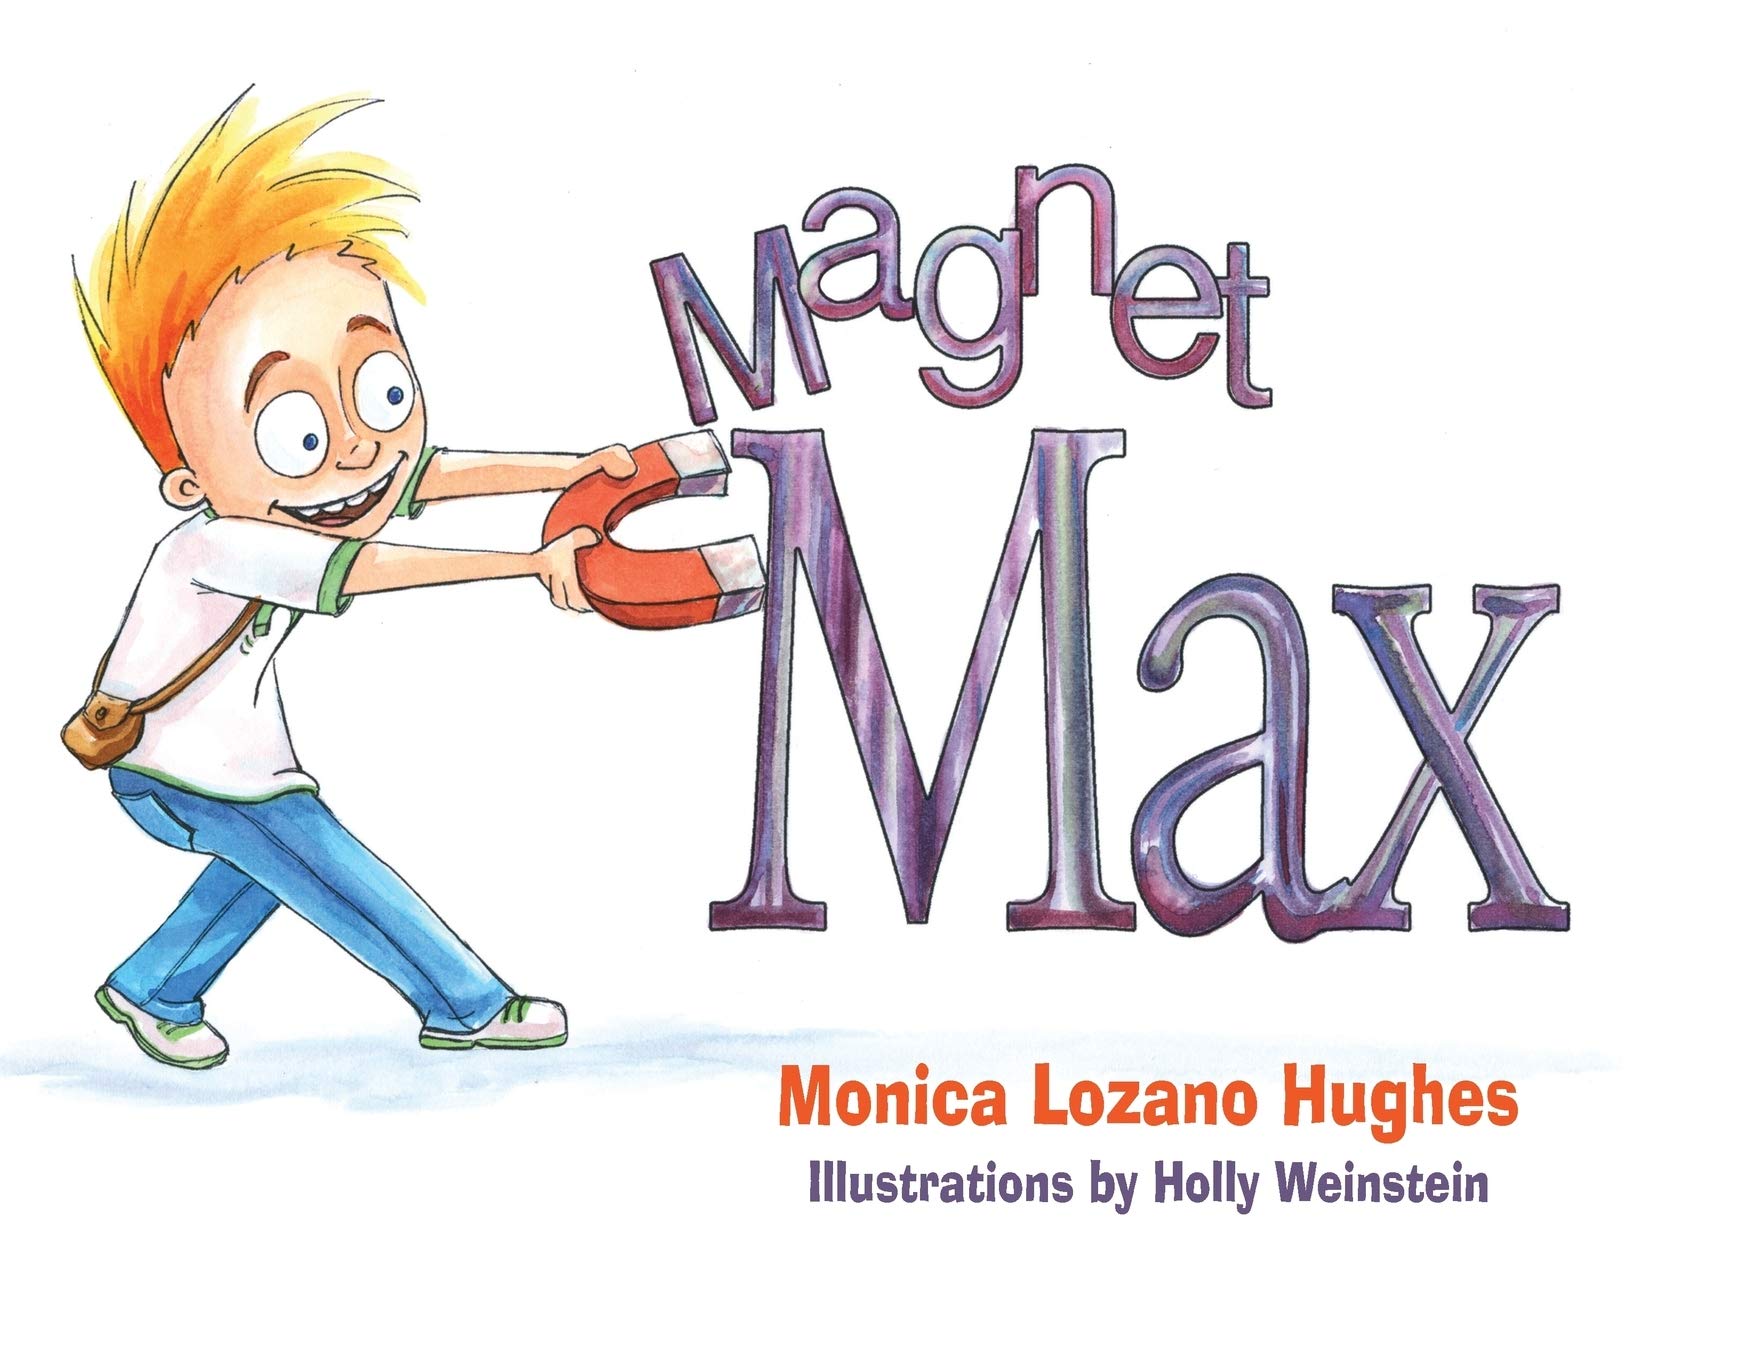
Magnet Max
By Monica Lozano Hughes
Illustrated by Holly Weinstein
ISBN: 978-1612542249
Brown Books Kids
24 pages
Grades 1–3
Magnet Max explores how magnets work through trial and error. He determines what objects a magnet will attract and what objects a magnet won’t attract and stumps his friend Nick. They test a variety of different objects to determine what a magnet is attracted to. The story uses a rhyming format to create engagement.
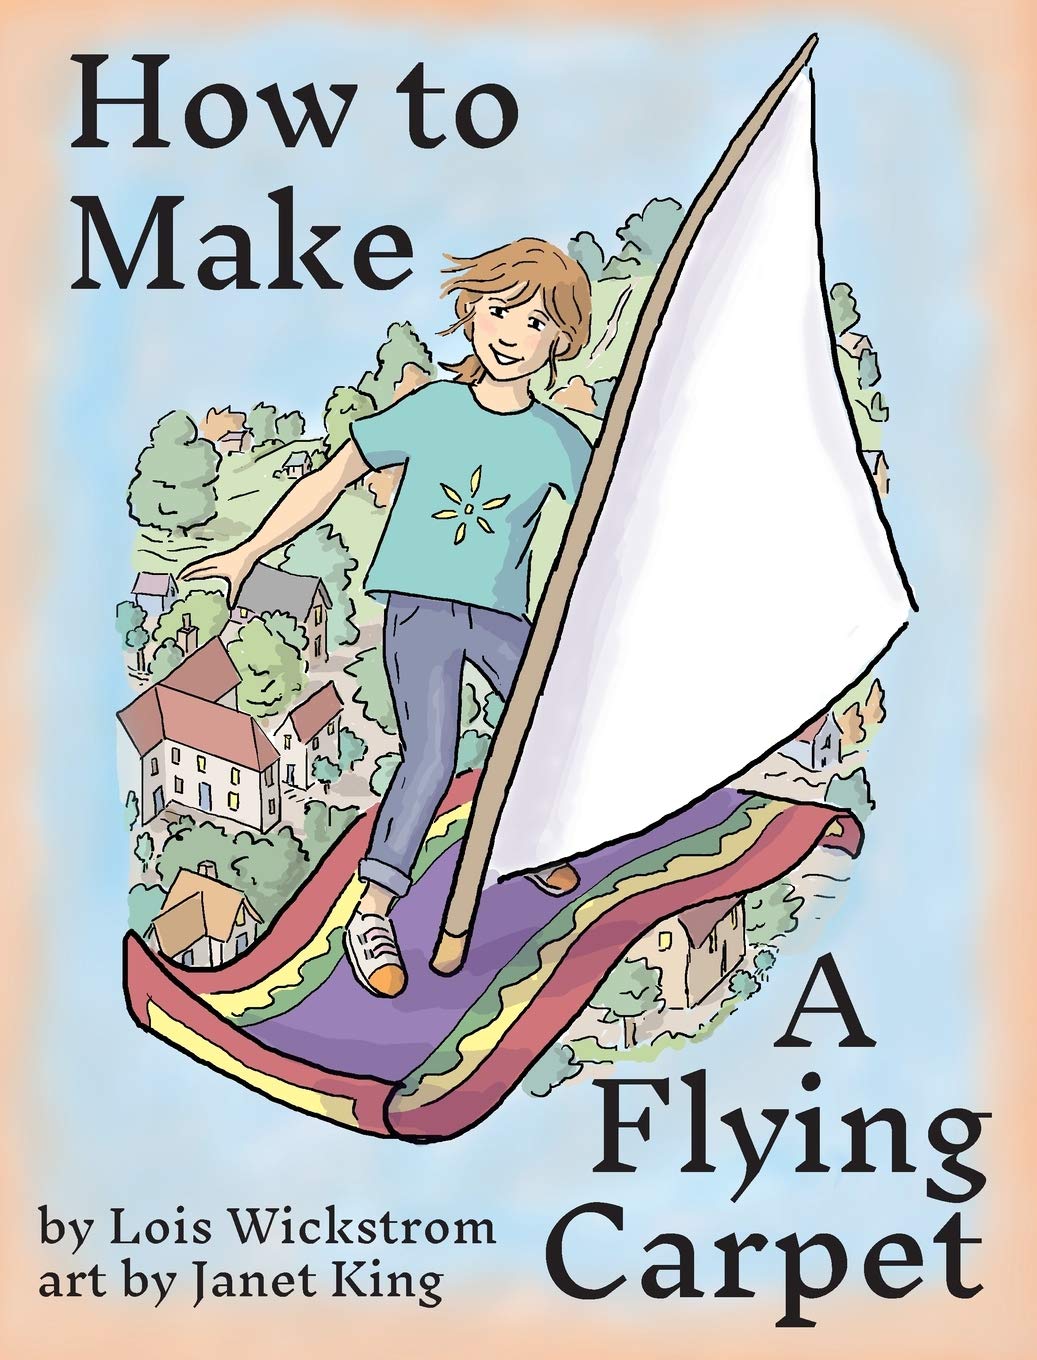
How to Make a Flying Carpet
By Lois Wickstrom
Illustrated by Janet King
ISBN: 978-0-916176-80-8
Look Under Rocks
28 pages
Grades 2–4
Alex learns about magnetism through common everyday objects and then uses her understanding to explore and experiment with magnets. Through her creative ideas and maker attitude, she uses magnets to help design and build a flying carpet.
Grades K–2: Exploring the Properties of Magnets
Purpose
Students will investigate and describe the different properties of objects that are magnetic and non-magnetic.
Teacher note: Magnets exert a force that can push or pull objects that contain iron, nickel, steel, and cobalt along with some less common metals. This lesson crosses over between pushes and pulls and properties of objects, which is a different performance expectation. Students are able to make observations about what is magnetic and what isn’t magnetic and observe how magnets interact with objects by pushing or pulling them, but it is important to note that the assessment boundary for this level is clear in that students are not expected to be able to describe the strength or direction of magnetic force.
Materials
- Magnet Max
- metal cookie sheet, aluminum cookie sheet (make sure one is non-magnetic)
- refrigerator letter magnets, stronger button magnets and a bar magnet
- station materials (keys, paper clips, rock, craft stick, nuts and bolts, empty soda can, nails, iron ore (will be magnetic), plastic silverware, fork, small stuffed toy), paper clips, T-chart, box
- string, safety goggles (see Supplemental Resources [https://bit.ly/3BZnI69] for Am I Attracted Student Data Sheet, Station Cards, and Challenge Activity Sheet)
Engage
Begin by showing the student two cookie sheets—an aluminum one and a metal one. Check these cookie sheets ahead of time to make sure that magnets stick to one and not the other. Ask the students to make observations as a class and record those on a T-chart. Have the students focus on describing the properties of the two cookie sheets. After students have had a chance to brainstorm, show the students magnetic letters such as those you would stick on the refrigerator to spell words. Ask the students if they have played with magnets like these previously and what their experiences are. Have the students discuss what they predict will happen when you place them on the different cookie sheets. Place the letters on the metal cookie tray first. For some fun, you could have the letters spell out “stick” or “attract” or some other word that will be meaningful in a moment. Take a button magnet and place it on the tray as well and make the statement to the students that different magnets have different strengths. Pass around the cookie tray and ask the students to slide both types of magnets around, slowly try and lift the magnets, and make observations. Use questions that prompt the students to describe what happened such as: “What did you notice as you tried to slide the magnets around? Did you notice anything about the magnets when you tried to lift them from the tray?” Once students have had a chance to share their observations and they are recorded, repeat the process using the aluminum cookie tray with the letters first. Prompt the students to predict what might happen with the button magnet and then demonstrate trying to stick that magnet to the aluminum tray also. Discuss the student’s observations and record those on the T-chart as well. Teacher note: Aluminum is not a metal that has magnetic properties.
Explore
Ask the students to look at the chart that compares the two different cookie trays and what happened to the magnets. Then ask the students to consider the properties that are the same and the properties that are different between the two cookie sheets? What is each made from? What shape are they? Questions that allow students to make observations will be helpful as they move into the set of explorations in this section. Set up each of these investigations as stations that provide opportunities for the students to rotate through.
Investigation #1: Magnetic or Non-magnetic
In this station, students sort objects based on their properties of magnetic or non-magnetic. Begin by providing students the listed materials for this station and the station card (see Supplemental Resources), which will consist of common objects, some of which are magnetic and some of which are not magnetic. Ask students to first describe the objects and write single words or sketch the objects with notes on the Am I Attracted Student Data Sheet. Then ask, “What are some ways that we could classify or group these objects into two different categories?” Students may pose answers around what material each is, colors, where or how they are used, and even something as simple as big and small. After students make observations and sort the objects in a few different ways, draw them back to the engage activity and ask them if they could group them as magnetic and nonmagnetic. Can they describe what characteristics they might use to break the objects into those two groups? Then ask the students to try to divide the objects into the two groups and explain their decision. In one way this is a prediction and their explanation is their thinking about what makes an object magnetic. Using the magnets provided, ask the students to test the objects to determine if it is magnetic or nonmagnetic. If necessary, move the object to the right group but keep it separated from the objects that were identified correctly for discussion.
Investigation #2: Button Magnets and Bar Magnets
Ask the students to stick the button magnet to the metal cookie tray again. Then ask the students to turn the magnet over and repeat the process. What do they notice? Hold up and introduce a bar magnet to the students. Provide students with bar magnets and ask them to determine what happens when they try and pick up a large paper clip. Have them determine where the paper clip “sticks” to the magnet. Ask the students to sketch out what happened with the button magnet on the cookie tray and then the bar magnet with the paper clips. Demonstrate for the students how to place the button magnet flat on the table. Ask the students to work in teams and try and stack two magnets on top of each other. After trying one side, ask them to flip the magnet in their hand over and observe what happens now. Repeat this process with the bar magnets but rather than trying to stack them on top of each other, ask them to try and push them together end to end. What do they notice? Ask them to sketch what happens to the magnets.
Investigation #3: What’s My Strength
Ask the students to pick up the bar magnet and while holding it vertically, move it close to a paper clip on the table and allow the paper clip to be attracted to it so that it hangs from the end of the magnet. Ask them to then lower the magnet again until the paper clip comes in contact with another paper clip and make observations. Repeat this until the magnet’s force cannot hold any additional paper clips in a chain. Sketch what happened and complete the information section on the student sheet. Ask the students to repeat this with the button magnet or another magnet they may have available. Once finished, ask students to compare their data. Questions to engage them at this point include, Why do you think that each paper clip after the first was able to be picked up without touching the magnet? What conclusion can you draw about the different magnets based on the number of paper clips that were able to be picked up?
Explain
Now that students have had the chance to explore which objects are attracted by magnets and which aren’t, share the story Magnet Max with the class. Ask students to make connections to their observations and findings in the exploration phase as you discuss the following key points from the story.
Opening page spread: Before reading the story to the students, ask them to look closely at the picture on these pages. What is Max doing? What do they notice about the objects that are being attracted to the magnet? Which investigation did you participate in that was similar to the picture? In the picture, Max has many things that are being attracted to the magnet. Do you think this exact picture could happen in real life? Why or why not?
Max with faucet: When Max uses the word “stick” to describe what happens between magnets and some objects, what do you think he means? Can you give an example from your investigations where Max’s description could be observed? What is the reason that Max explains that magnets “stick” to things?
Max with jewelry: For an object to be attracted to a magnet, describe what kind of property or characteristic it needs to have? Ask the students to think back to the magnetic or nonmagnetic investigation and describe what characteristics they would explain if Max were to ask them, “What types of objects are magnetic?”
Green Magnetic Field: (Before reading) Look at the objects on this page, can you name them? What is something that these objects have in common? (It is likely that students will indicate that they are metal.) In your investigations, you had some objects that were metal that weren’t attracted to a magnet, what differences did you notice about these objects?
Max with Doll: What do you notice about the items that weren’t attracted to Max’s magnet?
When Max’s magnet is close to an object that is magnetic, describe what the magnet is doing to the object. What happened when you tried to put two magnets together and they didn’t want to stick or be attracted to each other?
Elaborate
As there are two different disciplinary core ideas being addressed—pushes/pulls and different objects can be described or classified by their observable properties—students will be asked to incorporate both into this elaborate activity. Pose the following problem to the students using the Challenge Activity Sheet: A friend dropped their house key in a sidewalk grate (represented by a box). You can see the keys but can’t reach them. You also see lots of other objects that have been dropped in there and some of the objects have landed on top of the keys. You have an idea from reading the book Magnet Max, which is to use a magnet on a string to get the house key. As you look into the box, make predictions as to what you might also pick up with the magnet and why. Take a look at the objects on your sheet and indicate which ones might be attracted to the magnet besides the key. Now test your thinking by trying to retrieve the car keys. If something else is picked up with the magnet, just pull it up and place it in a pile. See if your thinking was correct.
Evaluate
Initially, students are asked to make observations about and identify ways to separate different objects based on the properties of the objects that they find out later are magnetic or non-magnetic. Through the Explore investigations, students are exploring cause and effect relationships related to the magnet’s pushes and pulls and also the strength of a magnet in regards to the number of paper clips that it can pick up. They are demonstrating their understanding from the investigations by connecting it to the text and applying it in the Elaborate section. Finally, students solve a problem using a magnet.
Grades 3–5: Flying Carpets and Maglev Trains
Purpose
Students investigate how magnets affect objects and other magnets when not in direct contact. Students explain how technology used in the Maglev train could be used in a hover car.
Materials
- How to Make a Flying Carpet
- string, paper clips, magnets (button, bar, and ring magnets), wooden dowel that will fit inside of the ring magnets, tagboard, goggles.
- Supplemental Resources (https://bit.ly/3FYRaMh): Photographs of vehicles, Magnetism student sheet, KLEWS Chart, Hover Car Blueprint Sheet
- Videos: China’s New Maglev Train, Volkswagen Levitating Concept Hover Car, Floating Train Video (see Online Resources)
Engage
Post the photos (see Supplemental Resources) of different types of vehicles and have the students discuss what they know about each type. As part of the conversation, engage the students in a conversation about how different vehicles move from one place to another. Once students have had a chance to discuss the different ways that vehicles move, share the video that introduces China’s new Maglev Train (see Online Resources). Stop the video where the text indicates that the train “levitates” above the track and ask students to describe what levitate means. Allow the students to make observations of what happened in the video up to this point. Once again stop the video when the information on the screen states that there is no contact between the train and the rails. Ask the students to then consider how the train might work and move since there is no contact between the train and the rails.
Share the story How to Make a Flying Carpet with the students and read through page 7 of the book. While reading, ask the students to share their own experiences with magnets. Questions to prompt students include: Have they ever picked up an object with a magnet like Alex did with the paper clips? Why do you think the keys she was trying to reach needed tape attached to the magnet? What do you think Alex meant when she said the “paper clip jumps up to meet it?” Introduce the KLEWS chart and present the following questions to the students “How do objects interact with magnets? How do magnets interact with each other? While they are discussing these questions, ask them to complete the “think we know” column of a KLEWS chart about magnets.
Explore
In this Explore, parts of the story will be shared followed by investigations as a strategy to help students build their understanding. Reread page 7 to the students and ask them to think about what Alex is doing in the photo.
Investigation #1: Ask students to record their initial thinking on their magnetism student sheet (see Supplemental Resources). Provide students the materials to investigate how Alex makes the magnet “float in the middle of the air” and ask students to record their observations and ideas. Continue to read the story to the students and stop at the following pages to discuss the information and add thoughts to the “wonderings” column of the KLEWS chart. Then allow the students to participate in the investigation before moving forward with the story.
pp. 9–12 What do you think happened when Alex’s magnet found another magnet? What two things did Alex realize that magnets do when they come in contact with each other? Investigation #2: Provide students with different types of magnets (bar, button, etc.) and ask the students to explain what happens as they try to put the magnets together, flip one of the magnets over, place the magnets on opposite sides of a piece of tag board. Ask them to sketch and describe their observations on their student sheet. After students have had a chance to describe what they observed, bring the conversation back to the KLEWS chart and ask the students to come to a consensus on what they are “learning” and add it to the chart.
pp. 13–14 Alex had two magnets in this picture. What do you think she means when she says the “top magnet is floating?” How is this similar to and different from when she said that the paper clip was floating? Investigation #3: Using similar magnets as Alex, ask the students to explore if they can also make magnets push away from each other and float? Have students work with their group members and determine if magnets always push away from each other. Have the students record their conclusions on the student sheet.
pp. 15–18 What is Alex trying to build with the magnets? As she is trying different designs, what are some of the problems she is experiencing with the magnets? How does she solve the problems? What information did she need to know to work through solving the problem?
pp. 19–24 Alex creates a design that allows the magnets to push against each other. Why did she put the design in the toy truck? Earlier in the lesson, we talked about how vehicles moved. Is the magnet helping to make the truck move? Explain your answer. On page 24, look closely at the picture, what is happening to the two magnets in the back of the truck? Why do you think Alex says that the “top magnet looks like it’s flying?”
pp. 25–26 Do you think Alex could really build a flying saucer using magnets?
Explain
After students have had a chance to investigate the ways that magnets interact with objects and other magnets, ask them to look at the information that they have recorded on their KLEWS chart. Ask the students to provide evidence from their observations and the information gathered from the investigations that support the following statements that Alex made in the story along with some follow up-questions.
- The magnet likes to stick to metal. Did the magnet stick to all metals?
- The magnet attracts metal objects like the paper clip and makes it “float” in the air. What happened when the magnet is moved too far away from the paper clip? Describe what happens when the magnet is close to an object but not necessarily touching it.
- Magnets do one of two things when they get close to each other—they either push each other away or can click together. Did you notice any patterns about when magnets do this?
- Magnets that are pushing apart try and flip over so that they stick together. Describe how close the magnets needed to be for this to happen.
In the activity where Alex was building a magic carpet, she said that one magnet was floating on top of the other. If magnets could be attached to the bottom of a carpet and the carpet was placed over other magnets, why do you think it would look like it is floating?
Elaborate
While Alex couldn’t build a flying saucer, there are companies that are looking at possible vehicles that will utilize a magnetic road to move vehicles. Ask the students to think back to the video of China’s Maglev Train again. Write the word Maglev on the board and ask the students to think about what they know about magnets thus far and the word levitate that was introduced to them in the video. Share the Floating Train Video, which is an animation. Engage the students in a discussion and ask them to use their evidence from the investigations and what they learned from the discussion to explain how the train might work.
Teacher’s note: Maglev trains not only involve strong magnets but also electrical currents creating an electromagnet. Support information for understanding how maglev trains work is available in the Online Resources. The disciplinary core idea at this level notes that students should understand that “electric, and magnetic forces between a pair of objects do not require that the objects be in contact. The sizes of the forces in each situation depend on the properties of the objects and their distances apart and, for forces between two magnets, on their orientation relative to each other.”
Share the Volkswagen Levitating Concept Hover Car video with the students. Tell the students up front that this car is not built but is an idea similar to Alex’s in the story. They have been asked to help the engineers think through what cities would need to have cars like this one. Stop the video at 30 seconds and ask the students to discuss how a car like this might work knowing what they know about magnets. Students may need some prompting with a question such as: What else would we need to have if we know the bottom of the car has magnets built into it? Ask the students to return to their groups and answer the following questions on their Hover Car Blueprint Sheet (see Supplemental Resources).
- If there are magnets in the bottom of the car, sketch what we would need to be able to have the car hover above the road.
- How is this similar to the Maglev train that you saw in the video? How is it different?
- What would happen if the Hover Car came to the end of a street and the next street didn’t have magnets in the road?
Evaluate
Students begin to think about how vehicles move in the Engage session and compare vehicles they are familiar with to the Maglev train. As they listen to the story, they also interact with different investigations to make sense of how magnets interact with objects and with each other similar to what Alex is doing in the story. The use of the KLEWS chart helps students to consider what they think they know and build on that knowledge or resolve misconceptions by connecting evidence from their investigations to specific points. Finally, students are asked to consider what would need to be done to city streets so that a futuristic maglev car could hover.
Online Resources
China Unveils Maglev Train https://youtu.be/oxbEbgEKV54
Floating Train Video https://youtu.be/xhkcYfjaSRg
How Do Maglev Trains Work? https://www.energy.gov/articles/how-maglev-works
Volkswagen Levitating Concept–Hover Car https://youtu.be/ysJxTk1bW_Y
Christine Anne Royce (caroyce@aol.com) is a professor at Shippensburg University in Shippensburg, Pennsylvania, and past president of NSTA.
Literacy Physical Science Early Childhood Elementary