FY2017 Appropriations: Congress passed a stopgap spending measure on Wednesday, September 28—two whole days before the September 30 midnight deadline that would have shut down the federal government—that will maintain current funding levels for federal education programs and keep the government open until December 9.
Members of Congress have left town and are back home to campaign for the November 8 election. When the lame duck Congress returns after the election, job one will be to finalize a FY2017 spending bill before the continuing resolution on December 9 runs out.
In anticipation of final Congressional action on FY2017 appropriations bills the NSTA, several state science groups, and other members of the Title IV Coalition recently sent this letter to Senate appropriators, requesting full funding for the Every Student Succeeds Act (ESSA) Title IV in the final bill. As reported in earlier Legislative Updates, the House of Representatives Appropriations Committee approved $1 billion for the ESSA Title IV block grants in their FY2017 Labor HHS and Education spending bill. This amount is $500 million above the President’s budget request and $700 million above the Senate funding ($300m). The program is authorized at $1.65 billion.
ESSA Title IV provides funding to both states and districts so they may provide students with programs (including STEM programs) that ensure a well-rounded education. Read more about Title IV.
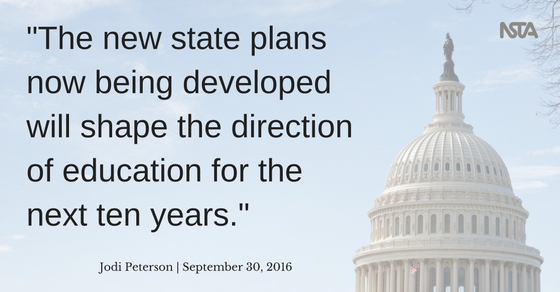
Every Student Succeeds Act (ESSA) Implementation—What’s in Your State? Per the new federal education law, state and district leaders must engage in meaningful consultation with a broad range of stakeholders including families, students, educators, private school officials, and community partners when developing state accountability plans and deciding on the use of ESSA funding. States are required to submit their individual plans for ESSA by March, so there will be a lot of activity in the coming months as state boards of education and governors review and discuss state plans. Many believe that the new state plans now being developed will shape the direction of education for the next ten years. Do you know what your state is doing in preparation for ESSA? Teachers and especially state and district leaders are urged to find out more and get involved early; here is a great resource on ESSA and a state activity map: http://understandingessa.org/state-activity/.
ED Issues Guidance on ESSA Title II—Earlier this week the Education Department released guidelines on how states and school districts can use federal funding under the ESSA Title II to better support teachers. The guidance addresses ways states and districts can use Title II, Part A funds to support
- Multiple Pathways to Teaching and Leading;
- Induction and Mentorship;
- Meaningful Evaluation and Support;
- Strong Teacher Leadership; and
- Transformative School Leadership;
Title II grants go to every state, which in turn are required to provide up to 94 percent of the funding as subgrants to local districts for programs that support teachers and schools leaders. Districts can elect to use the funds to “provide professional development and other comprehensive systems of support for teachers, principals, or other school leaders to promote high-quality instruction and instructional leadership in science, technology, engineering, and mathematics subjects.” The Title II A guidance calls for “significant teacher input into the application and planning process for local subgrants (districts). This approach would give educators, parents and community members a meaningful role in determining the best use of program funds to both improve professional practice and help make schools great places to work.” (Watch for a deeper dive on this in future Legislative Updates.)
Webinar on ESSA: Need to know more about ESSA? Join NSTA, state leaders, teachers, and STEM professionals for a 90 minute joint webinar on the new federal education law and its impact on K-12 STEM education, Wednesday, October 5 at 6:30 pm. Speakers during this interactive webinar–co-sponsored by the NSTA, the STEM Education Coalition, and STEMx—will discuss key STEM provisions in the Every Student Succeeds Act, and how stakeholders can help to advocate and support continued STEM learning in their communities. Learn more about the webinar and register here.
And finally . . .
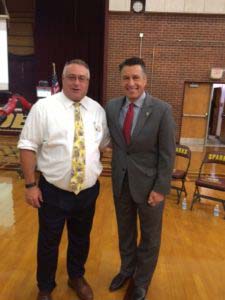
Governor Brian Sandoval signed a proclamation declaring the 2016–2017 school year the ‘Year of STEM education’ in Nevada during a recent visit to Sparks High School. NSTA President-elect Dr. David Crowther was at the launch of the statewide initiative, where Gov. Sandoval also introduced various ways for students, families and educators to actively participate. Learn more about the initiative here.
Jodi Peterson is Assistant Executive Director of Legislative Affairs for the National Science Teachers Association (NSTA) and Chair of the STEM Education Coalition. e-mail Peterson at jpeterson@nsta.org; follow her on Twitter at @stemedadvocate.
Follow NSTA