
Introducing guest blogger, Sarah Erdman, writing about toddlers
By Peggy Ashbrook
Posted on 2013-06-23
Watching children investigate the world inspires us to examine their methods, especially when we are raising them! Careful observation of infants and toddlers shows how we can support their developing ideas about the natural world. Guest blogger Sarah Erdman shares her approach to the explorations of her young son. Sarah Erdman is a museum professional, early childhood educator and Mom in Fairfax, Virginia. She provides programs for young children including Pop-Up Story Times and fieldtrips, programs for parents, educator workshops and consults for museums. She writes at her Cabinet of Curios blog.
Welcome Sarah!
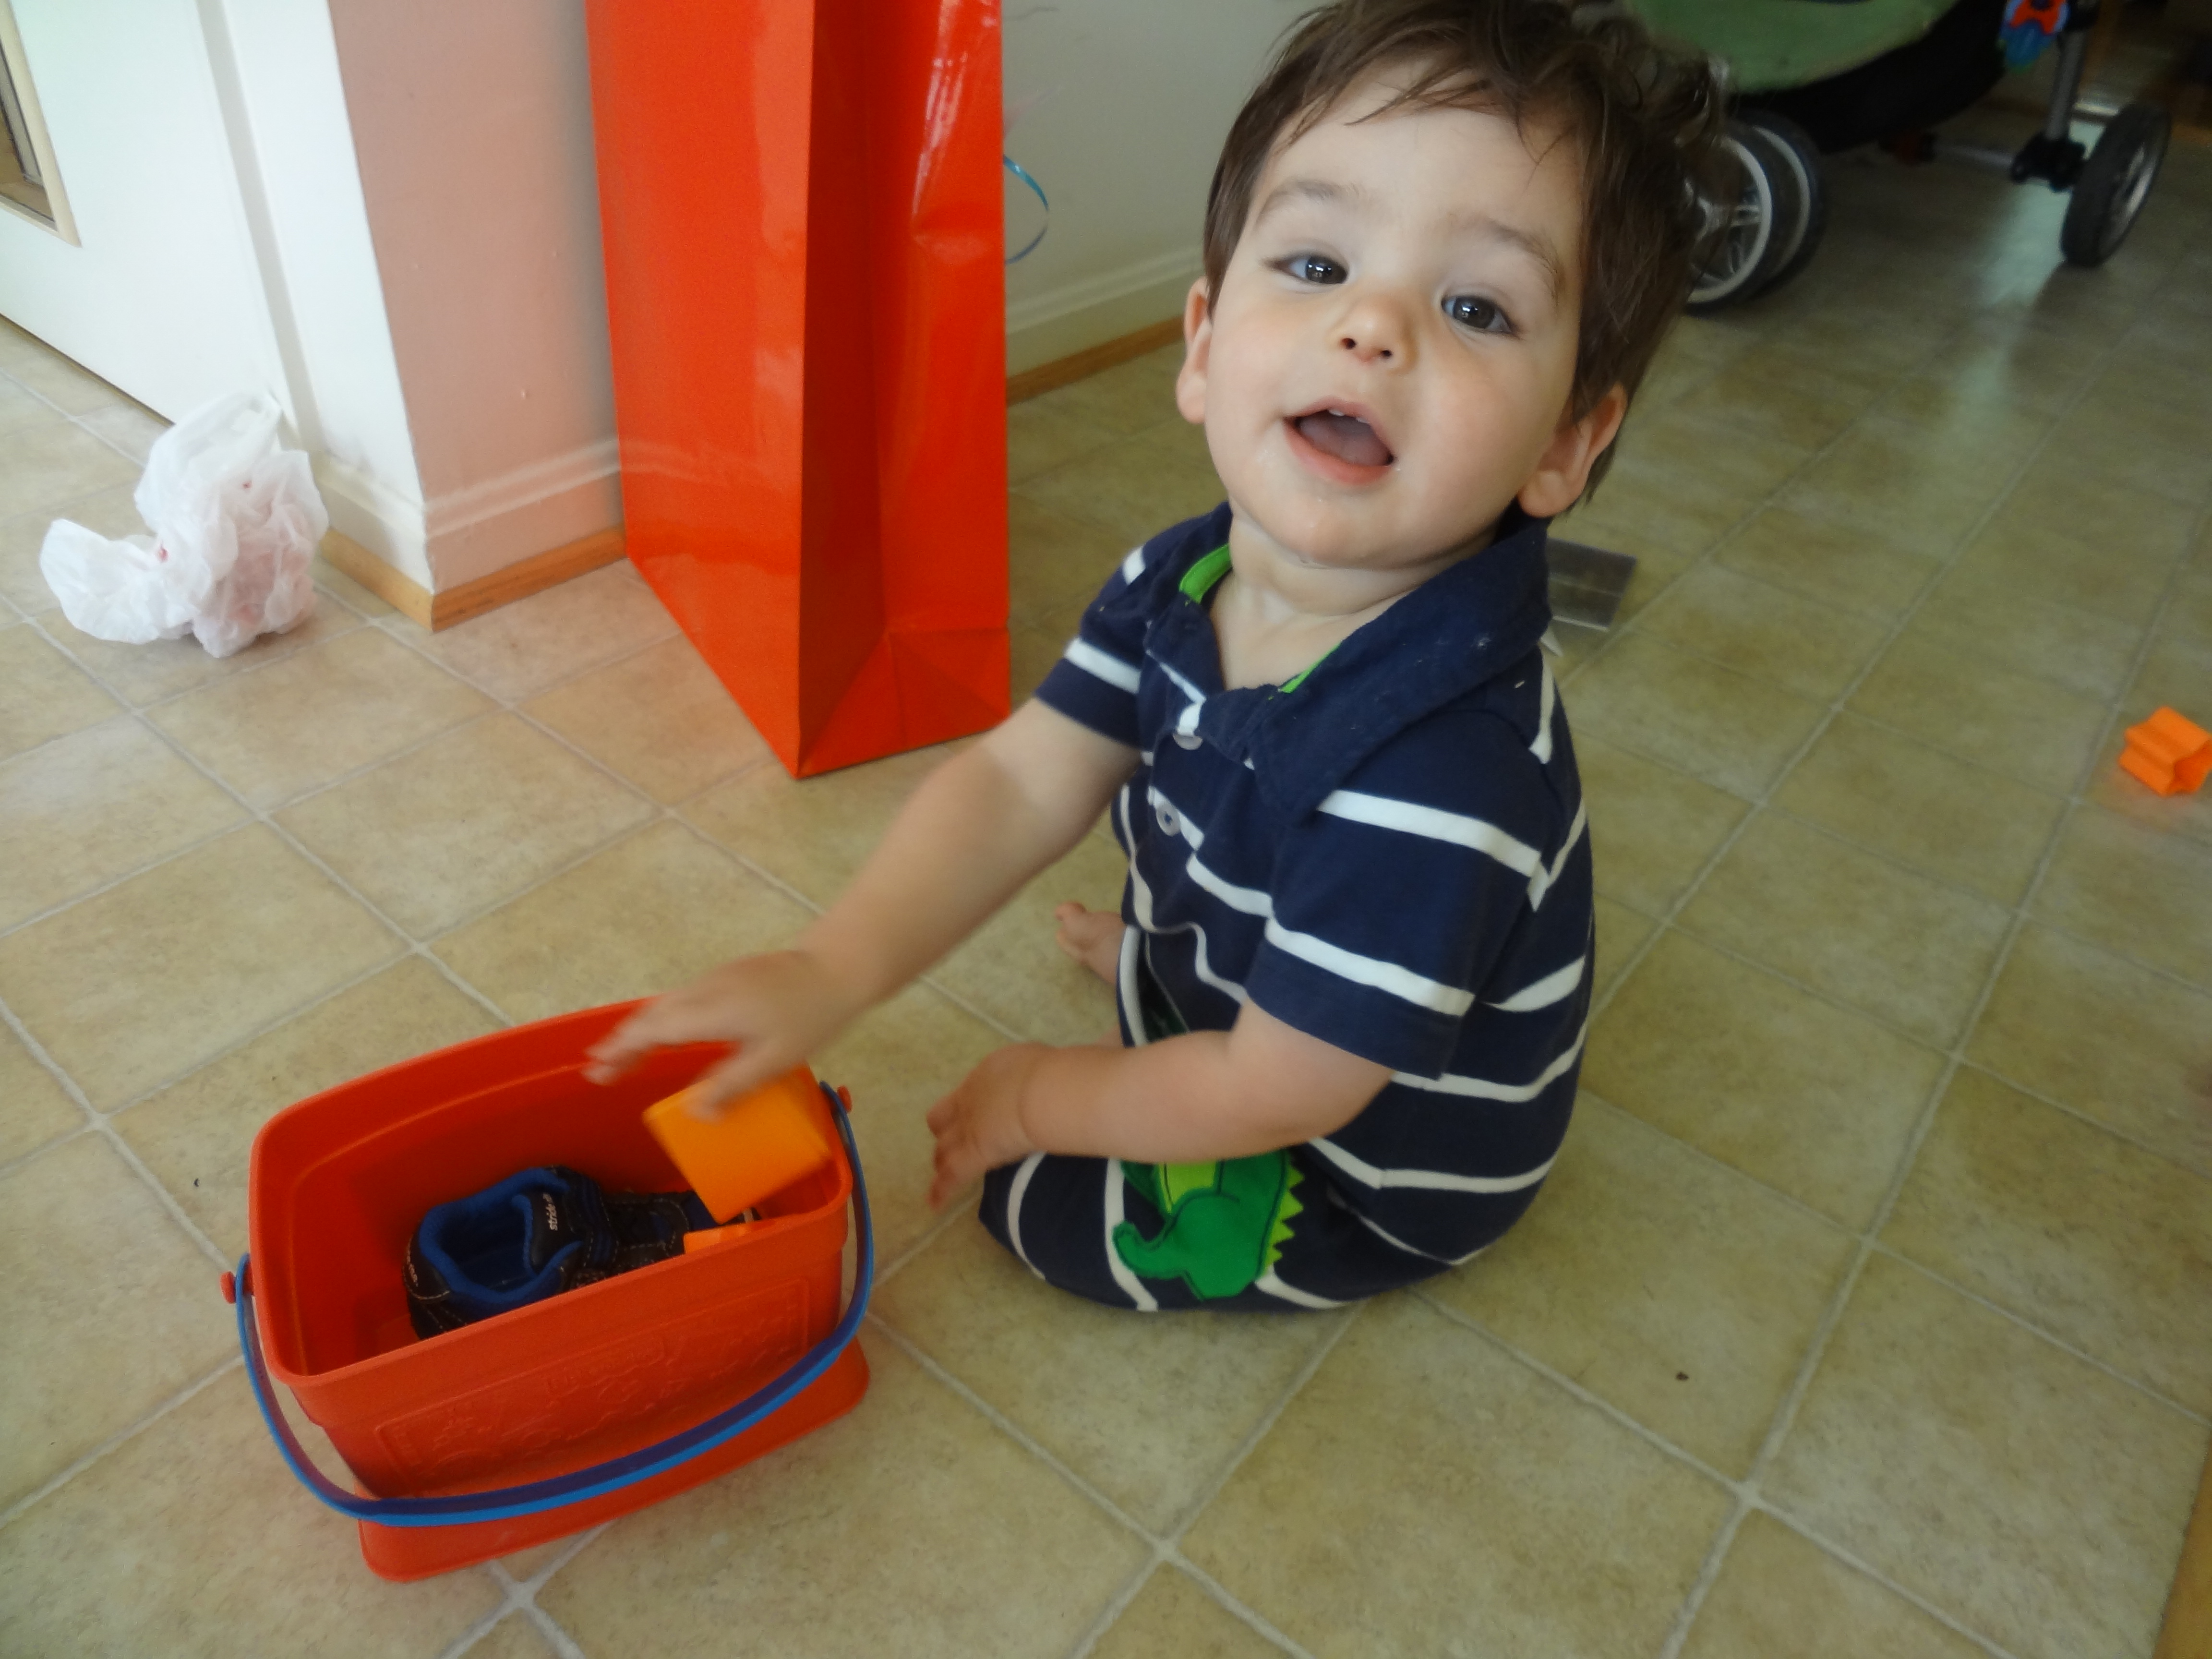 The most meticulous and inquisitive scientist I know is my one year old son. He is tireless in his investigations. Will the cup still hit the ground if I drop it again? What happens when I push the door closed? What about this time? And this time?
Anyone who is around toddlers knows exactly what I’m talking about. We accept the fact that we will constantly be retrieving objects from strange places and patching up bumps and bruises. What we often forget is that this is the groundwork of scientific discovery. Each time they toss the cup from the highchair, they are going through a scientific process in miniature.
For me, “teaching science to a toddler” is not as clear cut a concept as it is with, say, kindergartners. When children get older it feels more natural to use scientific language and engage them in exploration, but what about for babies? Sure, you can gather them for a “science lesson” and some will be really interested, but what often works better is staying alert for the small science moments that happen throughout the day.
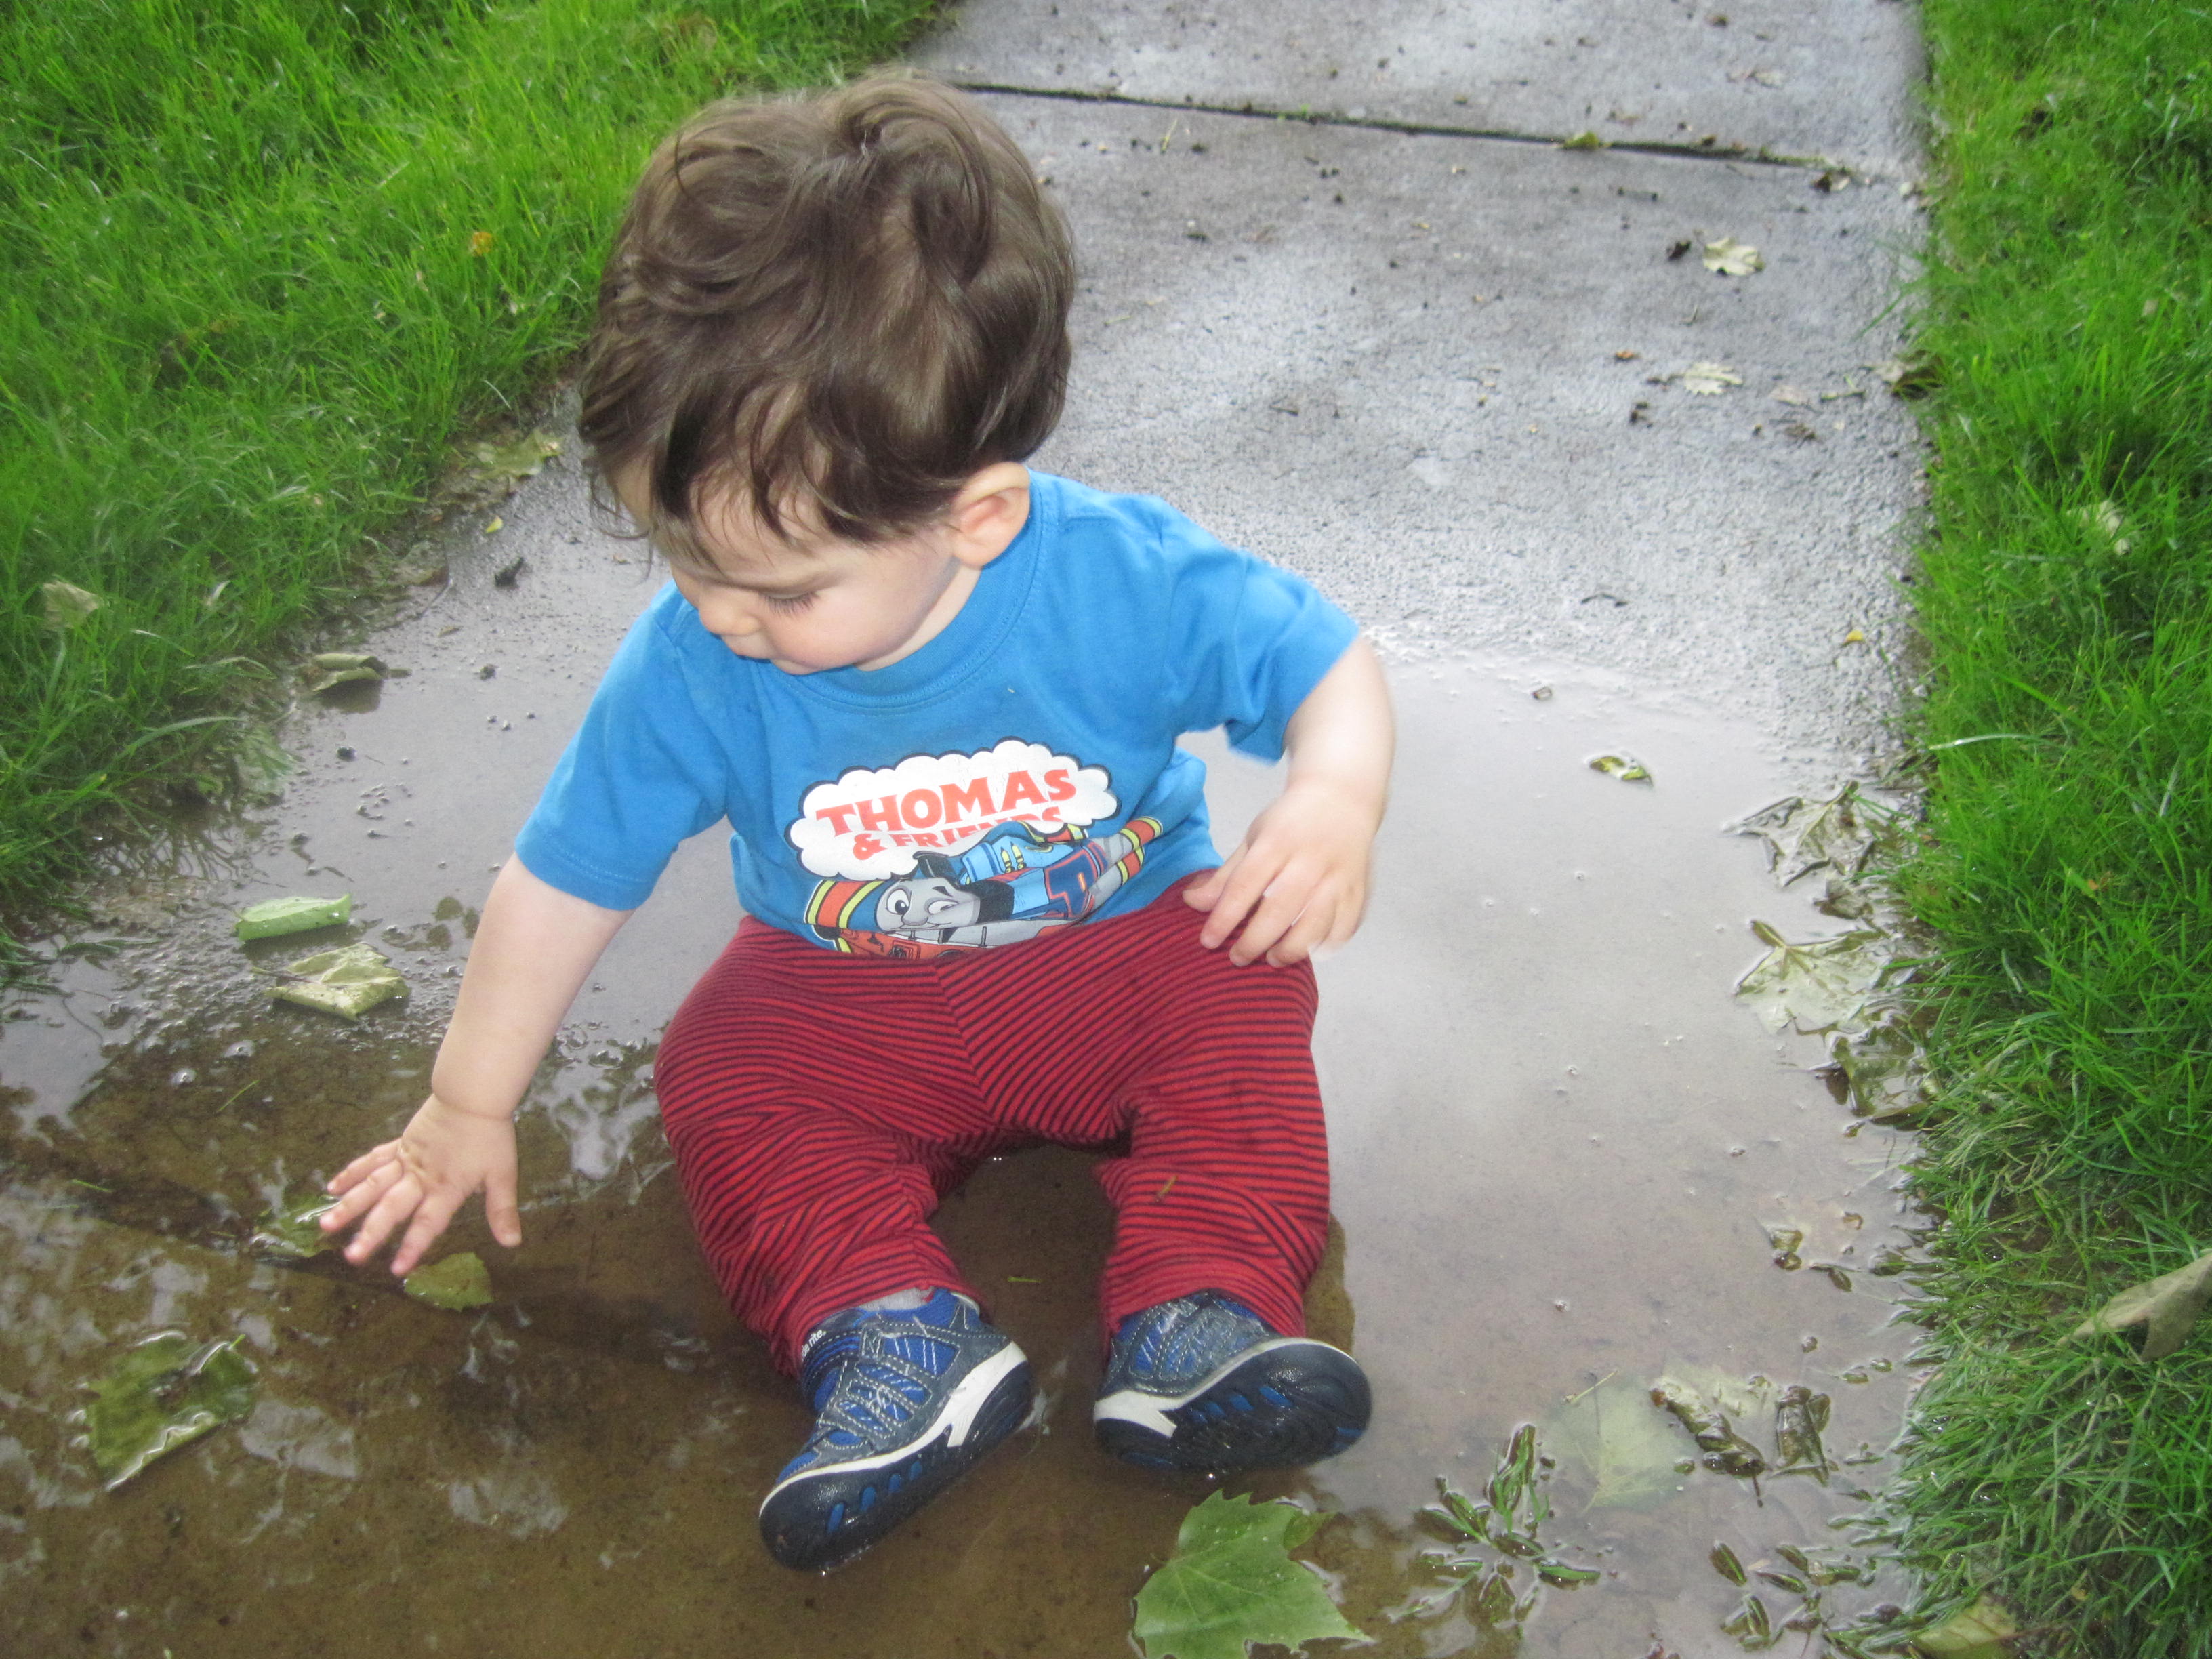
The most important thing to remember at this age is that you are setting the groundwork for how they will feel about science later on. They are looking at you for meaning and for how they should feel about what they are experiencing. If you react to the natural world with fear and disgust then they will pick up that vibe. However, if you can delight in both the beautiful and the “icky” then it will give them permission to enjoy it also. This doesn’t mean you have to delve into topics that you find personally frightening, just give them leeway to explore them on their own or with others and it will show them it is ok.
As they are exploring, tell them what they are seeing. They may not understand the words perfectly yet but every time you use them the meaning solidifies. I admit it, I sometimes feel a little silly as I exclaim again and again ‘The ball is OUT of the box! The ball is IN the box!” (to be honest the repetition is tiring). Then, I see the delight on his face as we play. I realize that he is now understanding the difference between “out” and “in” and I take heart that what I’m doing does matter.
 Finally, and this can be the trickiest one, within reason let them try out their ideas. Don’t worry, I’m not saying you have to let them throw the cup off the highchair repeatedly! But, stop for a second before you automatically say “no” and ask yourself, “Is this really a problem?” Sure, it may make a mess, and it may not seem like “learning” as you know it, but it is letting them build their understanding of the world. Every time they take the top off the box and see that the ball is still inside, they “get it” that much more.
“Teaching science” to infants and toddlers does not mean a drastic change in your day-to-day plans or a lot of new equipment and specialized knowledge. My little scientist is already eager and willing to explore. All I have to do is support his natural curiosity…and clean up whatever mess he leaves behind.
Sarah Erdman
Watching children investigate the world inspires us to examine their methods, especially when we are raising them! Careful observation of infants and toddlers shows how we can support their developing ideas about the natural world. Guest blogger Sarah Erdman shares her approach to the explorations of her young son. Sarah Erdman is a museum professional, early childhood educator and Mom in Fairfax, Virginia. She provides programs for young children including Pop-Up Story Times and fieldtrips, programs for parents, educator workshops and consults for museums.
Examples of science assessments
By Mary Bigelow
Posted on 2013-06-19
 Last year I gave a pretest to my classes, consisting mostly of vocabulary. I’ve decided to change the assessment and focus more on determining how students think. Rather than trying to reinvent the wheel, I’m looking for existing tests or test items I could use or adapt.
—Melissa, Wilmington, Delaware
I’ve been involved in several math-science partnership projects, and here are a few published resources the faculty used to determine what students understand and what misconceptions they may bring to class:
- MOSART stands for Misconceptions–Oriented Standards–Based Assessment Resources for Teachers. The project is sponsored by a National Science Foundation grant to the Harvard-Smithsonian Center for Astrophysics. (Note: Check out the other resources on their site for professional development and content background.) The assessments are different from many multiple choice tests in that the questions are not designed to test students’ recall of facts and vocabulary. The questions are based on the National Science Education Standards (NSES) standards and allow students to think their way through the items.
The four assessments at the high school level address concepts in chemistry, physics, Earth science, and astronomy. (Currently, there are no biology tests for high school.) At the middle and elementary levels, the topics include physical science, life science, earth science, and astronomy/space science.
But you can’t just download the MOSART tests. Users must register (free) and complete a brief orientation. It’s online and it took me about an hour (mostly because I wanted to see all of the video segments!). This tutorial is one of the best things about this project. It guides you through a discussion of what misconceptions are, how these tests let you probe your students thinking, how/when to use the assessments (e.g., at the beginning of a course, or as a pre/post test), what you can learn from looking at the distractors students selected, and how to interpret the results. This orientation could be a good use of professional development time.
After the tutorial, you then have access to all of the tests, which are emailed to you in PDF format, along with guidelines for interpreting the results. The downloads include two versions of the test (with the same questions but in a different order) and a key that goes far beyond a traditional answer key to help you to analyze the results in terms of student (mis)understandings.
- The Science Assessment tool is published by the American Association for the Advancement of Science (AAAS). Middle/high school level topics address concepts in life science, physical science, earth science, and the nature of science. For each topic, there are several key ideas and sub-ideas (some schools may refer to these as big ideas and essential concepts) you can match to your science curriculum. Each sub-idea has a collection of multiple-choice items to add to your test bank, and there’s a section for each item with an analysis of how students in the pilot group answered it. You must register (free) to use the site, and you can save the items you select and print them as PDF or HTML files (or copy and paste into a word processor, clicker program, or test generator).
- PALS (Performance Assessment Links in Science) has dozens of performance assessment tasks, organized by standard (NSES), grade level, and topic. Each assessment includes a detailed description, a student handout with places to record data and observations, a scoring rubric, and the results of any formal validation. There are examples of actual student work at each of the rubric levels. This could definitely be a supplement to traditional paper-and-pencil tests.
I’d also recommend the Uncovering Student Ideas in Science series of books from NSTA. These formative assessment probes can help you uncover student preconceptions and can be used as a pre-assessment or warm-up for a unit.
Last year I gave a pretest to my classes, consisting mostly of vocabulary. I’ve decided to change the assessment and focus more on determining how students think. Rather than trying to reinvent the wheel, I’m looking for existing tests or test items I could use or adapt.
—Melissa, Wilmington, Delaware
Teaching about the natural world–at school and at home
By Peggy Ashbrook
Posted on 2013-06-18

Cope’s Gray Treefrog © John White – Virginia Herpetological Society
Kindergarten teacher Lorna Cordero shared her four-year-old’s excitement about hearing an animal calling outside their home in the evening. She was pretty sure the sound came from a toad or a frog but didn’t know which species. Opening their iPad and opening the window of their home, the mother and son searched for “Virginia frog and toad calls” and investigated the calls of local ones on the Virginia Herpetological Society website (to hear the calls, click on the small icon of a speaker). They found a matching call. “I was pretty sure it was a frog because the call went like this, b-r-r-r-r-r-r-t, not long like b-r-r-r-r-r-r-r-r-r-r-r-r-r-r-r-r-r-r-r-r-r-r-r-r-r-r-r-r-r-r. That would probably be an American Toad.” They played the recorded call at the window, and then heard the call from the yard. Getting a flashlight and his father, the son went outside to continue the investigation. “We first thought it was a toad, but after listening to the call several times we found it was a Cope’s gray tree frog, a Virginia native. When my son and husband went looking that they took the iPad and played the sound but didn’t see anything. The next day as I was watering my plants I heard the frog in my backyard. We found it between the siding and the white gutter of our house. We think that after listening to the call from the iPad it came to check if there was really another frog.”
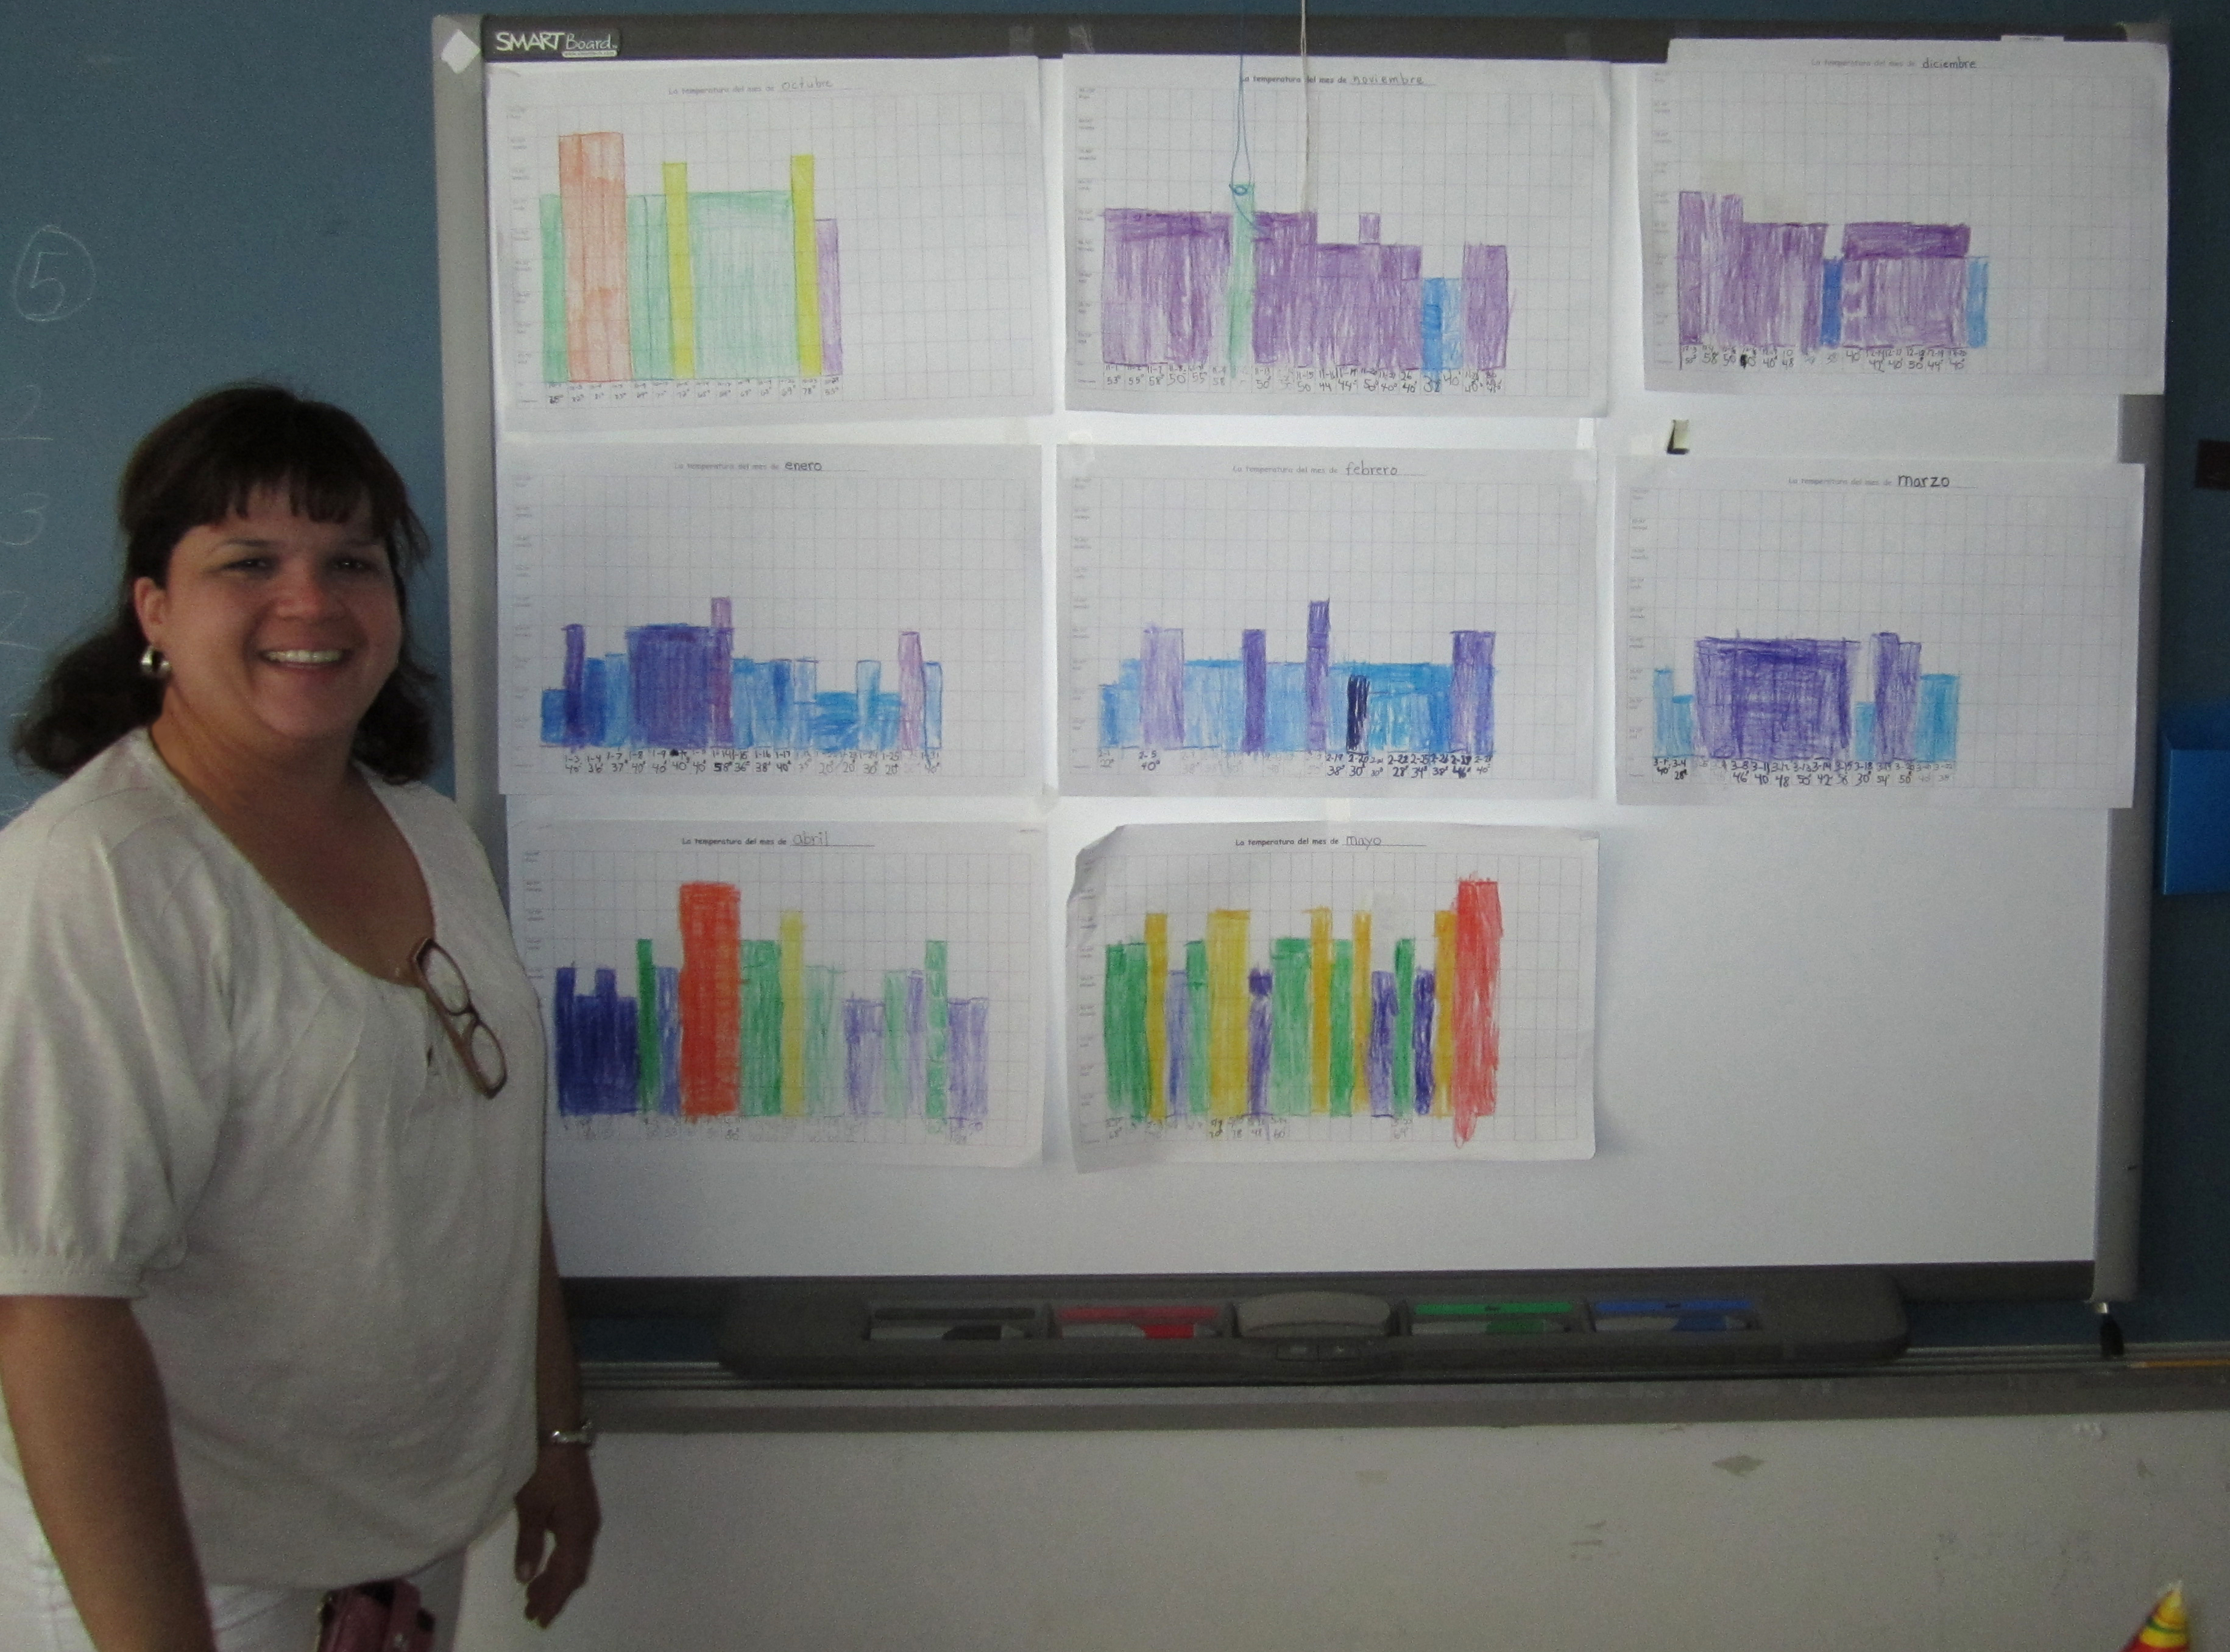 Cordero shares her interest in the natural world with her students in her dual language classroom at Bailey’s Elementary School for the Arts and Sciences. They raise beetles from (mealworm) larvae and count the population as the larvae go through the life stage changes, record their weather observations and compare their seasonal records, and discuss the shapes of plant leaves before weeding around the pea plants in their garden.
A Key Guide for Implementing NGSS
By Carole Hayward
Posted on 2013-06-17
“Although it sometimes occurs, teachers should never be handed standards, including the NGSS, and then be expected to translate them into classroom practice on their own. Teachers are certainly capable of doing so, but the time and effort required of such a task is beyond the scope of the normal teaching assignment and the time and resources allocated for the job. This guide will help the entire science education team in a district or state understand the extent of the tasks…that need to be accomplished.”
Hear! Hear! I applauded as I read Harold Pratt’s words in The NSTA Reader’s Guide to The Next Generation Science Standards (NGSS). The Reader’s Guide contains a series of suggested recommendations for action, starting with a plan to intensely study the NGSS, including becoming familiar with the architecture of the document and thinking about the development of instructional strategies and the corresponding materials as a way of gaining a deeper and more ‘operational’ understanding of the standards and how they should be used.
A Game Plan for NGSS
The chapters in the Reader’s Guide provide details on this checklist of activities:
- Determine your state or district’s plan for adoption and implementation decisions and timeline
- Form a team or study group
- Collect resources from NSTA and other sources
- Follow a plan to study the NGSS
- Create a plan for putting the NGSS into practice
- Use the NGSS in limited trial situations
As you work your way through the activities outlined in the Reader’s Guide, keep in mind that there are other NSTA resources available, or soon will be, to support you and your team. NSTA has been helping teachers prepare for the NGSS since 2011, so visit NSTA’s NGSS Resources for a robust collection of print, online, and in-person resources.
Online courses
By Mary Bigelow
Posted on 2013-06-15
 As a SciLinks webwatcher, I spend time every week looking for and reviewing websites on a variety of science topics. I recently came across several biology videos on the Education Portal website. The site promotes itself as a way to earn college credits online, but I was more intrigued by its other purpose: “take free courses.”
The science offerings include AP exam prep/reviews, several courses in biology and mathematics, and courses in chemistry, earth science, and environmental science. The introduction to the courses includes the big ideas, a list of objectives, and a mini-biography of the instructors, who are scientists and educators. Each course is organized into chapters with a set of narrated videos (the ones I looked at were less than 10 minutes in length) that include a full transcript of the narration and a brief multiple-choice quiz with feedback. For some of the courses, there are chapter exams and a final. The videos are not talking heads; they feature animations, diagrams, and vocabulary.
The individual videos could be used in the classroom or viewed at home. No special software or plugins are required and there are no ads. I looked at several videos on an iPad, and they seemed to work well on that platform, too.
I could see interested students taking advantage of these courses as a supplement for topics that are not often part of the curriculum (e.g., microbiology, anatomy and physiology), for independent study, to review basic concepts, or to get a jump start on a course offered at school.
Teachers might be interested in the course resources to supplement their instruction or the traditional textbooks, as a way to offer additional or alternative units of instruction, to review content topics themselves, or as part of a flipped classroom.
Photo: http://www.flickr.com/photos/breatheindigital/4527144772/sizes/l/in/photostream/
As a SciLinks webwatcher, I spend time every week looking for and reviewing websites on a variety of science topics. I recently came across several biology videos on the Education Portal website.
Smithsonian Quests
By Mary Bigelow
Posted on 2013-06-12
 Are you looking for a way to encourage students to pursue topics of interest? To go beyond the information in a textbook? To take advantage of online resources and the electronic devices that are becoming more common in classrooms? To give students and parents an opportunity to investigate and collaborate together?
I’m reading about and exploring Smithsonian Quests, a recently announced project that provides a series of online activities designed around interdisciplinary themes. As students progress through the activities (the “quests”), they earn “badges.” The work they submit for a quest is reviewed by an expert who also provides feedback.
The project taps into the resources of the Smithsonian, including artifacts, recordings, and photographs. The quests are all online, so students can participate anytime, anywhere. Teachers must register first in order to set up classes. (Registration and the site are free).
The badges include oral historian, historical biographer, cool curator, cultural storyteller, astrophotographer, portrait reader, community historian, symbols spotter, correspondent, dirt detective, arts advocate, enviro-scientist, culture keeper, eco-journalist, time traveler, H2O hero, conservation campaigner, invasions investigator, and tree hugger. Quests (activities) include things like listening to audio, taking pictures, recording, etc. Most then require students to upload their writing, photographs, or other documents. There is a place for students to write and edit before submitting their work, so no special software or apps are necessary.
This appears to be a safe environment for online collaboration and investigation. This could be a culminating project for a unit or semester or a way to tap into student interests with a real-life audience. BTW–Teachers can also earn badges as evidence of participation in Smithsonian online conferences, online professional development sessions, and the completion of class projects.
Are you looking for a way to encourage students to pursue topics of interest? To go beyond the information in a textbook? To take advantage of online resources and the electronic devices that are becoming more common in classrooms? To give students and parents an opportunity to investigate and collaborate together?
Science Superheroes
By Lauren Jonas, NSTA Assistant Executive Director
Posted on 2013-06-12
Everyone talks about the Sputnik Moment, when the nation realized we had to focus on science to remain competitive. But I was more inspired by people closer to Earth. A recent Facebook post wishing Jacques Cousteau a happy (posthumous) birthday got so many likes and comments that I realized I wasn’t the only one who wanted to be him when I grew up. He opened a fascinating new world to me and my brothers; none of us ever did become deep-sea divers, but we all thought it was possible.
While I couldn’t name them, the National Geographic photographers were a group of people who also inspired our sense of wonder. My dad collected years’ and years’ worth of issues, and whenever we were bored we’d select a few at random and meander through parts of the world we’d never even previously imagined. It wasn’t always curiosity of a scientific nature. I was particularly fascinated with one old issue that showed the then-President of the United States in an ordinary ad—one’s path in life really could start in one direction and lead to another—incredible journeys were pictured in Nat Geo every month. One issue arrived at our door with a recording of whale sounds. Before you could Google every animal alive, that was mind-blowing to us; we all gathered around to listen to that one.
Today, I’m lucky enough to work with lots of brilliant teachers and meet today’s science superheroes at NSTA conferences. At one, I recently heard a talk by Bill Nye that made me think about sun dials in a whole new way. And I realized that some of the same people who inspired me as a kid are still relevant today. Buzz Aldrin is setting his sights beyond the Moon, encouraging Mars exploration—although according to a recent interview, he doesn’t necessarily want to go there himself!
I have to say I agree, and I’m still drawn more to those who open my mind to the wonders here on Earth. Many of today’s inspirational scientists call themselves Science Evangelists, and that’s a term I like. People who self-describe themselves as science evangelists include Ainissa Ramirez, and they are passionate about engaging our youth in the wonder of science. I think Jacques Cousteau might even hit the “like” button on that if he were still with us today.
Everyone talks about the Sputnik Moment, when the nation realized we had to focus on science to remain competitive. But I was more inspired by people closer to Earth. A recent Facebook post wishing Jacques Cousteau a happy (posthumous) birthday got so many likes and comments that I realized I wasn’t the only one who wanted to be him when I grew up.
Learn Chemistry from the RSC
By Mary Bigelow
Posted on 2013-06-08
 At the NSTA conference this spring, I stopped by the booth sponsored by the Royal Society of Chemistry. They were promoting their newest project: Learn Chemistry. As a webwatcher for SciLinks, I was familiar with many of their web pages, but the associate explained that this was an attempt to provide access to thousands of chemistry-related activities, simulations, games, tutorials, handouts, quizzes, journal articles, podcasts, and videos through a single, searchable platform. And it’s free.
Some of the features we looked at:
- Resources (Teacher and Student). These can be searched by type (presentation, handout, experiment, podcast, etc.), age group (age rather than grade level), context (real-life applications), and subject.
- The Wiki is a way to share resources among teachers and students.
- Online Community discussion forums
- Access to featured articles in journals such as Chemistry World, Education in Chemistry, and The Mole (for students).
- Of course, there are links to the Visual Elements Periodic Table and This Day in Chemistry.
Some of the lingo on the site refers to the educational system in the UK, but in some cases there is a conversion chart to show which UK levels correlate with US grade levels. Some of the simulations require the Flash player, but the videos worked well on both my laptop and iPad.
I assume this will continue to be a work in progress, but it looks like a valuable resource for students and teachers of K-12 physical science. Exploring it could be a good PD activity for a study group.
At the NSTA conference this spring, I stopped by the booth sponsored by the Royal Society of Chemistry.
Thank You to NSTA's Newest Board, Council, Standing Committee, Advisory Board, and Panel Members
By Bill Badders
Posted on 2013-06-06
On behalf of the staff of the National Science Teachers Association (NSTA) and the many dedicated members of our leadership team, I would like to welcome and thank the following members of our Board, Council, Standing Committees, Advisory Boards, and Panels whose terms of appointment began on June 1, 2013. With the renewed national focus on STEM education and the release of the Next Generation Science Standards, this year will be an exciting time to be a leader in science education. I am delighted to have you all as my colleagues on this journey. The theme of my presidency is “Building and Sustaining Teacher Leadership in Science, Standards, and Literacy” and I know that with the talents and commitment you bring to the table, we will be able to achieve great things. So, to all of you on the list below, I say “Welcome” and I look forward to working with you!
NSTA members who are interested in volunteering for a position on one our committees, advisory boards, or review panels can find more information at www.nsta.org/involved/default.aspx#committees.
—Bill Badders, NSTA President, 2013–2014
Board of Directors
Sally Harms, College Division Director
Kelly Price, Coordination & Supervision Director
Beverly DeVore-Wedding, High School Division Director
Council
Stephanie Wright, District III
Donna Governor, District V
Mary Colson, District IX
Paul Adams, District XI
Timothy Maze, District XV
Steven Ruthford, District XVII
STANDING COMMITTEES
College
Christie Orlosky, Greensburg, PA
Cindi Smith-Walters, Murfreesboro, TN
Sarah Hanes, Towson, MD
Coordination and Supervision
Kirsten Smith, Denton, NE
Matthew Stolz, Grand Rapids, MI
Christopher Duvall, Morristown, NJ
David Miller, Las Vegas, NV
High School
Karen Higuera, West Monroe, LA
Sharla Dowding, New Castle, WY
Brian Olsen, Enfield, CT
Informal
Stacey Glatz, Powell, OH
Miriam Musco, Ithaca, NY
Kelly Riedinger, Wilmington, NC
Eileen Tramontana, DeLeon Springs, FL
Karn Maher, Juneau, AK
Gary Sampson, Waukesha, WI
Middle Level
John Milam, University Heights, OH
Shannon Hudson, Crawfordsville, IN
Douglas Stith, Londonderry, NH
David Pettit, Livingston, MT
Multicultural/Equity
Margaret Carter, Wapato, WA
Jerry Valadez, Fresno, CA
S. Maxwell Hines, Winston-Salem, NC
Preschool-Elementary
Connie Crittenden, East Lansing, MI
Jessica Fries-Gaither, Hilliard, OH
Jessie Kelly, Snellville, GA
Preservice Teacher Preparation
Eric Brunsell, Oshkosh, WI
Michael Troop, Chicago, IL
Chris Ohana, Bellingham, WA
Professional Development
Julie Luft, Athens, GA
Eric Walters, Staten Island, NY
Christopher Soldat, Iowa City, IA
Research
Pamela Auburn, Houston, TX
Lise Whitfield, Seattle, WA
Anne Schoeffler, Hudson, OH
Audit
Peter McLaren, Providence, RI
Awards and Recognition
Karen Nesbit, Franklin, WI
Jennifer Pritchard, Seattle, WA
Pat Shane, Chapel Hill, NC
James Puckett, Grand View, MO
Budget and Finance
Patricia Simmons, Raleigh, NC
Christine Royce, Newburg, PA
Nominations
Debra Boris Nygard, Ramsey, MN
Hector Ibarra, Iowa City, IA
Linda Lacy, Excelsior Springs, MO
Herb Brunkhorst, Riverside, CA
Elizabeth Mulkerrin, Omaha, NE
ADVISORY BOARDS
Aerospace
Pam Evans, Charleston, IL
David Black, Provo, UT
Caroline d’Otreppe , Windsor Locks, CT
Richard Varner, Catonsville, MD
Conference
Cynthia Willingham, Vestavia Hills, AL
Development
Jean Tushie, Eden Prairie, MN
Susan Koba, Omaha, NE
International
Teresa Kennedy, Tyler TX
Kathleen Horstmeyer, Chester, CT
Edralin Pagarigan, Rosedale, MD
Catherine Bale, West Point, NY
Investment
John Penick, Miami, FL
Patricia Simmons, Raleigh, NC
Journal of College Science Teaching
Brian Schmaefsky, Kingswood, TX
Barry Thompson, Evans, GA
Megan Litster, LaCrosse, WI
NSTA Reports
Barbara Tharp, Houston, TX
Mike Szydlowski, Columbia, MO
Wayne Snyder, Glendora, CA
Retired Members
Joyce Gleason, Punta Gorda, FL
Susan Clay, Parma, OH
Deb Wickerham, Findlay, OH
Ed LinzSpringfield, VA
Science & Children
Terri Hebert, South Bend, IN
Neporcha Cone, Kennesaw, GA
Wendy Frazier, Fairfax, VA
Science Matters
Stephan Bartlett, Fairfax, VA
Jean May-Brett, Baton Rouge, LA
Michelle Brand-Buchanan, Conway, AR
Science Safety
Beverly DeVore-Wedding, Meeker, CO
Lesa Rae, Leesburg, FL
Brian Wazlaw, Portsmouth, NH
Science Scope
Karen Matsler, Arlington, TX
Ella Bowling, Maysville, KY
Kelly Chaney, Little Rock, AR
Special Needs
Cheryl White, Round Rock, TX
Melissa Sleeper, Vera Beach, FL
Jennifer Purcell Coleman, Fayetteville, AR
Technology
Ben Smith, York, PA
Stephen Bock, Fresno, CA
Gregory Benedis-Grab, New York, NY
The Science Teacher
Stephen Bartos, Chicago, IL
Carrie Jones, Raleigh, NC
Michael Brinkman, Grand Prairie, TX
Urban Science
Trudy Giasi, Columbus, OH
Selina Bartels, Chicago, IL
Michael Harms, San Francisco, CA
PANELS
NSTA/CBC Review
Karen Ansberry, Lebanon, OH
Delene Hoffner, Colorado Springs, CO
Linda Schoen-Giddings, Columbia, SC
New Science Teachers Academy
Robin Curtis, Williamsburg, VA
Michael Lowry, Chattanooga, TN
John Clark, Deltona, FL
Shell Science Teaching Award Judging
Ruth Ruud, Cleveland, OH
Tamica Stubbs, Charlotte, NC
On behalf of the staff of the National Science Teachers Association (NSTA) and the many dedicated members of our leadership team, I would like to welcome and thank the following members of our Board, Council, Standing Committees, Advisory Boards, and Panels whose terms of appointment began on June 1, 2013. With the renewed national focus on STEM education and the release of the Next Generation Science Standards, this year will be an exciting time to be a leader in science education. I am delighted to have you all as my colleagues on this journey.
At the end of the school year…
By Mary Bigelow
Posted on 2013-06-06
 My mentee just finished his first year as an elementary teacher. I’d like to give him some suggestions for how to reflect on his experiences and plan for next year.
–—Cindy, Coral Springs, Florida
A beginning science teacher had a similar question a few years ago. Here are my suggestions to her (with some updates):
Congratulations for completing your first year! You’ll find the end of the year is as hectic as the beginning, with exams, grades, inventories, and lab clean-up. You’re also looking forward to vacation time with family and friends, graduate courses, home improvements, a summer job, or some much-needed rest. But while your memory is fresh, take some time now to review, reflect on, and learn from your experiences. Record your thinking in a journal or in your planning files.
Start by celebrating your successes. Which students seemed really engaged in your classes? Ask yourself what you did to encourage student learning and engagement. How effective were your strategies to connect with students and parents? Are there any new strategies you would like to try next year? Do you need to revise your classroom management routines and procedures?
If you haven’t done so already, add the Framework for K-12 Science Education and the Next Generation Science Standards (NGSS) to your reading list. Consider these as you review your lesson plans. How do your lessons support these standards and your school’s curriculum? Should you change the amount of time or emphasis you put on some units? Were your lesson plans detailed enough to be adapted or updated for next year, or will you have to recreate them? Based on your assessment data, what instructional strategies should you change (or keep)? How well were activities aligned to the unit goals and lesson objectives? Did your lab activities help students to develop their inquiry and problem-solving skills? How well were you able to access and use the technologies available in your school? What kinds of interdisciplinary connections did you make?
Identify any gaps in your own knowledge base to supplement this summer with online courses, readings, websites, or visits to local informal science institutions (museums, zoos, planetariums, and so on). Take advantage of social media and other online sources (including NSTA) to keep informed of and share ideas and resources.
As you complete final evaluations/grades for students, ask yourself how well the grades reflect student learning. Or did you factor in things not related to course content? How well did your assessments align with the unit goals and lesson objectives? Did you provide opportunities for students to reflect on their own learning (e.g., through a science notebook, rubrics)?
On a practical note, check with your principal or department chair for any end-of-year checkout procedures. Your classroom may not be secure during the summer months, so stow your lab equipment in locking cabinets or storage rooms. Take valuable or irreplaceable personal belongings home or lock them in a cabinet. Label any large personal items such as a desk chair or stool with your name. If you have personal documents, tests, grades, communications, or other sensitive information on an unsecured hard drive, transfer them to a network drive or to a flash drive. Some schools allow teachers to take their assigned technology home for the summer, but do not remove any school equipment without permission.
Update any equipment and textbook inventories and note if anything needs to be discarded or repaired. Keep your requisition list for next year handy so you can check in new materials arriving over the summer. Make sure items such as glassware, cages, aquariums, sinks, or tabletops are clean and ready for next year. If you can, turn off the gas and water in your lab.
Send a note of thanks to those colleagues and administrators who were especially helpful to you this year.
Based on your reflections, this might also be a good time to formulate your goals for next year. It’s tempting to say, “I’ll think about this in August.” But if you take some time now for thinking, reflecting, and planning, you’ll have more time in the fall to get your second year off to a good start.
Photo: http://www.flickr.com/photos/jjlook/7152722/sizes/s/in/photostream/
My mentee just finished his first year as an elementary teacher. I’d like to give him some suggestions for how to reflect on his experiences and plan for next year.
–—Cindy, Coral Springs, Florida
A beginning science teacher had a similar question a few years ago. Here are my suggestions to her (with some updates):