
science 101
Q: How Can a Design Challenge Be Used To Teach Science?
A: This question got me thinking about the choice between (a) learning a new principle and then doing an experiment that demonstrates it, versus (b) doing the experiment first, during which students discover the principle. For example, if students try building tall structures with mini-marshmallows and uncooked spaghetti, they might discover that triangular structures are sturdier than rectangular ones. Such a discovery process is often preferred to just telling them because students tend to remember things better if they discover them themselves. (See “Explore Before Explain” in Online Resources.) Note about terminology: I will introduce two new terms in this article. If your students are up to it, you can teach them the terms and use them. If not, you can just use other words that express the same ideas.
A Preliminary Challenge
Sometimes it’s good for students to do some preliminary exploration prior to the main activity. This is useful if there’s some scientific principle that will be useful later. To illustrate, consider a preliminary challenge where students—working together in groups — are to construct a platform, supported on only one end (like a diving board), which can hold a certain amount of weight or hold an object such as a can of food. (A structure like this, supported on only one end, is called a cantilever. See the sidebar illustrations.)
You can specify what materials should be used (e.g., Lego or Duplo bricks) or, for increased opportunities for creativity, don’t specify what materials to use but have bins of different types of materials available. These could include wooden blocks, Tinkertoys, K’nex, Lego/Duplo, or whatever construction toys happen to be available. Also provide tape, rubber bands, et cetera, as well as appropriate eye protection.
If everyone’s structure is holding the same amount of weight, the winner is the group whose platform supporting the weight is the longest — as measured from the point of support to where the weight is.
Alternatively, you can allow different student groups to create structures that support different amounts of weight. But then won’t a group whose structure supports only a small amount of weight have an advantage and be able to make a much longer cantilever? Yes, but there’s a way to make it fair. All you need to do is take into account both the weight and the length of the cantilever. Multiply the two numbers—the length times the weight—and whichever group has the highest product of those two numbers has made the strongest cantilever.
Torque
I did something a little sneaky. That quantity you got when you multiplied the weight by the length has a name, the torque. I had you calculate the torque without your knowing it. You can think of torque as like a turning force. For example, if you have to unscrew a tight-fitting lid on a jar, you have to apply a lot of torque.
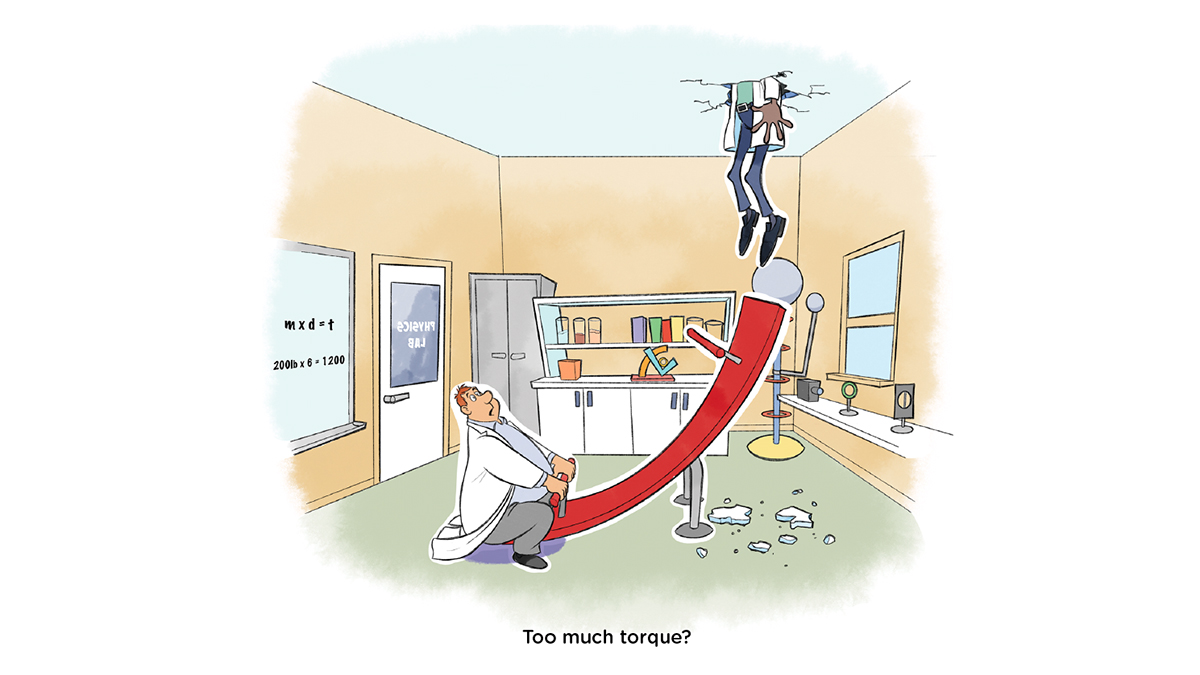
In the preliminary challenge, the combination of the weight and length on the cantilever produced a certain amount of torque. Too much torque, and the cantilever will break. And you can get too much torque by either making the cantilever too long or by having too much weight.
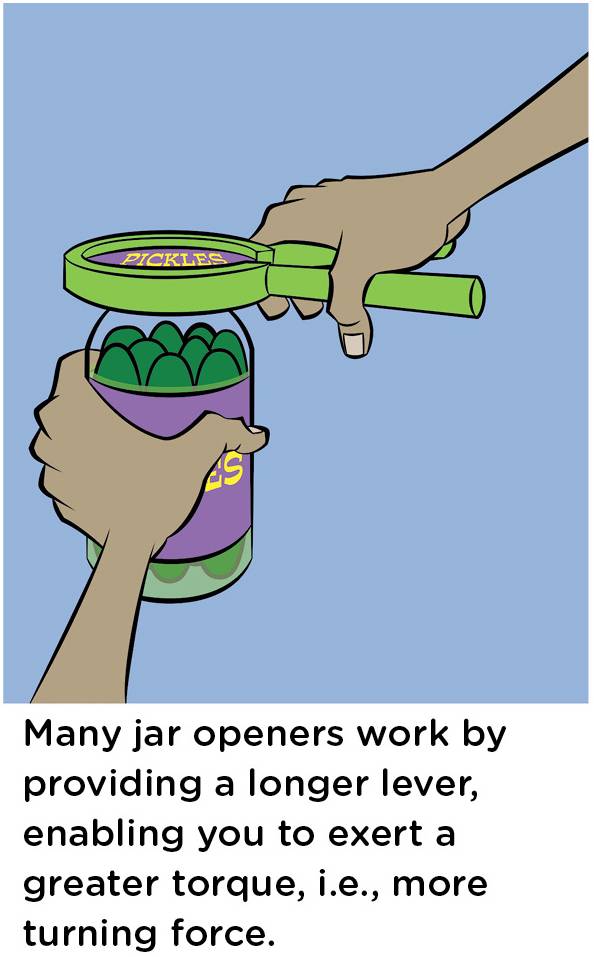
Knowing that a longer length can give you more torque can be useful. For instance, you might want to try opening your jar with the stuck lid by using a gadget that gives you a greater length, as in Figure 1. This is also the principle of the lever: The greater the length, the more turning force, or torque.

Cantilevers
The term for a structure that is supported on only one end is a cantilever. Here are two illustrations of cantilevers. Do you see how in each case only one end is supported?
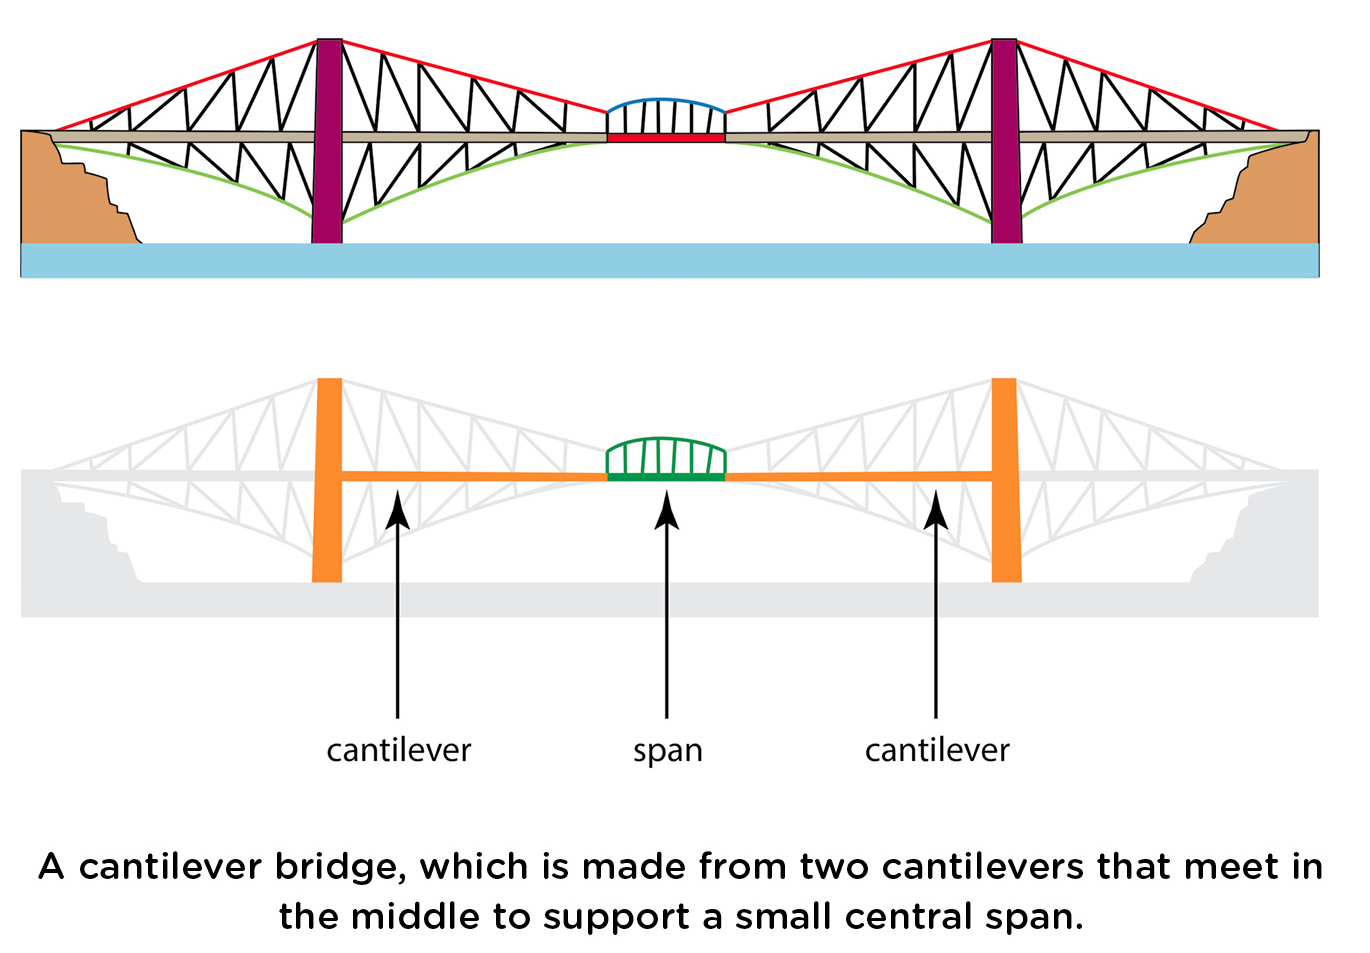
Armed with this knowledge, your young engineers can now design a bridge. Some bridges consist of two cantilevers that meet in the middle. Naturally, these are called cantilever bridges (see Figure 2).
The goal is for each student group to construct a cantilever bridge that is both as long as possible and can hold as much weight in the center as possible. Again multiply the two numbers to determine which bridge can withstand the most torque. Remind students about how the strain on the bridge comes from both the weight it’s supporting and the length of the bridge.
Seesaws
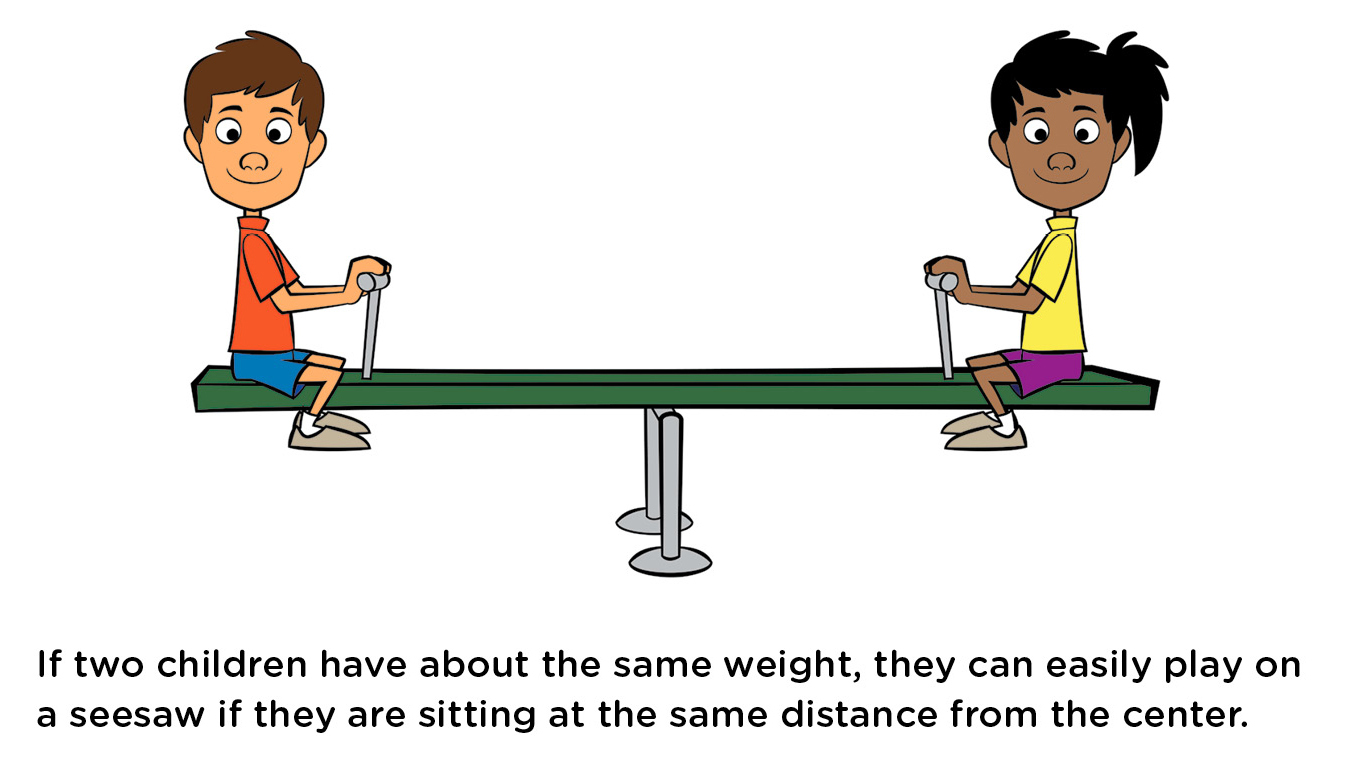
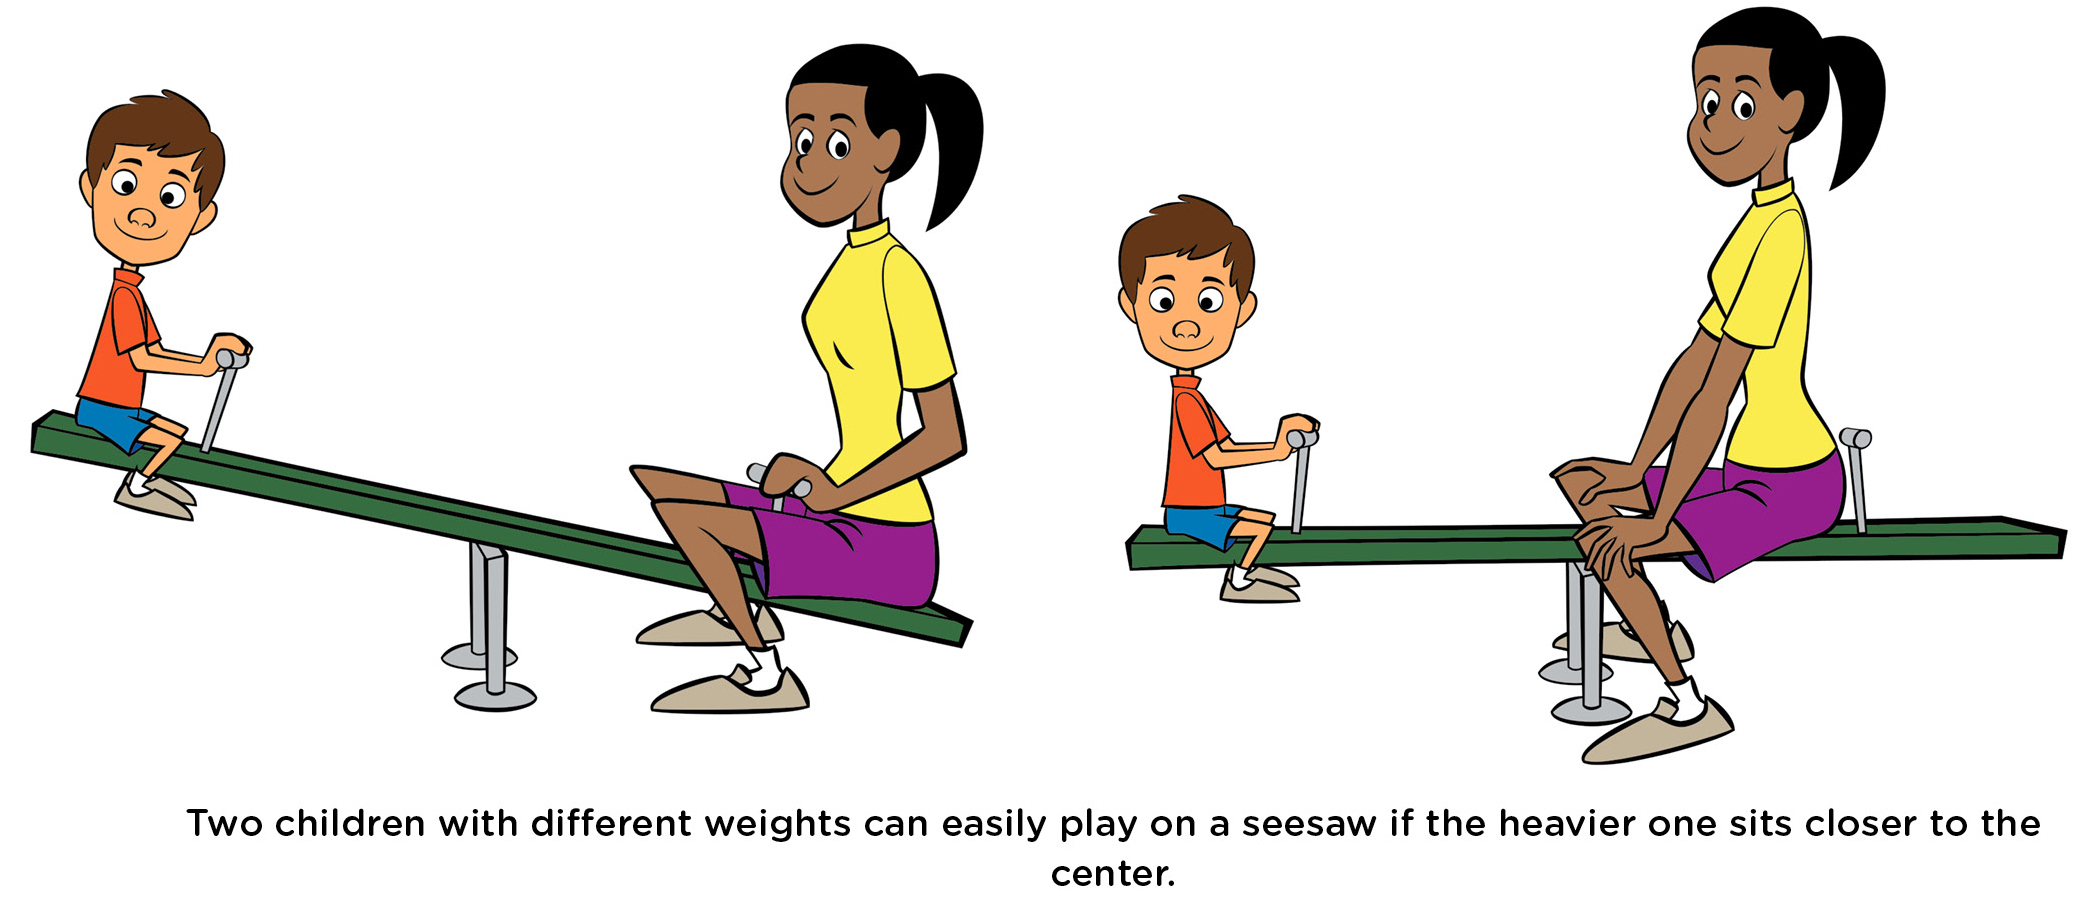
Another real-life application of torque occurs on a seesaw (or teeter-totter). Do you remember how the seesaw works best—and is approximately balanced—if the two children are about equal in weight, as in Figure 3? But what can they do if one of them is much heavier than the other? To balance the seesaw, the heavier child should sit closer to the center, as in Figure 4. This causes their torques to be approximately equal.
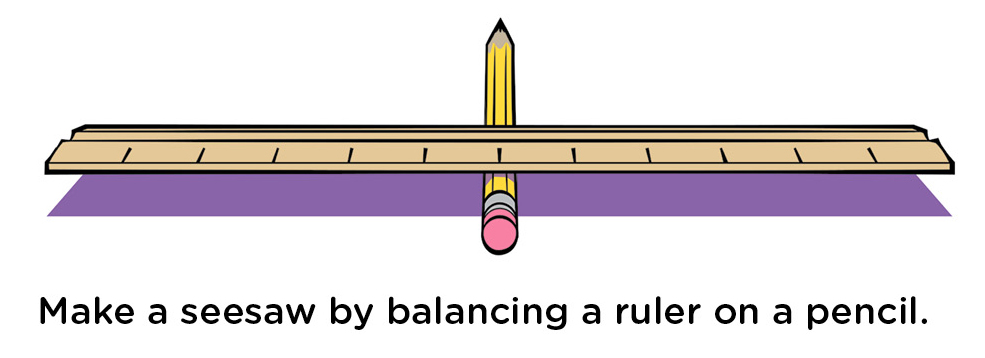
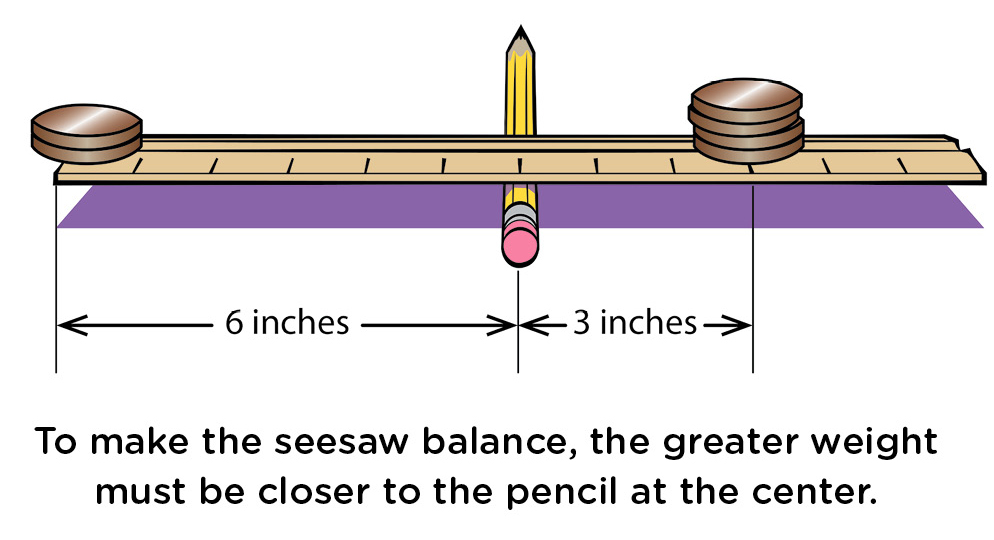
Students can experiment with this idea by making a model seesaw using a pencil, a flat ruler (or wood slat), and some pennies. As a very simple design challenge—simple if they’ve seen seesaws before, which aren’t on playgrounds these days as much as they used to be—give them the materials and see if they can make a little seesaw. Working in groups, they can probably figure it out without further instructions. All they need to do is put the pencil on a desk or table and balance the ruler on the pencil, as in Figure 5. Then they can experiment and see how they can balance pennies on their seesaw. With an equal number of pennies on each side, at the same distance from the pencil, the seesaw can remain balanced. Ask them to put more pennies on one side than the other, and still have the seesaw balanced. They should discover the side with more weight needs to have the weight closer to the center, as in Figure 6.
When the ruler is balanced, older students can practice their multiplication and confirm that the weight (which can be measured in number of pennies) times the distance from the pencil is the same on each side.
For example: Suppose when the seesaw is balanced, the left side has two pennies six inches from the pencil, while the right side has four pennies three inches from the pencil. Then on the left side, the product of the weight times the distance is 2 × 6 = 12. On the right side, product is 4 × 3 = 12. Because the two numbers—the torques—are the same, the seesaw can be balanced.
Speaking of seesaws, I’ll end by telling you about the woman in the park who sells batteries. She sells C cells by the seesaw.
Never stop learning.
Online Resource
Explore-Before-Explain: https://www.nsta.org/science-and-children/science-and-children-septemberoctober-2020/standards-are-not-curriculum
Matt Bobrowsky is the lead author of the NSTA Press book series, Phenomenon-Based Learning: Using Physical Science Gadgets & Gizmos. You can let him know if there’s a science concept that you would like to hear more about. Contact him at DrMatt@msb-science.com.