
Teaching Through Trade Books
Energy: A Wild Ride
Science and Children—July/August 2022 (Volume 59, Issue 6)
By Christine Anne Royce
There is no doubt that amusement parks have a certain amount of energy associated with them—both from the excitement of being there but also the design of the rides. Helping students focus on concrete examples of where and how energy affects the speed of objects, changes the direction of objects, and is conserved or transferred can be done by exploring roller coasters.
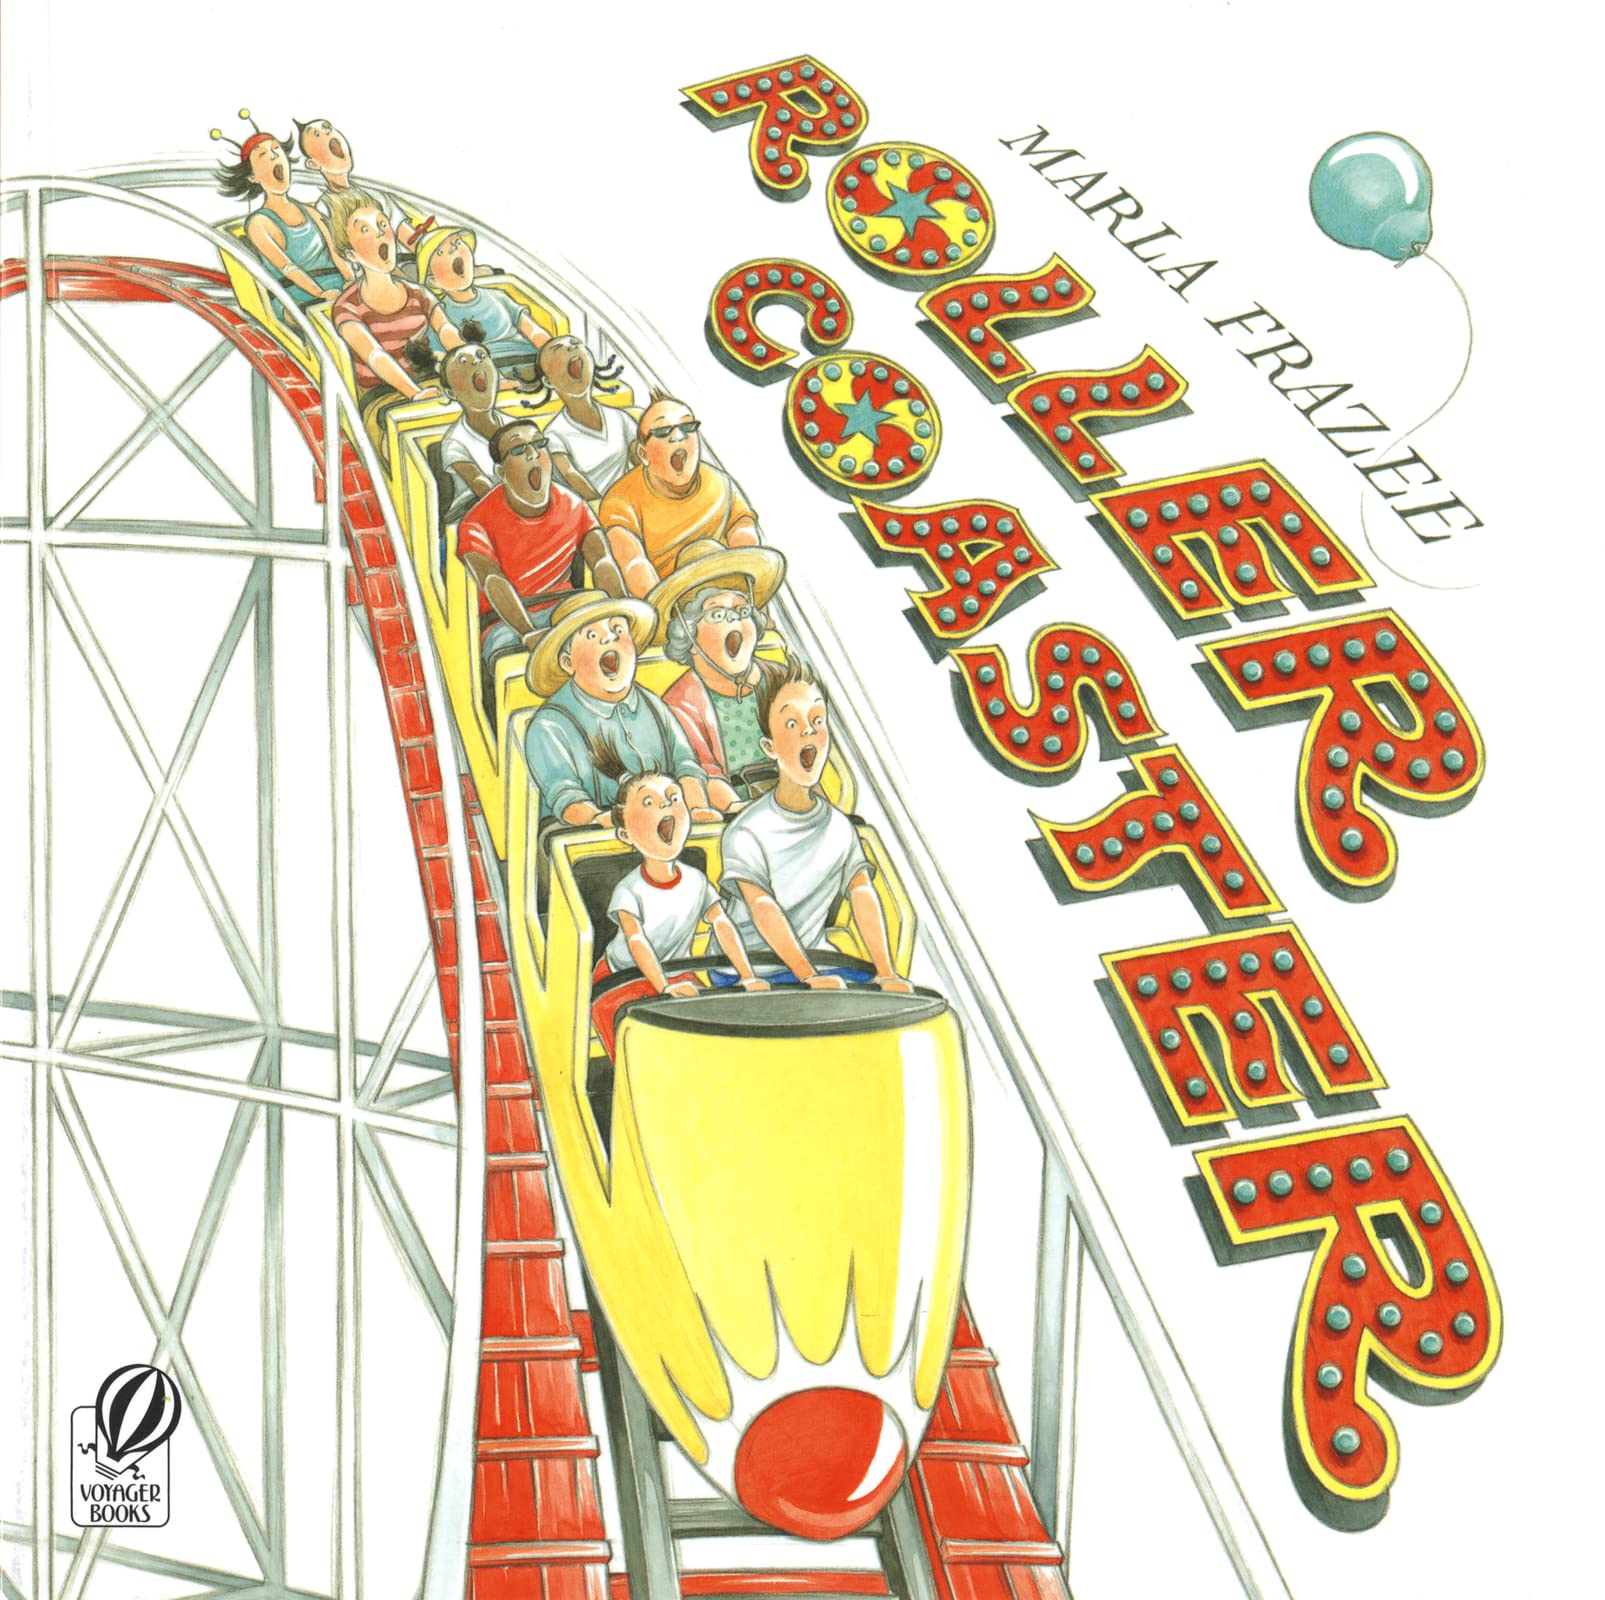
Roller Coaster
By Marla Frazee
ISBN: 978-0-15-205744-2
Voyager Books
32 pages
Grades K–3
Synopsis
Readers step into an amusement park and then onto a roller coaster ride. The excitement or nervousness of the story’s characters is shown through facial expressions and told through descriptive language such as zoom and swerve. Images help the reader feel as if they are riding the coaster and also help them consider all of the ways that a roller coaster excites and moves people.
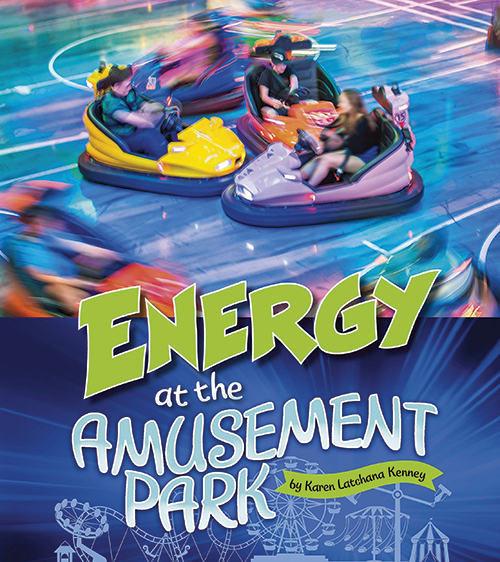
Energy at the Amusement Park
By Karen Latchana Kenney
ASIN: B08GM93W6J
Capstone
32 pages
Grades 3–5
Synopsis
This informational text will serve as a great resource for students who want to figure out how energy is used when designing amusement park rides. Roller coasters to bumper cars are explored as physical science concepts are brought to the reader in real-world experiences.
Grades K–2: Coasting Along
Purpose
Students will investigate how pushes and pulls have different strengths, directions, and speeds as they consider how each influences the motion of an object.
Materials
- Roller Coaster
- 18 inch sections of cardboard or poster paper tubes that has been cut lengthwise in half
- golf balls
- large marbles
- stopwatch
- linking blocks that pop together
- heavy duty rubber bands
- meterstick/ruler
- strips of felt
- 360 Toy Story Coaster Video
- safety glasses
Engage
Begin by sharing a picture of a sliding board, a water slide, and a roller coaster (see Supplemental Resources) and ask the students to think about each and describe how they work or how they would interact with each. Questions to help students think about these ideas include: How do you get to the top of the slide/coaster? What happens when you or the car leans forward just over the top of the hill?
Share Roller Coaster with the class by asking them to first observe the cover. While looking at the cover, ask the students to make observations/inferences about the picture. Prompting questions include: What do you think is happening? How did the coaster/train get to the top of the hill? Which way are people leaning? As you continue to read the story with the class, use the following points to engage them in a discussion.
pp. 1–3 Connect the text to the student’s lives by asking them how many students have previously ridden a roller coaster? Allow students to describe their own experiences.
pp. 4–5 Look at this roller coaster. What do you notice about how the car will move on the track? Are there points on the track where you think the car will move slower/faster? Why? If possible, project a copy of this picture onto the screen and ask students to point out locations where different speeds occur.
pp. 10–11 The story says that the operator releases the brake. What do you think the purpose of the brake is? Why do you think the train “jerks” forward?
pp. 12–13 What do you think the chain does? Where do you think the energy comes from that moves the chain?
pp. 14–15 Look at the picture on this page and notice the chain in the image that is on the left side of the track. Describe how the chain would move? Describe what would happen to the car once it reached the top of the hill.
pp. 15–25 On each of the two-page spreads, have the students describe where motion might be occurring and how the different shapes of the track influence how the rider might be moved.
Explore
Using the following tasks, students will investigate different concepts related to pushes and pulls as well as the strength and direction of a force. Each of the following is an overview of the task with more specific directions available on the task cards and in the teacher notes (see Supplemental Resources). Each task allows students to consider what happens to one variable while they keep others the same.
Task #1: What happens when we start higher?
Materials Needed: 18 inch sections of cardboard or poster paper tubes that has been cut lengthwise in half, golf balls that fit in the pipe, large marbles that fit in the pipe, stopwatch
Ask the students to reexamine the pictures of the sliding board and water slide from the Engage section. Have them describe how they get to the top of the sliding board? Most often they will need to climb up a ladder or series of stairs. Have them look at the ladder or stairs. Pose the question, what would happen to the height of the slide if there were more steps or rungs on the ladder? Use the tubes as ramps and balls provided to make observations about what happens to the speed an object travels when a ramp is “higher” or “steeper” or more of a gradual slope. Students can sketch their ideas and record their observations on the Coaster Fun student sheet (see Supplemental Resources).
Task #2: Does it matter how many cars are part of the coaster train?
Materials: Linking blocks that pop together, heavy duty rubber bands, meterstick/ruler, safety glasses.
Students should wear safety glasses for this task. Pictures in the story show that each coaster train has a set number of cars. Students at this level can make qualitative or descriptive observations as to how much force is needed to pull the train up the initial hill and how that impacts how many people can ride the coaster at a time. By using blocks that pop together or can be connected, students can see if more cars (or mass) change how much the rubber band stretches.
Task #3: What helps to stop the object?
Materials: Cardboard or poster tubes cut lengthwise in half, strips of felt,
In the story, the rider operator applies the brakes to stop the car/train. There are other points where the car/train also slows down while on the track and students will use strips of felt to determine how best to reduce the speed.
Explain
After students have explored the different tasks, bring them back together to discuss the core ideas that are part of this performance expectation. Specifically, that pushes and pulls can have different strengths and directions; and pushing or pulling on an object can change the speed or direction of its motion and can start or stop it. Use the following questions to elicit student thinking and explanation for each of the following points and ask them to include examples from their investigation:
General
Describe how the ramps and marbles are similar to an actual roller coaster or slide. How is a roller coaster different than the model you used?
What did you notice when you had a ramp that was steeper? Shallower?
Different strengths/directions:
When the roller coaster train is going “up the hill” to the top, a chain is used. Do you think that is a push or a pull force? How is the task with the blocks and rubber band similar to a train moving up the hill? If there were more cars on the train, what would happen to the force needed to have the train reach the top?
Speed:
When did you notice your car/train goes faster? Slower? What could you do to increase the speed or slow it down?
Start/Stop:
What did you notice when the car/train travelled over the strips of felt? Was there a difference when you added more strips for a longer section?
After discussing their observations and inferences from their tasks and thinking about the above questions, post the overarching question to the students and have them answer it. If we look back at the picture on pp. 4–5, can you explain what might happen to the speed of the car/train at different points?
Elaborate
Ask the students to watch the short video about the Toy Story Coaster (see Online Resources). This is a unique video in that it allows students to change the perspective with the control in the upper left corner thus allowing them to look at different parts of the ride from different perspectives. Point out that every roller coaster is designed based on forces, motion, and energy and that they are going to think about how changing aspects on a coaster will change how it moves. Allow students to interact with the video and share their initial ideas. After that, they should use the different materials from the task stations and try to do the following.
Design a track…
…that has the train/car travel the shortest/farthest distance once it rolls off the track.
…where the car/train stops at the end of it.
…where the car goes over a hill.
…where the train/car needs to be pulled up a hill before it can start.
After students have had a chance to create these different scenarios, ask groups to share their overall thinking and design. It is likely that different groups will have different strategies to accomplish the same goal.
Evaluate
While many students may have had experiences riding rides, they are asked to first share their initial understandings through a group discussion that connects their own experiences. Through participation in the different tasks, students are then investigating how specific variables impact the outcome of the coaster car/train. They record their observations and inferences and then return to a large-group discussion where they connect these to the core ideas. Finally, students are asked to apply their understanding to design sections of the track that have a particular outcome.
Supplemental Resources
- Pictures of water slide, sliding board, and roller coaster
- Coaster Fun Student Sheet
- Task Cards
Grades 3–5: Constructing a Coaster
Purpose
Students in teams will sketch, design a coaster, and explain where and how energy impacts the speed of and how different elements of a roller coaster can be modified.
Materials
- Energy at the Amusement Park
- Foam pipe insulation which has been cut in half lengthwise (lengths of 4, 5, 6, 7, and 8 ft.)
- masking tape or painters tape
- toothpicks and bamboo skewers
- large marbles
- soft/flexible tape measure
- scissors
- safety glasses
Engage
Show the students the Top 10 Insane Backyard Coaster video (see Online Resources). As they watch it the first time, ask them to make observations about the different coasters and look for the different types of design elements that they see in the video. For example, there are giant hills that the cars go up and smaller hills that the car goes over. Allow students to discuss their observations. Ask the students to rewatch the video slowly and as a class, record all of the different “designs” or “parts” they see in the roller coasters.
Break the students into design challenge teams. Each team is going to design and build a roller coaster that they will pitch to the local amusement park. As part of their design process, they need to complete the steps in the Request for Design Sheet (see Supplemental Resources).
Explore
Once in the teams, the students need to do some R&D (research and design) to better understand how different design elements contribute to a fun and engaging coaster. The company has set up some different stations at their coaster design headquarters where teams will be able to investigate how different components contribute to a fun coaster. Student teams should complete their R&D sheet (see Supplemental Resources) as they cycle through the different stations. All of the stations should have the following materials: Foam pipe insulation which has been cut in half lengthwise (lengths of 4, 5, 6, 7, & 8 ft.), masking tape or painters tape, toothpicks and bamboo skewers, large marbles, soft/flexible tape measure, scissors. These can be done as stations where groups rotate through or the teacher may choose to do one station per day where a discussion is part of that lesson. Information provided below describes the points that should be discussed in the later setup. For each station, students should follow the required design steps on their R&D sheet as they collect data for the table. Students should wear safety glasses.
Station #1: What purpose does the hill have?
Students will investigate what the purpose of the first hill is for the coaster ride. Points to begin a discussion include: How do cars get to the top of the hill? What happens when the car starts over the top? Why are hills at the beginning of a coaster ride? Teachers should point out that students will only start at the top of this hill for their design as the amusement park owners know that all coasters begin with the car being pulled up that hill.
Station #2: How do smaller hills or bumps help the coaster keep going?
After coming down the initial hill and around some turns, students need to figure out how to add some energy back into their coaster system so that the car keeps moving. As students make observations and record information about how hills or bumps impact the ride, they should consider where in the rides these components are added.
Station #3: What is the point of twists and turns?
There is no doubt that twists and turns are exciting and make the ride better; however, students need to consider how those twists and turns are designed. Ask the students to think about how twists and turns help to keep the coaster moving but also keep it in a certain footprint or area of the park. For additional information, the video Roller Coaster Elements Explained (see Online Resources) can be used.
Station #4: What do I need to learn about loops?
Loops in roller coasters were not always part of the ride. Early coasters did not have these elements but now almost all coasters have different types of loops. Ask students to consider what kinds of coasters have these elements.
Explain
Now that students have had a chance to examine different types of roller coaster components, they are asked to go back and apply some scientific concepts around energy to their design as the owners want to make sure that all of their information is accurate. Copies of Energy at the Amusement Park should be available to the students to reference as they complete their Connecting Coaster Concepts student sheet (see Supplemental Resources) which will also be utilized later in the lesson. Provide the following questions to the students and ask them to connect their reading with their design.
The text notes that energy cannot be created or destroyed but can be transformed or changed. Explain what that means in terms of the energy that is “in your coaster design.” Where does the coaster get its initial energy? How do different elements add energy back into the coaster?
Where in your coaster design is potential energy and what happens as the car climbs the hill from the platform?
What pulls the car over the hill? What happens to the type of energy the car has as it begins the ride down?
Why is it important for the car to fit on the track properly? What happens to the energy if there is lots of movement in the track?
After discussing the different energy concepts, teams are asked to then put together an initial design sketch for their coaster. All initial ideas and explanation of those ideas need to be approved by the teacher in the role of the lead engineer for the amusement park.
Elaborate
After having their design sketch approved, the building begins where students need to construct their coaster, which likely involved trial and error to get the ride to work. One of the aspects of coaster design at this level is that the students will need to think conceptually about the forces and motion and what is happening to the energy in the design. Allow students time to build, test, modify, and adjust their coaster design. Once the coaster is built, allow each team to demonstrate their coaster for all other teams. They should also be able to present the information requested by the amusement park that was on the original Request for Design Sheet.
Evaluate
Throughout this design challenge, students are sharing their observations and revising their understandings as they gather more information. Through the R&D stations, students are engaging in the process of making sense out of what they are observing before they start to explain concepts with science language. Finally, the elaborate stage asks them to apply what they learned and construct a coaster.
Supplemental Resources
- Request for Design student sheet
- R&D student sheet
- Connecting Coaster Concepts student sheet,
- Top 10 Insane Backyard Coaster video
- Roller Coaster Elements Explained video (Online Resources)
Online Resources
Roller Coaster Elements Explained: https://youtu.be/ZKJX7oGpj8g?list=RDCMUCwwicBbRm5d0M7WXwhIEclA
Top 10 Insane Backyard Coasters: https://www.youtube.com/watch?v=J3fjM0eRqNY
Toy Story 360 Coaster Video: https://youtu.be/tNHSKzyYQRg
Christine Anne Royce (caroyce@aol.com) is a professor at Shippensburg University in Shippensburg, Pennsylvania, and past president of NSTA.
Instructional Materials Interdisciplinary Literacy Elementary