
teaching through trade books
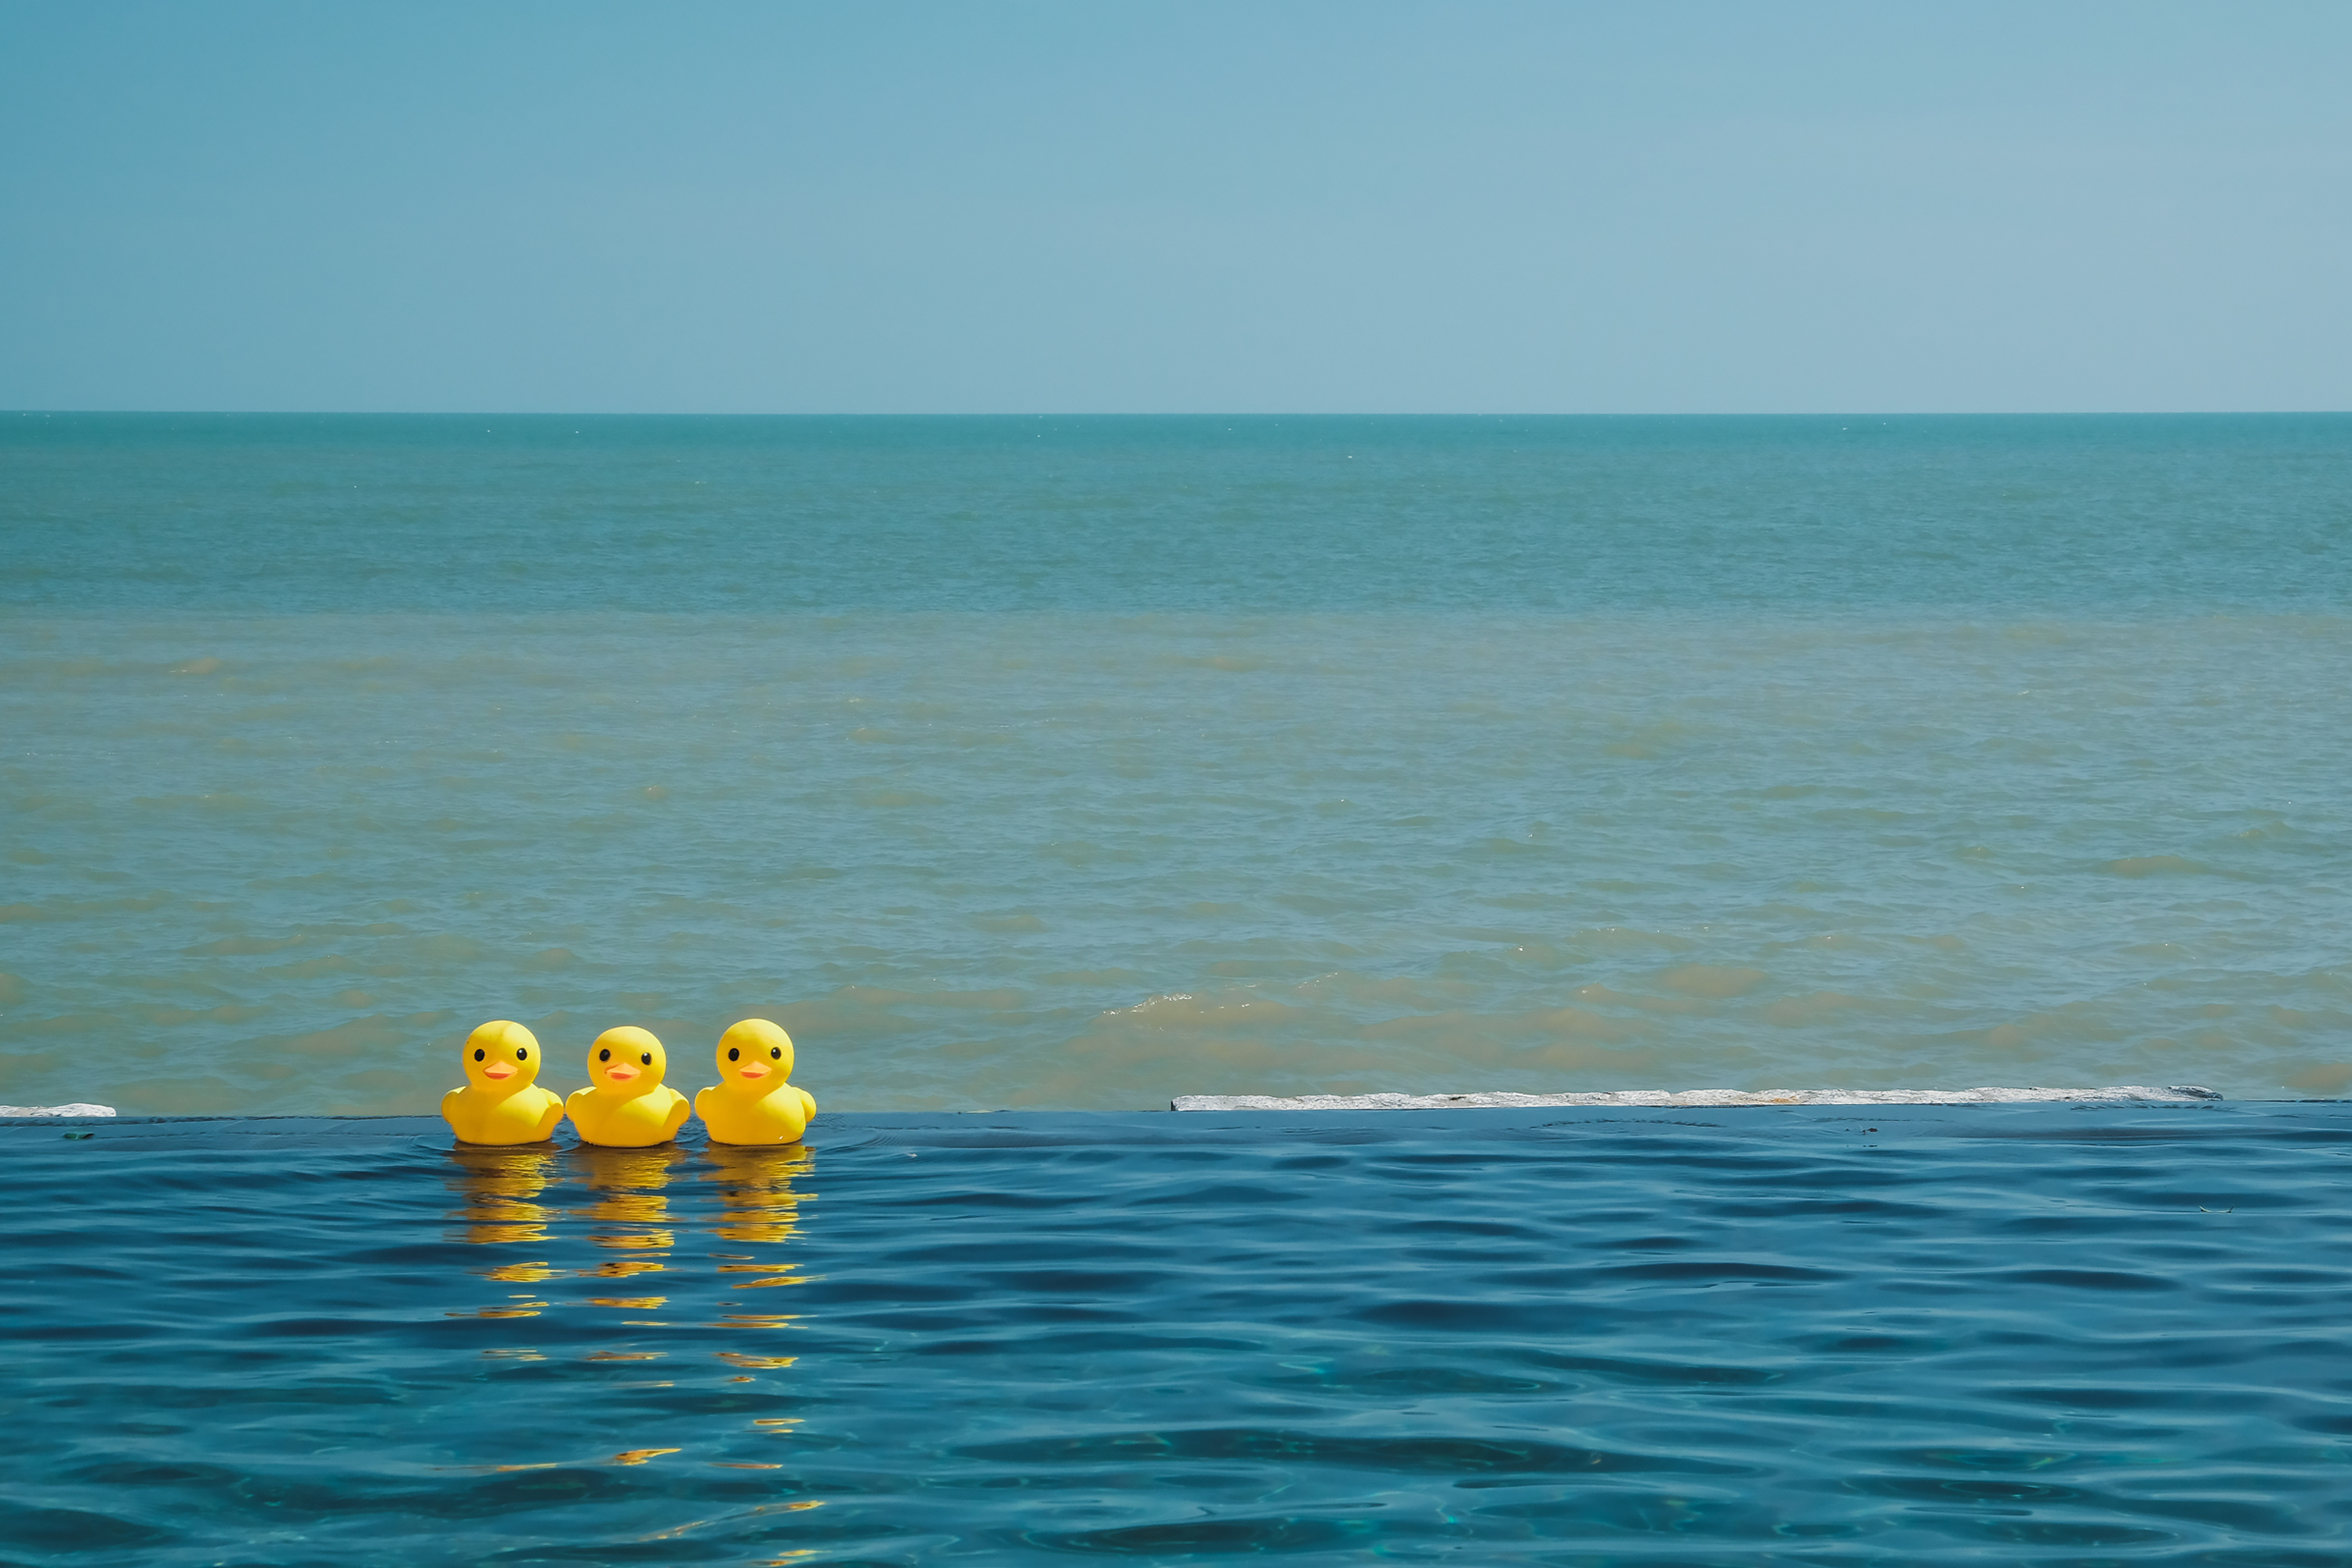
Rubber Ducky Helps With Science
This issue’s exploration of matter and its interaction with other matter brings together two areas, properties of objects and properties of waves. First, younger students explore if objects sink or float. Intermediate level students use a real-life event to better understand how waves are formed and how waves move objects.
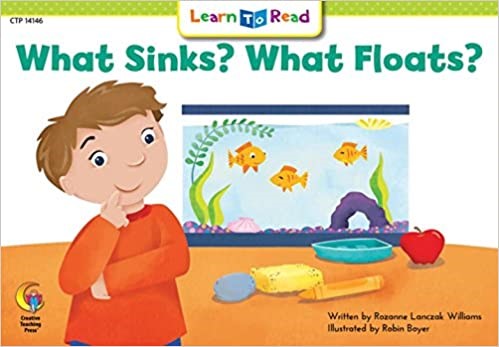
What Sinks? What Floats?
By Rozanne Williams
Illustrated by Robin Boyer
ISBN: 978-1683102984
Learn to Read
16 pages
Grades preK–2
This nonfiction book explores which objects sink and which objects float. Using common objects that might be found in a classroom, illustrations help students visualize what objects sink and what objects float. Questions are posed to the reader throughout asking them to make a prediction.
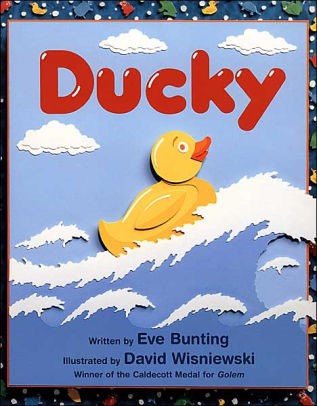
Ducky
By Eve Bunting
Illustrated by David Wisniewski
ISBN: 9780618432400
HMH Books
32 pages
Grades 1–4
This story is a fictionalized telling of a true event. In 1992, a crate holding nearly 30,000 bathtub toys including rubber ducks was washed overboard from a cargo ship. This highlights the story of one brave rubber duck by describing actual situations it might have faced in the open ocean.
Grades K–2: What Floats and What Sinks
Purpose
Students will conduct an investigation to determine if something sinks or floats, classify objects into two groups, and then describe the properties for each group.
Engage
Hold up a rubber duck in front of a tub of water and ask the students, “What would happen if I put this duck in the tub of water, will it sink or will it float?” Allow students to share their ideas and experiences and then place the duck in the water to allow students to make observations. After confirming that the rubber duck floats, ask the students to examine the small rubber ducks provided to describe the characteristics or properties of the duck. Ask them to select words that describe the duck from their data sheet and discuss what terms they selected.
Materials
- What Sinks? What Floats? chart paper, various size rubber ducks, clear tub of water, smaller plastic basins with water for each group
- Objects for testing: one of each for class demonstration (rock, key, apple, coin, block of wood, crayon, sponge, ball, eraser, toy boat); one collection for each small group of students (small branch, plastic spoon, metal spoon, pinecone, craft stick, nail, toy car, paperclip, leaf, large marble, seashell, ping pong ball, and feathers, large metal washer and aluminum foil cut in same shape and size as washer, two similar film canisters [one filled with sand]),
- Supplemental Resources (What Else Besides Rubber Ducks Float? data sheet, picture of large floating duck; see https://bit.ly/3y0eEeJ)
Explore
Now share the book What Sinks? What Floats? with the students, stopping to discuss the following questions.
p. 1 There are a variety of different objects on the table. Have you ever placed any of these in the water? What happened? Using some of the describing words from your sheet, describe the objects.
p. 6 What do you think will happen to the pencil? Why do you think the pencil floated?
p. 8 Ask students to brainstorm common objects that they think will sink and those that they think will float and record them on chart paper.
p. 10 Look at the objects in this picture. Do we have any of the objects on our list? Are there objects that we want to add to our list to test? At this point, ask the students to predict if the objects in the picture will sink or float?
p. 11 Compare the students’ predictions with those that are made in the book.
Before reading any further, as a class demo, test each of these objects by placing them in a bin of water. Ask students to make observations about the objects.
pp. 12–13 Discuss the class results and the results that are noted in the book. One teacher note includes the fact that based on the type of materials that a crayon is made from, some crayons will float rather than sink.
Using the last two pages of the book, pose the following question to the students, “Do you think each object here will sink or will it float?” Ask students to record their predictions on the student data sheet. Provide each group with a plastic basin of water and ask them to test their predictions for these objects. After testing the predictions, ask the students to separate the objects into two groups: floated and sank. Then ask them to write down words that describe each group of objects. Descriptive words could include the type of material that the object is made from as well.
Now ask the students to take the two different spoons from that investigation and compare and contrast the two spoons. Leading the students in an all-class discussion, ask students to discuss what are the properties that each spoon has? In order to help students, realize that there is a general pattern to the types of materials that will sink and those that will float, provide the students a ping pong ball and a large marble and ask them to make a prediction as to what will happen with each. This will help students move away from the large and small idea as the ping pong ball is larger than the marble. Ask the students to also try the following paired objects: large metal washers and a piece of aluminum foil that is the same size and shape, and empty film canister and film canister filled with sand (same type of film canister).
Explain
Using the pairs of objects, focus the student on the following two questions: When did an object sink and when did an object float? Can you describe the properties of the objects that sank and the objects that floated? Teacher note: The density of an object is one of the properties for an object to determine if it will sink or float, but is beyond the level for this grade range. Using descriptive words such as light and heavy, or solid or filled with air will be fine. Focus on each pair of objects and engage the students in a discussion with the following questions: Describe the different properties for each object in the pair. How were each of the pairs of objects similar? How were they different?
Elaborate
Once students have had a chance to explore and describe the properties of the objects that sank and objects that floated, ask them to refocus on the rubber duck that you started with in the Engage section. Ask the students to consider the properties they used to describe their own small ducks. How are these properties similar to the objects that floated? Now share the picture of the giant floating rubber duck (Supplemental Resources) and ask the students to describe what type of properties it would have to allow it to also float. Finally, ask the students to draw their duck floating in water and complete the prompt that asks them to describe their duck.
Evaluate
Students begin by making predictions about what will sink and what will float based on their prior knowledge and then testing several objects for which they made predictions. First by comparing their predictions to the predictions in the story and finally their results to what the story discusses, students begin to discuss the properties of the object. As students are comparing similar objects, they are asked to make observations and describe the different properties of the objects to begin to describe the properties of the groups of objects.
Grades 3–5: Rubber Ducks Adrift
Purpose
Students investigate how waves are made, how they can vary in amplitude and length, and how waves move objects.
Materials
- Ducky
- chart paper, small rubber ducks, clear bin of water for each group, straws, Styrofoam meat trays cut to be about 2–3 inches high and no wider than the bin of water, 3–4 ft. piece of rope
- Supplemental Resources (Ducks Overboard story, Station Cards, Making Waves student data sheet; see https://bit.ly/37VqtrV)
- Online Resources (Duck Derby, Ducks Overboard, Ducks Swimming, Ocean Waves, and Seagull Floating in Harbor videos)
Engage
Teacher Note: Waves can cause objects to move, but the use of the word move can often result in students thinking that waves move objects such as a boat toward the shoreline. There is more to a boat being moved than simply a wave moving an object. This lesson begins by looking at what a wave is and then what variables need to exist for waves to move objects.
To begin, ask students to share experiences they have had watching objects float in the water. Ask them to describe what the object was and the motion it made. After discussing, share the video, which shows a mother duck and ducklings swimming in a pond. Ask students what their thoughts are about how the ducks reach the shore of the lake. Prompt the students to consider the following questions while watching: What do you notice about the movement of the ducks? Are there any waves? After students have had a chance to watch the video for a few seconds, ask them how the ducks were able to move from one location to another. If you watch the video closely, you can see the duck’s feet in the water as they are swimming. Now share the video of the Seagull in the Harbor. In this particular video, the seagull is bobbing up and down while there are small waves. Tell the students that although they cannot see the seagull’s feet, it is not swimming like the ducks were. What do they think will happen to the seagull’s movement since it isn’t swimming? Will it stay where it is? Be moved to the shore?
Prompt the students to describe what would happen if they were to throw a blow-up swimming ring into the pond. Would it move? Would it stay where it landed? Why do they think that? What is something that would be needed for it to be moved to a different place? (Potential answers could be a current in a river, wind moving it, or another force such as a person moving it.) Follow up with the video showing rubber ducks being dumped into a river for a duck derby. Before sharing this video, ask students to describe what they think will happen if rubber ducks were dumped into a river. As part of this video, some of the ducks are outside of the “raceway” that was created. Pause the video and ask the students to make observations about those ducks. Are they moving as fast? Heading in the same direction? What do they think would happen if those rubber ducks were dumped into a lake? What about the ocean? Allow students to generate ideas of what might happen and explain their reasoning. Keep track of the ideas and reasons on chart paper related to what might move objects floating in the different sources of water.
Explore
Focus the students on the following headline: Ducks Overboard. What Happens to Goods Lost at Sea? Hold up a small plastic or rubber duck and ask students what they think would happen if this duck was dropped in the ocean like those that went overboard? Where do they think it would end up? It is likely many students will indicate that waves will move it to the shore.
To help students make sense out of what a wave is and how a wave impacts different objects, students will participate in a series of station investigations. As some of this information builds on prior information, it is important for the students to progress through the investigations in this set order. Depending on the age of the students and available materials, teachers can either do this as a class demonstration or allow students to work in groups for each investigation. For each of these stations, see the Supplemental Resources for station cards and the Making Waves student data sheet.
Station #1: How are waves made?
In this station, students explore ways that waves are made. Begin by sharing the video “Ocean Waves.” While students are watching the video, ask them to write descriptions of the waves they observe on their student data sheet. Then ask the students to discuss the characteristics of the waves they saw. Finally pose the question to the students, “So, how are waves made?” and let them describe their initial thoughts. Ask the students to break into groups of 3–4 students and investigate how they can make waves using the materials provided. Remind students that they should make careful observations of what happens; describe in detail what they are doing, and use their evidence to support answers to questions.
Station #2: What are the parts of a wave and how does a wave move an object?
Begin by asking students to describe how objects move. Can they go up and down? Side to side? Back and forth? What are other ways objects can move? One of the limited thinking areas is often that waves move an object to the shoreline since that is what a student might perceive in watching something in the ocean or a pool. However, waves can move objects, but the object stays in the same place. Ask the students to refer back to their student sheets from the first station and now investigate how to make different types of waves to include tall ones and short ones, waves that are close together, and waves that are farther apart.
Station #3: What happens when waves interact with underwater features such as an uneven or sloping ocean floor?
Begin by having students share their observations on the types of waves that were made in the prior station. Engage the students in questions that will help to elicit and then reinforce their thinking that waves do not move or push objects to shores, but rather objects stay in the same relative location. Ask the students to describe why the model of the ocean they have with the plastic tub is not accurate as a model of the ocean floor? What are similarities to the ocean of the model? What are differences? One of the differences that will come up relates to the shape of the ocean floor. Ask students how they could modify their model to show an ocean floor that is sloping? Or one that has different types of features? Ask students to return to their ocean models and make those modifications and record what happens to objects this time.
Explain
For this section, it will be best to ask the students to discuss and explain their understandings after each of the stations above as the stations do build on each other. Using diagrams that are found in the Supplemental Resources, ask the students to explain what they observed.
Station #1: What were some of the ways that you were able to create waves in the plastic tub? What type of event in the real world gives you ideas for making waves similar to those at this station? For example, if you tried to create waves by blowing on the water, blowing would be similar to what? What are two ways that waves are made? Work with students to help them describe their observations and arrive at the key point that waves are generated when something disturbs the water, such as an object or wind.
Station #2: Can someone describe what you observed when you were able to create a “big wave?” What about a small wave? What are some of the other ways you could describe the waves you created? Project the wave pattern diagram onto the board and ask students if they could come up and illustrate what they observed for each type of wave. As students are explaining observations, introduce the terms amplitude and wavelength to the students. The wavelength is how close or far apart each top or crest of the wave is, whereas the amplitude is how tall or short the wave is in terms of height and a level ocean or rest line. What did you notice about your duck when these waves were made? Explain your answer to the following question: If waves are made in water that has a flat and level surface, how do objects move? Teacher note: Students will see movement of the object but it will be up and down or forward/backward to relatively the same spot.
Station #3: Why is a model with a sloped bottom or objects that represent different landforms more realistic to the actual ocean? What did you observe about the waves now? Can you compare the waves from this station to station 2? What happened to your duck when there were waves made in this station?
Elaborate
Repost the Ducks Overboard headline followed by reading the story Ducky to the class. As they listen to the story, ask them to think about what is happening to the little rubber duck and to think about possible reasons why the ducks were then found all over the world. Tell the class that this story is based on an actual event that happened in which plastic bath tub toys fell overboard in the ocean. As you read the story to the students, ask them to make connections between their investigations and the text at the following points.
pp. 4–9 How is the situation with the ducks falling overboard similar to when you placed your duck in the plastic tub? What are the differences?
pp. 12–13 At one point the narrator of the story, which is a duck that fell overboard, notes, “I wish we could swim and get away. But all we can do is float.” Think back to the two short videos about the ducks and the seagull from the beginning of the lesson. How do you think these rubber ducks are likely to move?
pp. 14–19 The narrator duck describes how they are drifting apart from one another. At another point, the wind is blowing it backward. What do you know from your investigations that could explain the movement of the ducks to different areas?
pp. 22–23 What are some of the ways that the duck could be moved from the wide-open ocean to the shore with rocks?
Now that you’ve heard the story, we know that these ducks fell overboard in the middle of the ocean but eventually were found on the shores of many different areas. If you had to explain to someone how this happened, what would you say? Can you include the science concepts we discussed? Teacher note: An additional factor that impacted how far and where the ducks were found includes currents that form in the oceans. This concept is at the middle level grade band.
Evaluate
This is a challenging concept for students to initially understand as what they see impacts their understanding. At the beginning of this lesson, students are making observations about how different water birds move in the water. They also start to observe what waves look like and how objects such as rubber ducks move when in water. Throughout the Explore and Explain stages, students are tackling individual components of the disciplinary content idea of what a wave is and how waves form, how waves make objects move—which is the challenging idea—and finally, what are characteristics of the land under the water that help an object to be pushed or moved forward? Students are then asked to connect their understanding of the core ideas to a new situation as they explain how the rubber ducks that fell overboard were able to make it to the shores to be found.
Online Resources
Duck Derby https://youtu.be/q2I1eM_4j80
Duck’s Overboard https://www.cnn.com/2013/10/09/business/goods-lost-at-sea/index.html
Ducks Swimming https://www.youtube.com/watch?v=uZ7WKM4q7IM
Ocean Waves https://youtu.be/Ot-ZzRe8lCI
Seagull Floating in Harbor https://youtu.be/Xe3ZvhMfQBg
Christine Anne Royce (caroyce@aol.com) is a professor at Shippensburg University in Shippensburg, Pennsylvania, and past president of NSTA.
5E Literacy Physical Science Early Childhood Elementary